> San Antonio Local Insight: Hard water mineral deposits (21 gpg from Edwards Aquifer) affect toilet components, garbage disposals, and fixtures throughout local homes. Scale buildup causes premature wear, reduces performance, and creates problems that soft-water cities rarely see. Regular descaling maintenance is essential for San Antonio plumbing.
Replace the Seal When the Toilet Is Disturbed or the Seal Fails
A wax ring is not a calendar-maintenance item. Replace it when the toilet is lifted, when water or sewer odor points to a failed bowl-to-flange seal, or when movement has compromised the connection. In Westover Hills or Alamo Ranch, even a newer slab-on-grade home can develop trouble if tile work leaves the flange too low or installers shim the bowl poorly.
San Antonio water from the Edwards Aquifer measures about 357 mg/L, or 21 gpg. Hardness does not normally dissolve wax, but scale can make the shutoff and supply connection difficult to operate while you remove the toilet. Inspect those parts first and have a replacement connector ready rather than forcing a crusted valve midway through the job.
A DIY ring and shims may cost $10–$40. A routine plumber reset commonly lands around $200–$450; flange repair, drain correction, or damaged flooring can push the total to $500–$1,200 or more. Those Bexar County cost cues matter because replacing wax without correcting toilet movement or flange height only sets up another leak.
What the Wax Ring Actually Does
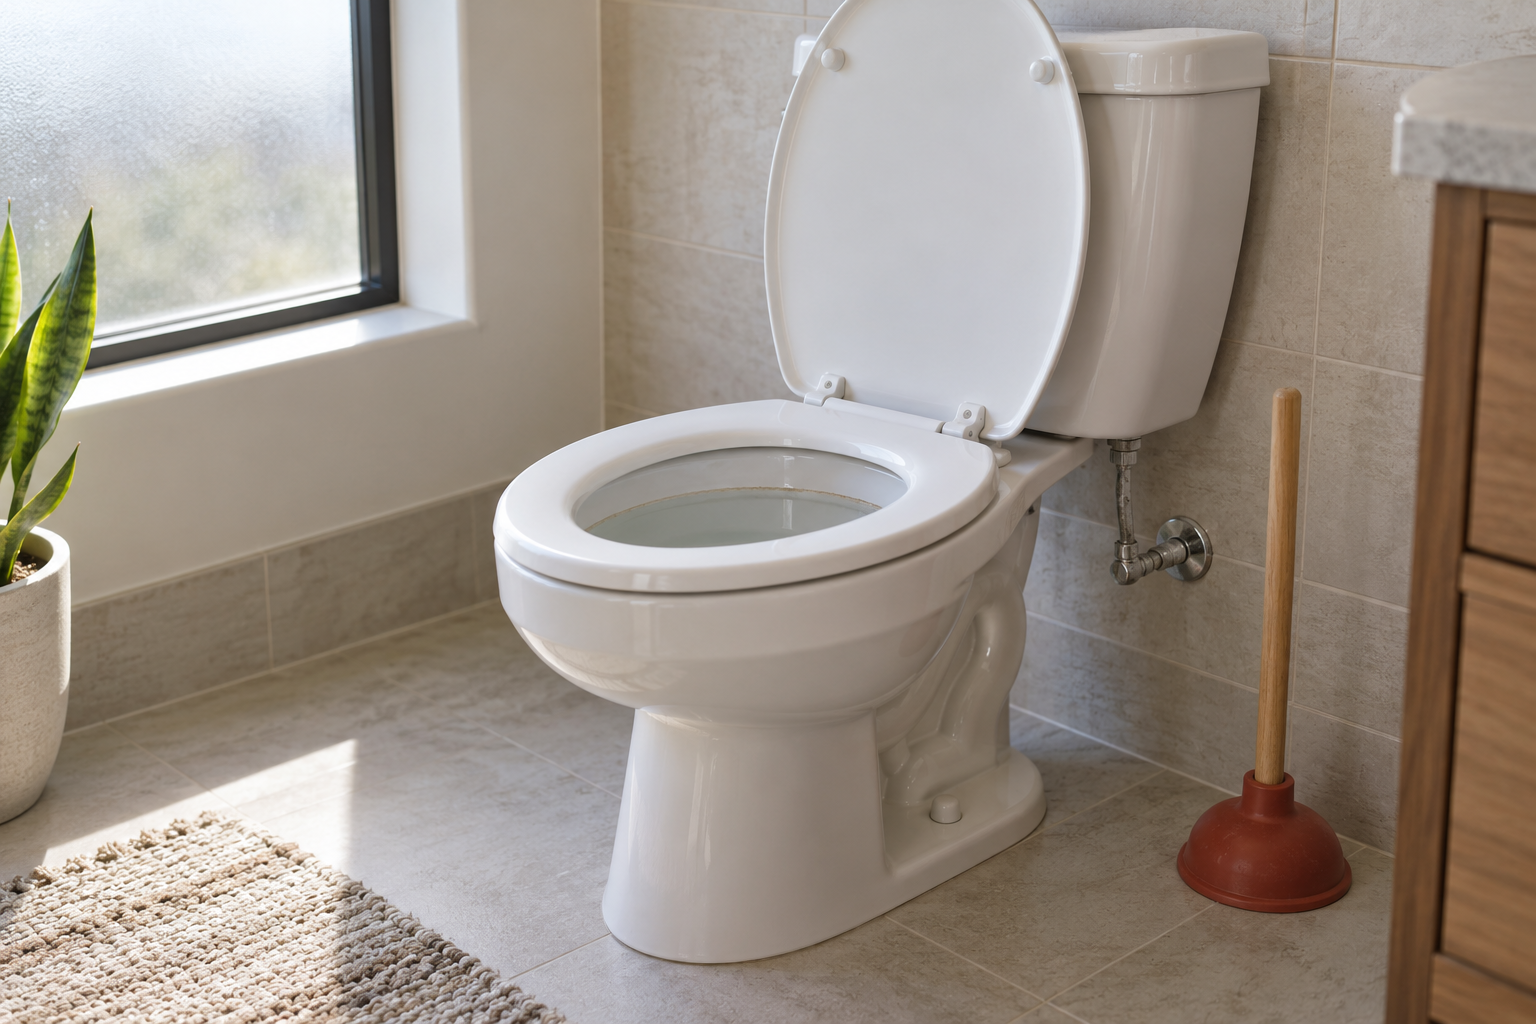
The ring forms a seal between the toilet outlet and the drain flange. It keeps wastewater and sewer gases inside the plumbing system while allowing the bowl to discharge into the drain. Traditional rings use petroleum wax that compresses when the toilet is set. Wax-free gaskets use elastomeric or foam components and have their own fit and installation requirements.
A wax ring is not a structural support. The flange, finished floor, mounting bolts, appropriate shims, and properly tightened hardware keep the toilet stable. If the bowl rocks, each movement can deform or separate the seal. Installing a thicker ring or adding caulk does not correct a loose flange, unsupported floor, or badly uneven surface. A durable repair starts by fixing the reason the connection moved.
Because wax does not spring back into its original shape, a ring should not be reused after the toilet is lifted or shifted enough to disturb the seal. Even a recently installed ring should be replaced after removal. The small cost of a fresh, compatible seal is minor compared with concealed wastewater damage.
Quick Reference: When to Replace the Seal
The following checklist separates clear replacement events from symptoms that require diagnosis first.
| Situation | Replace the ring? | What else to check |
|---|---|---|
| Toilet has been fully removed | Yes | Flange, bolts, floor, outlet condition |
| New flooring changes finished height | Usually, during reset | Correct flange relationship and seal type |
| Water appears at base only during flushing | Likely, after confirming source | Bowl movement, flange damage, drain backup |
| Persistent sewer odor near toilet | Possibly | Dry traps, venting, cracks, adjacent fixtures |
| Tank sweats on humid days | Not for that reason alone | Condensation control and ventilation |
| Supply line or tank bolt drips | No, unless toilet is also removed | Repair the actual leaking connection |
| Toilet rocks or shifts | Seal may be compromised | Structural support and flange security |
| Routine annual maintenance | No | Inspect for moisture and movement instead |
If wastewater emerges at the base, stop using that toilet until it is repaired. Repeated flushing can spread contamination into flooring and the subfloor. If the bathroom is above another finished space, inspect the ceiling below for staining or moisture and respond promptly.
Signs a Wax Ring May Have Failed
Water that appears around the base during or immediately after a flush is a classic warning. The amount may be small because much of the discharge still enters the drain. A failed seal can also leak below the finished floor without producing a dramatic puddle, so look for discoloration, lifted flooring, soft spots, or staining on the ceiling beneath the bathroom.
A persistent sewer-gas odor near the base can indicate an incomplete seal, but odor alone is not conclusive. An infrequently used fixture may have a dry trap; a nearby drain, venting fault, cracked pipe, or loose cleanout can also be responsible. Sewer gas should not be ignored. Ventilate the area, avoid flames or ignition sources, and get qualified help when the source is not obvious.
Toilet movement is a strong risk factor rather than definitive proof. Gently check for rocking without forcing the bowl. Loose nuts may be involved, but simply tightening them hard is unsafe: porcelain can crack, and a damaged flange will not become sound through extra torque. If the fixture shifts, plan to inspect the mounting and seal rather than continuing to use it indefinitely.
Rule Out Other Leak Sources First
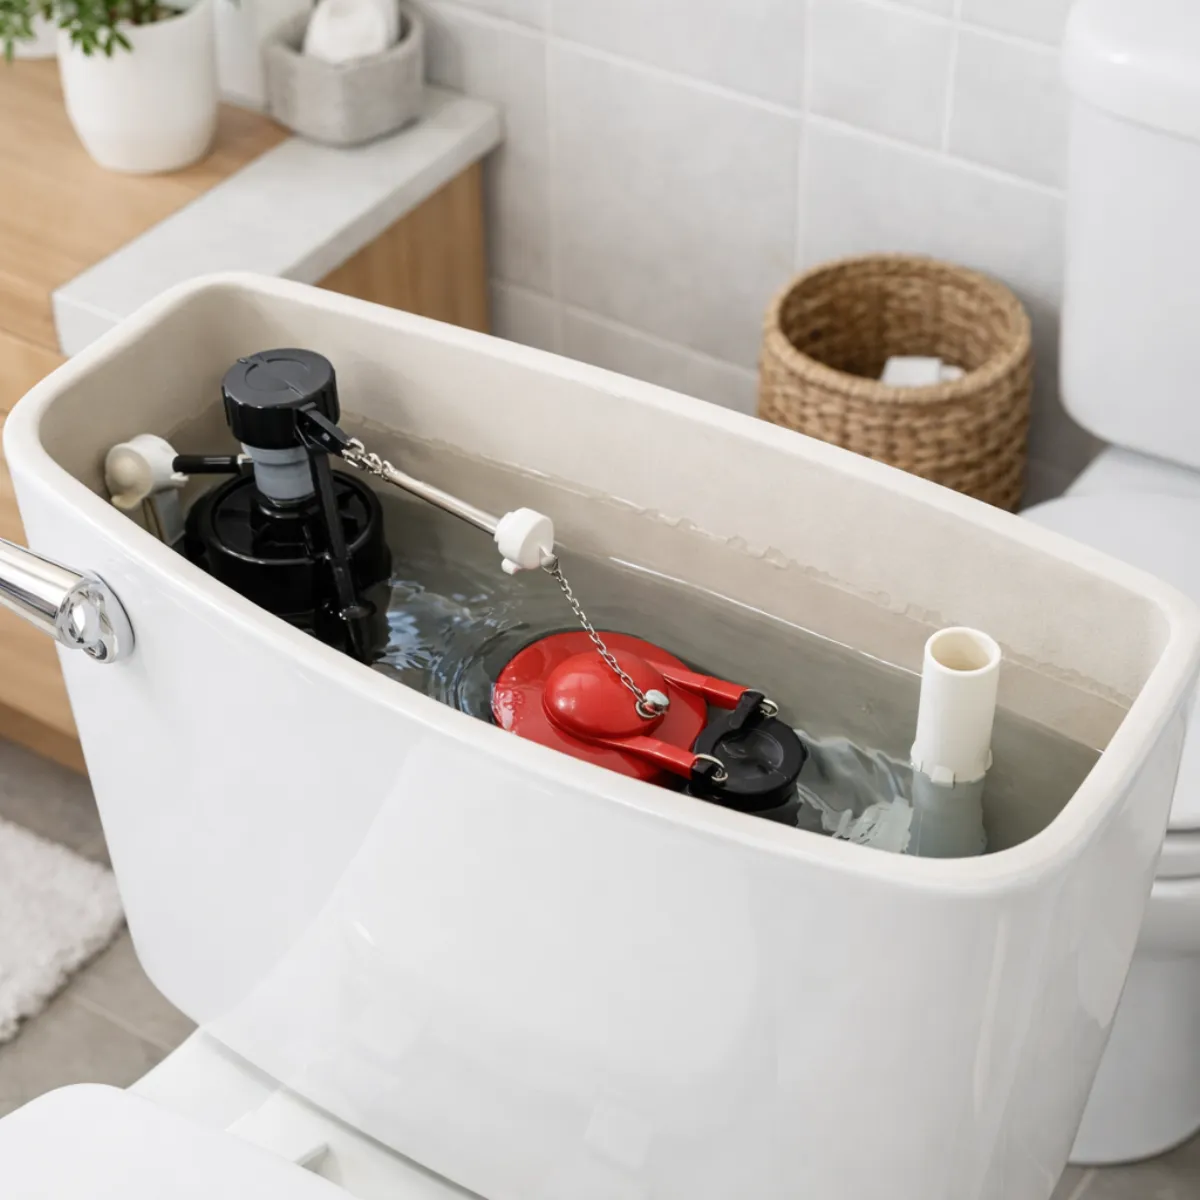
Dry the tank, bowl exterior, supply valve, hose, and floor. Place pieces of dry tissue at likely connections and observe while the tank fills and while flushing. Start high: water follows gravity, so a drip at the fill-valve shank or tank bolt can travel down the bowl and look like a base leak. Colored water in the tank can help distinguish tank water from condensation, but do not add anything that could stain finishes.
Check for condensation when cold tank water meets humid bathroom air. Condensation tends to form broadly on the tank or supply line rather than appearing only after a flush. Improve ventilation and monitor. Also inspect the tank-to-bowl gasket on two-piece toilets and look carefully for porcelain cracks. A weeping crack is a replacement issue, not a wax-ring repair.
If flushing causes water to rise unusually high, drain slowly, or back up at the base, a downstream obstruction may be pressurizing the connection. Clearing and diagnosing the drain comes before resetting the toilet. Do not pour caustic chemical cleaner into the bowl; it can remain trapped and expose anyone who removes or augers the toilet.
Why Wax Rings Fail Prematurely
Movement is the common enemy. A loose or broken flange, uneven tile, deteriorated subfloor, poorly placed shims, or under-tightened mounting can allow rocking. A heavy user does not inherently “wear out” a properly supported seal; it is the transfer of load and repeated movement that causes trouble. The bowl should rest securely without relying on the wax as a cushion.
Incorrect height or alignment can also prevent proper compression. The flange’s position relative to the finished floor matters, and flooring renovations sometimes leave it too low. Selecting an extra-thick ring without measuring may appear to solve the gap but can create excessive wax that narrows the opening or shifts during setting. Follow flange, toilet, and seal manufacturer guidance for the actual geometry.
A rushed installation can misalign the bowl, fold the ring, or disturb it after compression. Once the toilet is lowered, installers should avoid sliding and repeatedly repositioning it. Drain backups, severe plunging against an obstructed line, or structural floor movement may also compromise a marginal connection. Correcting the underlying problem is essential before installing another seal.
Choosing Wax, Reinforced Wax, or Wax-Free
A standard wax ring is simple, widely available, and proven when the flange and toilet geometry are appropriate. Some versions include a plastic horn intended to guide discharge. That horn is not automatically better for every installation; fit must be compatible, particularly with older or unusual flanges. More wax is not a substitute for correct support and alignment.
Wax-free seals can be useful when a toilet may need careful repositioning, or where product instructions call for a stackable or adjustable design. They vary substantially in material and installation method. Verify compatibility with the drain size, flange depth, and toilet outlet. Do not combine components from unrelated systems unless their manufacturers expressly permit it.
Consider future conditions too. Wax can become less firm in unusually warm environments, while some gasket materials have chemical and temperature limitations. In most ordinary bathrooms, either a correctly selected wax or wax-free product can work. The quality of flange repair, surface preparation, toilet stability, and installation is more important than choosing based on packaging claims alone.
Safe Replacement: Preparation and Removal
First confirm that the shutoff valve closes without forcing it. If it is seized, leaks at the stem, or does not stop flow, call a plumber rather than improvising with pressurized piping. Shut off the water, flush, and remove remaining tank and bowl water with a sponge or suitable wet vacuum used according to its manual. Wear gloves and eye protection, and treat old sealing material and wastewater as contaminated.
Disconnect the supply, remove bolt caps and nuts, then score exterior caulk without damaging the floor. Toilets are awkward and heavy; use a second capable person or professional help rather than risking injury or dropping porcelain. Lift straight up. Do not drag the outlet across flooring, and never continue using a toilet that cracks during handling.
Immediately cover the open drain with an appropriate removable plug or a rag secured so it cannot fall into the pipe. This limits sewer-gas entry and prevents tools from dropping inside. Keep flames and ignition sources away. Scrape old wax from the toilet outlet and flange with disposable tools, then bag the waste. Avoid pushing debris into the drain.
Inspect the Flange and Floor Before Resetting
The flange must be secure, intact, and properly supported. Check for cracks, corroded bolt slots, loose fasteners, and gaps around the drain. Examine the surrounding floor for swelling, delamination, dark staining, or softness. A replacement ring placed over a broken flange or rotted subfloor is not a repair—it merely hides the defect until movement or leakage returns.
Flange repair methods depend on flange material, pipe type, condition, and local plumbing rules. Some repair rings can restore bolt support; other damage requires replacement of the flange or pipe section. Do not drill blindly into the floor, where supply lines, drainage, electrical wiring, or hydronic tubing may be present. When structural material is damaged, a plumber and possibly a qualified carpenter should assess it.
Confirm the flange height relative to the finished floor and dry-fit the toilet without a seal if the manufacturer permits. The bowl should sit flat and align with bolts. Determine shim locations before placing the seal. Use nonabsorbent, installation-appropriate shims and trim them only after stability is verified.
Setting the Toilet Without Damaging the New Seal
Install new bolts and the selected seal according to product directions. Centering details differ: some wax rings are placed on the flange, while certain products instruct placement on the toilet outlet. Lower the bowl vertically over the bolts in one controlled movement. Use body weight gently to compress wax; do not rock aggressively or slide the fixture around the room.
Tighten nuts alternately and in small increments until the toilet is secure. The goal is stability, not maximum torque. Porcelain can crack from over-tightening. If the bowl will not sit correctly, stop and identify interference rather than forcing it down. For wax, lifting again means using another new ring.
Reconnect a sound supply line without twisting or cross-threading it. Open the valve slowly and inspect the valve, hose, fill-valve shank, tank bolts, and base. Flush repeatedly while watching for moisture. Some installers leave a small caulk gap at the rear so a future leak can show; follow applicable code and local practice. Caulk should improve sanitation and finish, not conceal instability.
Common Mistakes to Avoid
Do not stack two ordinary wax rings merely because the flange looks low. Stacking may be allowed in some specific practices, but a purpose-designed thick or adjustable seal—or proper flange correction—is generally more predictable. Measure and use an approved method. Likewise, never reuse compressed wax because it still looks intact.
Do not assume tighter bolts will stop a base leak. Tightening can crack the bowl and does not restore deformed wax. Avoid caulking over active moisture, and do not ignore odors after the floor appears dry. Wastewater can travel beneath tile, vinyl, or laminate where it damages materials unseen.
Finally, do not reset a toilet before clearing a suspected drain blockage. If other fixtures gurgle, water backs up elsewhere, or an auger meets persistent resistance, call a drain professional. Tell them if any chemical cleaners were used. The safest repair is the one based on the actual failure, not the most familiar symptom.
When to Call a Plumber
Professional help is appropriate when the shutoff valve fails, the flange is broken, the drain pipe moves, or subfloor damage is visible. It is also wise for wall-hung toilets, concealed carriers, pumped systems, lead bends, unusual flange materials, or bathrooms where access and lifting are unsafe. These conditions extend beyond a simple seal swap.
Call promptly for sewage backup, widespread sewer odor, recurring clogs, or moisture in a ceiling below. Keep people away from contaminated areas and do not use electrical equipment on wet flooring. Water damage or wastewater contamination may require restoration work in addition to plumbing service.
If you have replaced the seal correctly and leakage returns, stop repeating the same repair. Toilet movement, a hairline crack, drain restriction, or flange alignment problem may be the true cause. Diagnosis will usually cost less than multiple resets plus damaged flooring.
Frequently Asked Questions
Should a wax ring be replaced every five years?
No. There is no standard five-year schedule. Inspect for leaks, odor, and movement, but leave a sound, undisturbed connection in place.
Must I replace the ring when installing new flooring?
If the toilet is removed, yes. Flooring can also change the flange-to-floor relationship, so reassess the seal thickness and flange condition before resetting it.
Can I reuse a wax-free toilet seal?
Some wax-free products may allow repositioning or reuse, but only if their instructions explicitly say so and the components are undamaged and clean. Follow that product’s requirements.
Will a failed ring always leak onto the bathroom floor?
No. Water can leak into the subfloor or ceiling cavity. Odor, staining below, soft flooring, or movement may appear before a visible puddle.
How soon should I test after replacing it?
Test immediately with multiple flushes and inspect again later the same day and during the following days. Keep the area dry so small leaks are visible.
Why This Is Different in San Antonio
San Antonio's Edwards Aquifer supplies some of the hardest municipal water in the United States: about 357 mg/L, or 21 grains per gallon. That limestone-filtered groundwater carries calcium carbonate and magnesium into our fixtures, valves, drains, heaters, and supply lines. For how often should you replace toilet wax ring, that matters because mineral deposits grind down seals, cartridges, fill valves, supply stops, spray arms, and small water passages faster than many generic guides assume.
- Scale buildup makes small restrictions worse, especially at cartridges, aerators, shutoff valves, drains, and heater connections.
- Fixtures, pipes, and appliances in our area can wear out 30-50% faster than in soft-water cities when maintenance is delayed.
- SAWS publishes annual water quality reports, but the practical homeowner takeaway is simple: maintenance intervals here should be shorter than national advice suggests.
Homes in Westover Hills and Alamo Ranch are particularly affected because newer PEX-heavy construction still sees fixture wear from 21 gpg hard water. Unlike cities with naturally soft water, local homeowners should treat hard-water maintenance as normal prevention, not an upsell.
> "In my 20 years working in San Antonio, I would say most surprise plumbing failures I see start with homeowners following soft-water maintenance advice in a hard-water city." — Licensed local plumber
What San Antonio Homeowners Pay (2026)
| Service | Typical Cost in San Antonio |
|---|---|
| Toilet replacement (labor + unit) | $300–$800 |
| Drain cleaning | $150–$350 |
| Plumber hourly rate | $85–$150/hr |
Prices are based on local metro area ranges for 2026. Costs may vary by neighborhood, access, pipe material, after-hours timing, and whether the plumber finds hard-water damage beyond the visible problem.
When to Call a San Antonio Plumber
Call a licensed local plumber if the problem involves active leaking, a shutoff valve that will not close, sewer smell, recurring clogs, water near electrical components, a water heater leak, or any pipe inside a wall, ceiling, or slab. Locally, expect many licensed plumbers to charge roughly $85-$150 per hour, with emergency visits commonly around $150-$350 and after-hours calls closer to $250-$500.
When you call, ask three local questions:
1. Are you licensed and insured for work in Bexar County or the surrounding local metro?
2. Have you dealt with Edwards Aquifer hard-water scale on this type of repair?
3. Should I also check the water heater, shutoff valves, or water softener while you are there?
local plumbers see hard-water issues every week, so a good pro should be able to explain whether the failure is normal wear, mineral damage, freeze damage from a cold snap like Winter Storm Uri, or a sign of a larger plumbing system problem.
San Antonio FAQ
Is San Antonio water hard?
Yes. San Antonio water is very hard at about 357 mg/L, or 21 grains per gallon, because much of it comes from the Edwards Aquifer and passes through limestone. That mineral content is why scale shows up quickly on faucets, showerheads, valves, drains, and water heaters.
Do local homes need a water softener?
A water softener is recommended for many local homes, especially if you see white scale, repeated faucet or valve problems, short water-heater life, or cloudy spots on dishes. A typical whole-home water softener installation in San Antonio runs about $1,500-$4,000.