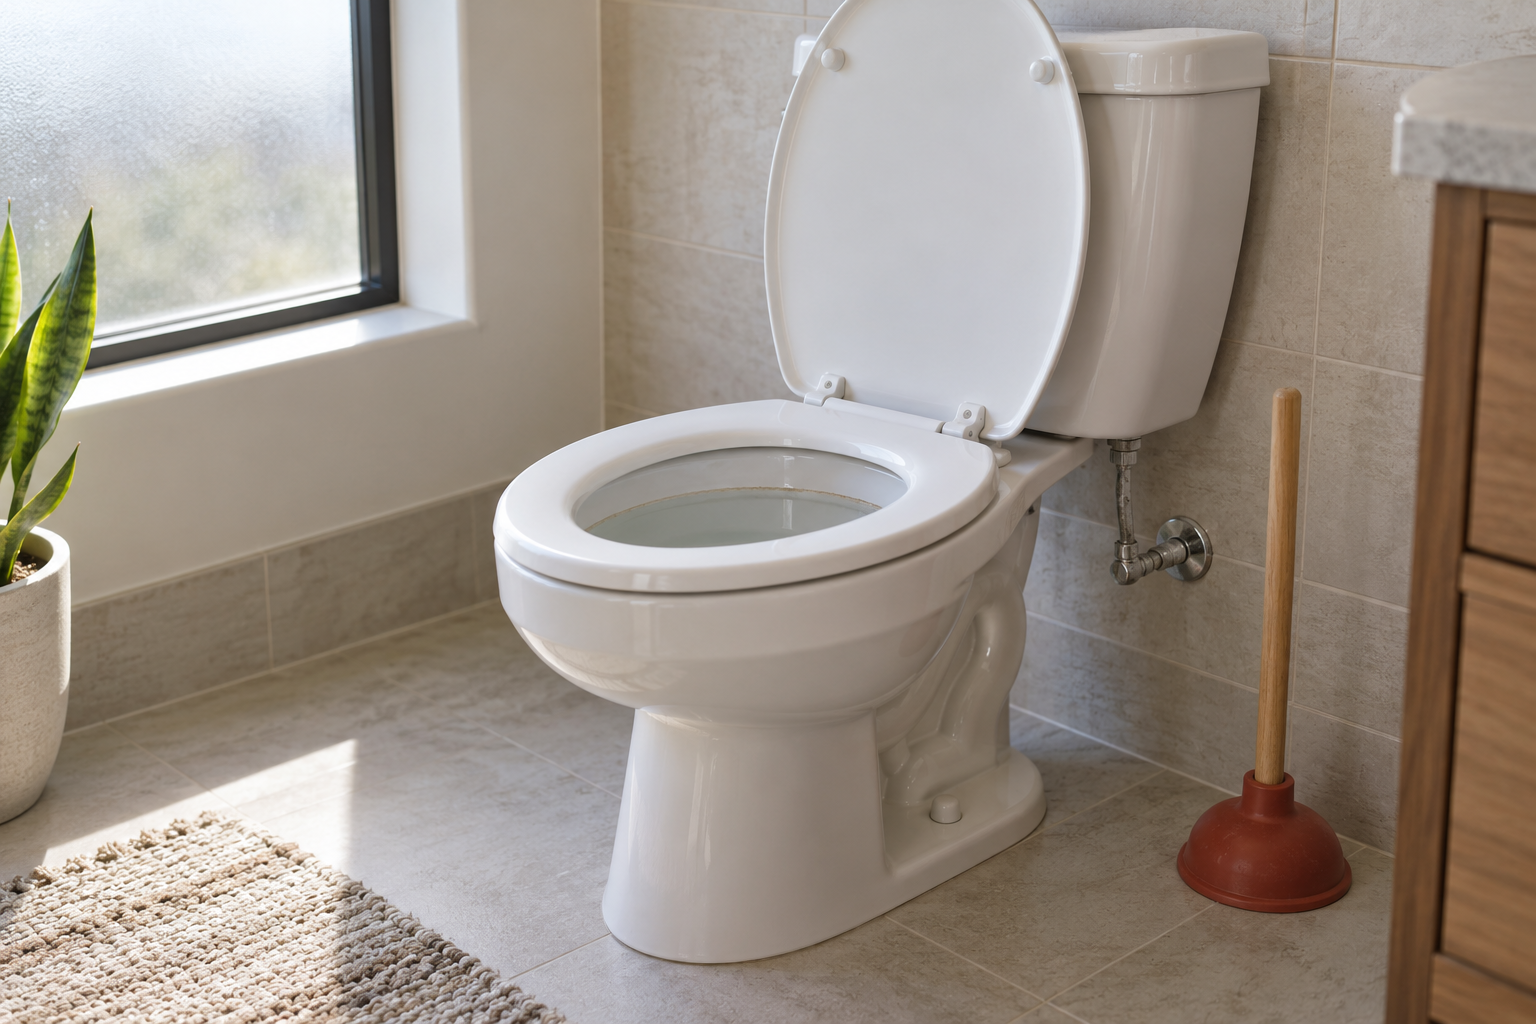
> San Antonio Local Insight: Fixture and faucet leaks in San Antonio happen faster because hard water minerals (21 gpg from Edwards Aquifer) grind down valve seats, corrode cartridges, and prevent proper sealing. A faucet that lasts 15 years in soft-water cities often starts leaking within 5–8 years in San Antonio without a water softener.
Stop Using the Toilet Until You Identify the Source
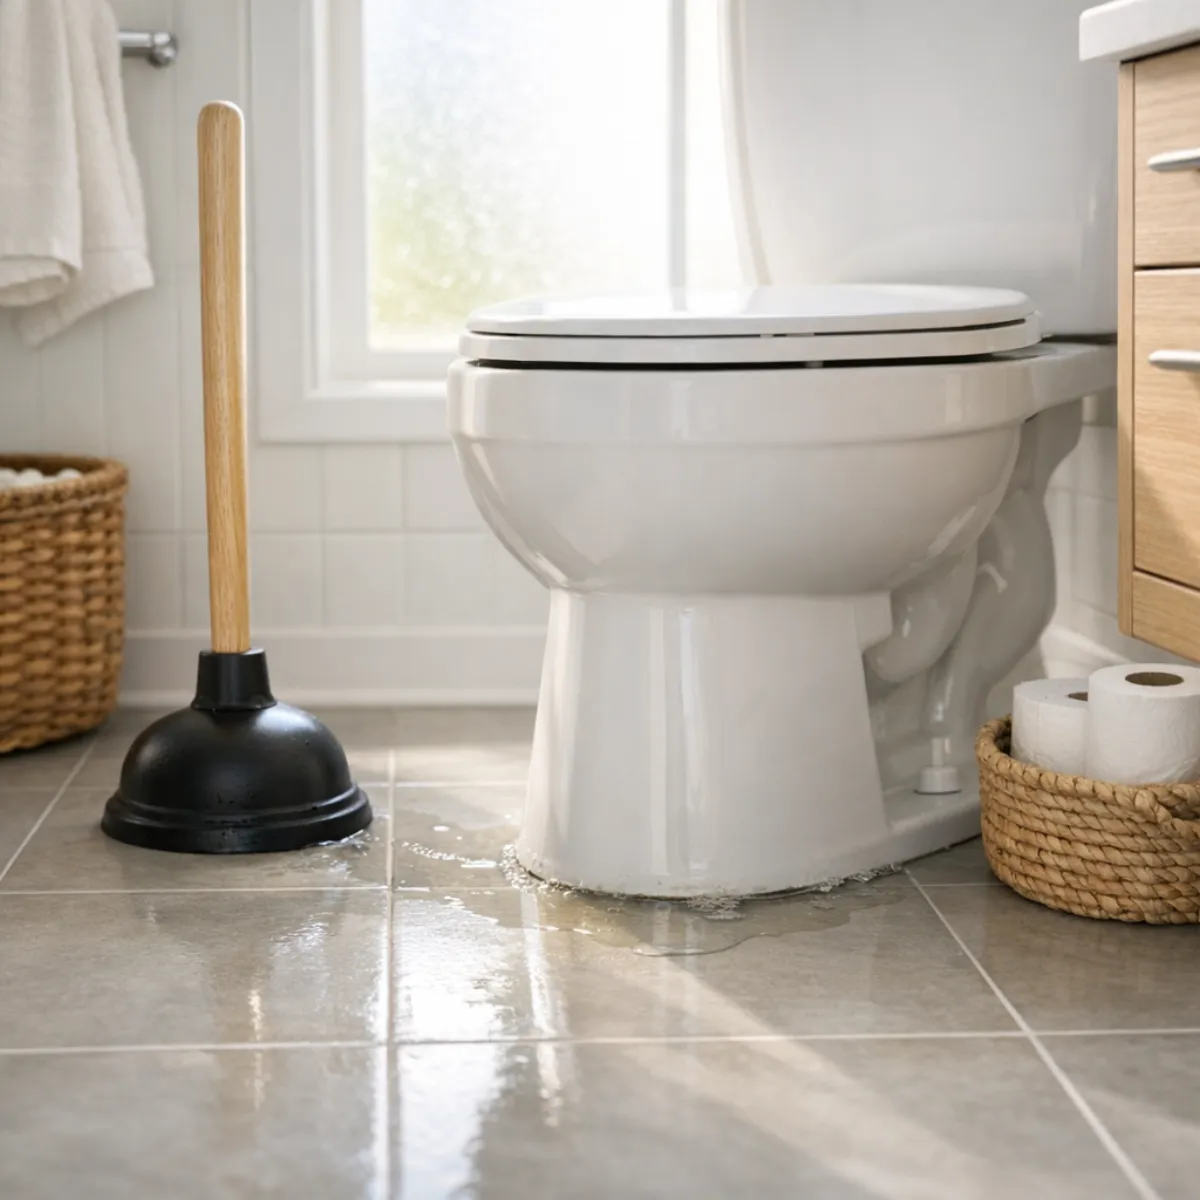
Water at the base can contain waste, damage the subfloor, and travel farther than the visible puddle. Shut off the supply, dry the area, and determine whether water appears only after a flush. In New Braunfels or Boerne-area homes, check both the bowl seal and nearby supply fittings; hard-water crust can hide a slow drip that runs down the porcelain and looks like a failed wax ring.
The Edwards Aquifer produces water near 357 mg/L, or 21 gpg. Scale does not usually destroy wax directly, but it can stiffen the stop valve, abrade fill components, and complicate safe disassembly. San Antonio homeowners should never keep tightening closet bolts to stop a leak: porcelain can crack, and movement often means the flange or floor needs attention.
Expect roughly $200–$450 for a straightforward toilet reset in Bexar County. A broken flange, rotted subfloor, drain issue, or cracked fixture can move the repair into the $500–$1,500 range. After Winter Storm Uri, many households learned that water can travel through framing before becoming obvious, so inspect the ceiling below and adjacent flooring rather than judging the loss by puddle size alone.
First determine when and where the water appears
Dry the bowl, tank, supply line, shutoff valve, and floor completely. Place separate strips of dry paper towel beneath the valve, supply-line connections, tank bolts, and around the bowl base. Wait without flushing. If a strip becomes wet while the toilet sits idle, the wax seal is unlikely to be the first source; inspect the pressurized supply parts or tank instead.
Next, flush once while watching with a flashlight. Water that appears only at the base during or shortly after flushing strongly suggests a compromised seal or movement between the bowl and flange. Water on the back of the bowl may be running down from a tank bolt or tank-to-bowl gasket. Colorless moisture spread across the tank on a humid day may be condensation. Do not add dye, cleaners, or chemicals until you know where the water is going.
Quick-reference symptom guide
| What you observe | Likely area | Sensible next step |
|---|---|---|
| Water at base only after flushing | Bowl-to-flange seal | Stop use; check movement and plan seal replacement |
| Drip at shutoff or supply nut | Valve or connector | Shut water off; repair or replace affected part |
| Water below tank | Tank bolts or tank-to-bowl gasket | Dry and isolate each connection |
| Moisture over much of tank | Condensation | Improve ventilation and reduce humidity |
| Bowl rocks or shifts | Loose hardware, uneven floor, or damaged flange | Stop use; inspect mounting system |
| Dark, soft, or swollen flooring | Long-term hidden leak | Call a plumber and assess subfloor damage |
A leak can have more than one cause. A rocking toilet may ruin its seal, while a corroded supply connection can wet the same area. Diagnose all visible components before buying parts. Replacing a wax ring will not fix a dripping shutoff valve, and tightening bolts will not repair a cracked flange.
The most common cause: a failed bowl seal
A toilet does not normally rely on visible caulk to keep flush water inside. Beneath the bowl, a wax ring or engineered wax-free gasket seals the toilet outlet to the drain flange. The seal can fail after the toilet shifts, the floor changes height, the flange corrodes, or the toilet is removed and reset without a new seal. Once disturbed, a wax ring should not be reused.
Typical evidence includes water appearing after a flush, sewer odor, staining around the base, or dampness visible from the ceiling below. A partial failure may leak only during a large flush or when someone sits on a rocking bowl. Because the connection is hidden, confirmation usually requires lifting the toilet. If wastewater is escaping, discontinue use rather than repeatedly testing it.
Check for movement, loose bolts, and flange trouble
Place your hands on the dry bowl and apply very light pressure from side to side. Any movement matters. Do not keep rocking it as a test: movement can worsen the seal or crack porcelain. Remove decorative bolt caps and inspect the mounting nuts. They should hold the bowl securely, but overtightening can crack the toilet base. If a nut is already snug and the bowl moves, the floor may be uneven or the flange may be broken or poorly positioned.
A flange should be securely attached to sound flooring and sit at an appropriate height relative to the finished floor. Remodels sometimes leave it too low after new tile is installed; corrosion can also destroy the bolt slots. Flange extenders, repair rings, or professional flange replacement may be appropriate, but stacking random rings to compensate for an unknown gap is unreliable. A damaged or unsupported flange should be corrected before the toilet is reset.
Rule out tank, supply, and condensation leaks
Start at the highest wet point. Feel around the shutoff-valve stem, outlet nut, connector, toilet fill-valve shank, tank bolts, and tank-to-bowl joint. A slow drip can follow the back of the porcelain and collect around the base, creating a convincing false diagnosis. Mineral tracks, rust, and greenish corrosion often show where clean water has been escaping.
Condensation is different: a cold tank in a warm, humid bathroom can develop an even film of moisture. Improve exhaust ventilation, repair a running toilet that constantly introduces cold water, and wipe the tank dry to confirm the pattern. Never assume moisture is harmless if flooring is already damaged. Also replace a bulging, corroded, kinked, or unknown-age supply connector rather than trying to rescue it with excessive tightening.
How a toilet seal is replaced
Begin by closing the toilet shutoff valve, flushing, and removing remaining water from the tank and bowl with a sponge or wet vacuum intended for liquids. Disconnect the supply line and verify that the valve holds. If it does not, stop and arrange repair of the shutoff. Protect the floor and have a stable place ready for the heavy, awkward toilet. Porcelain can crack and sharp broken edges are hazardous.
Remove the mounting nuts, cut only the exterior caulk if present, and lift the toilet straight up without twisting it across the flange. Plug the open drain temporarily with a purpose-made test plug or a firmly secured rag that cannot fall into the pipe; ventilate the room because sewer gas may be present. Scrape old wax from the toilet outlet and flange, then inspect the flange, bolts, floor, and porcelain for cracks.
Install the new seal according to its manufacturer’s directions, set fresh closet bolts, and lower the bowl vertically with the holes aligned. Press evenly rather than rocking. Add approved shims if needed, tighten nuts gradually and alternately, reconnect the supply, and test several flushes while checking above and below if accessible. Trim shims only after the bowl is stable.
Wax versus wax-free seals
Traditional wax is inexpensive, widely available, and tolerant of minor surface irregularities. Its weakness is that it permanently deforms: a misaligned set or later movement can compromise it. Extra-thick wax can help in a correctly assessed low-flange situation, but more material is not a substitute for repairing a flange or supporting the toilet.
Wax-free seals are cleaner to handle and some allow repositioning, but dimensions and installation rules vary. Choose a product listed for the flange type and height in your bathroom, and follow its instructions rather than mixing components from different systems. Whichever design you use, the toilet must sit fully supported on the finished floor. The seal is a gasket, not a structural spacer.
Mistakes that turn a small leak into a bigger repair
Do not simply run a bead of caulk around a wet toilet and call it fixed. Caulk may hide wastewater and delay discovery while the subfloor deteriorates. Many installers caulk the front and sides after a successful repair for sanitation and stability while leaving a small rear gap as a leak indicator, subject to local practice or code. The seal below must work independently.
Avoid overtightening mounting nuts, reusing old wax, stacking multiple seals without measuring, or repeatedly flushing to “see how bad it is.” Do not pour drain chemicals into the toilet to address a base leak. If the toilet is clogged, aggressive plunging can force water past an already weak seal. Clear the blockage safely and correct the failed connection.
Hidden damage and sanitation concerns
Press gently around the toilet with a gloved hand or a nonmarring tool and look for loose tile, swollen laminate, staining, persistent odor, or softness. From below, if accessible, inspect for darkened sheathing or active dripping without opening energized electrical fixtures. Water near receptacles, wiring, or a light fitting requires shutting off the affected circuit if it can be done safely and contacting qualified help.
Wastewater cleanup is more than wiping the visible puddle. Wear gloves, remove porous materials that cannot be cleaned, and disinfect compatible hard surfaces. Significant sewage contamination, extensive mold-like growth, or wet insulation may justify professional remediation. A toilet should not be reset over soft flooring; the damaged subfloor must be restored so the flange and bowl remain stable.
When to call a plumber
Professional help is the better choice when the shutoff does not close, bolts spin in a damaged flange, the toilet or flange is cracked, the drain is repeatedly blocked, sewage has affected a large area, or flooring is soft. Also call if the fixture sits on an upper floor and water has entered a ceiling cavity. These conditions involve more than replacing a gasket.
A plumber can remove the toilet, inspect flange height and condition, evaluate the drain, and identify whether a leak originates in the tank or supply. If the subfloor is damaged, a carpenter or restoration specialist may also be needed. The cost of qualified diagnosis is often lower than repairing continued structural and finish damage after an uncertain DIY reset.
Frequently asked questions
Can I still use a toilet that leaks from the bottom?
No. If the leak appears with flushing, assume the seal can release contaminated water and stop using it until repaired. Even a clean-water leak can damage flooring and should be isolated promptly.
Does a base leak always mean the wax ring is bad?
No. Tank bolts, supply connections, condensation, cracked porcelain, or a nearby plumbing fixture can send water to the same spot. Dry and isolate each possible source first.
Will tightening the toilet bolts stop the leak?
Only if very slight looseness is the sole issue and the seal remains intact, which cannot be assumed. Overtightening can crack porcelain. A rocking bowl often needs removal, flange inspection, proper shimming, and a new seal.
Should I caulk around the toilet after repair?
Many installations use bathroom-grade caulk around the front and sides for cleanliness and stability, while preserving a rear indicator gap. Follow local code and ensure the hidden seal has passed leak tests first.
How long should I watch for leaks after resetting it?
Inspect during several full flushes, then again after normal use over the next day. Check the supply joints, base, floor below, and ceiling beneath when accessible. Any recurring moisture means the source still needs attention.
Why This Is Different in San Antonio
San Antonio's Edwards Aquifer supplies some of the hardest municipal water in the United States: about 357 mg/L, or 21 grains per gallon. That limestone-filtered groundwater carries calcium carbonate and magnesium into our fixtures, valves, drains, heaters, and supply lines. For why is my toilet leaking from the bottom, that matters because mineral deposits grind down seals, cartridges, fill valves, supply stops, spray arms, and small water passages faster than many generic guides assume.
- Scale buildup makes small restrictions worse, especially at cartridges, aerators, shutoff valves, drains, and heater connections.
- Fixtures, pipes, and appliances in our area can wear out 30-50% faster than in soft-water cities when maintenance is delayed.
- SAWS publishes annual water quality reports, but the practical homeowner takeaway is simple: maintenance intervals here should be shorter than national advice suggests.
Homes in New Braunfels and Boerne are particularly affected because nearby Hill Country water systems are also very hard and create similar maintenance pressure. Unlike cities with naturally soft water, local homeowners should treat hard-water maintenance as normal prevention, not an upsell.
> "In my 20 years working in San Antonio, I would say most surprise plumbing failures I see start with homeowners following soft-water maintenance advice in a hard-water city." — Licensed local plumber
What San Antonio Homeowners Pay (2026)
| Service | Typical Cost in San Antonio |
|---|---|
| Toilet replacement (labor + unit) | $300–$800 |
| Drain cleaning | $150–$350 |
| Plumber hourly rate | $85–$150/hr |
Prices are based on local metro area ranges for 2026. Costs may vary by neighborhood, access, pipe material, after-hours timing, and whether the plumber finds hard-water damage beyond the visible problem.
When to Call a San Antonio Plumber
Call a licensed local plumber if the problem involves active leaking, a shutoff valve that will not close, sewer smell, recurring clogs, water near electrical components, a water heater leak, or any pipe inside a wall, ceiling, or slab. Locally, expect many licensed plumbers to charge roughly $85-$150 per hour, with emergency visits commonly around $150-$350 and after-hours calls closer to $250-$500.
When you call, ask three local questions:
1. Are you licensed and insured for work in Bexar County or the surrounding local metro?
2. Have you dealt with Edwards Aquifer hard-water scale on this type of repair?
3. Should I also check the water heater, shutoff valves, or water softener while you are there?
local plumbers see hard-water issues every week, so a good pro should be able to explain whether the failure is normal wear, mineral damage, freeze damage from a cold snap like Winter Storm Uri, or a sign of a larger plumbing system problem.
San Antonio FAQ
Is local water hard?
Yes. San Antonio water is very hard at about 357 mg/L, or 21 grains per gallon, because much of it comes from the Edwards Aquifer and passes through limestone. That mineral content is why scale shows up quickly on faucets, showerheads, valves, drains, and water heaters.
Do local homes need a water softener?
A water softener is recommended for many local homes, especially if you see white scale, repeated faucet or valve problems, short water-heater life, or cloudy spots on dishes. A typical whole-home water softener installation in San Antonio runs about $1,500-$4,000.