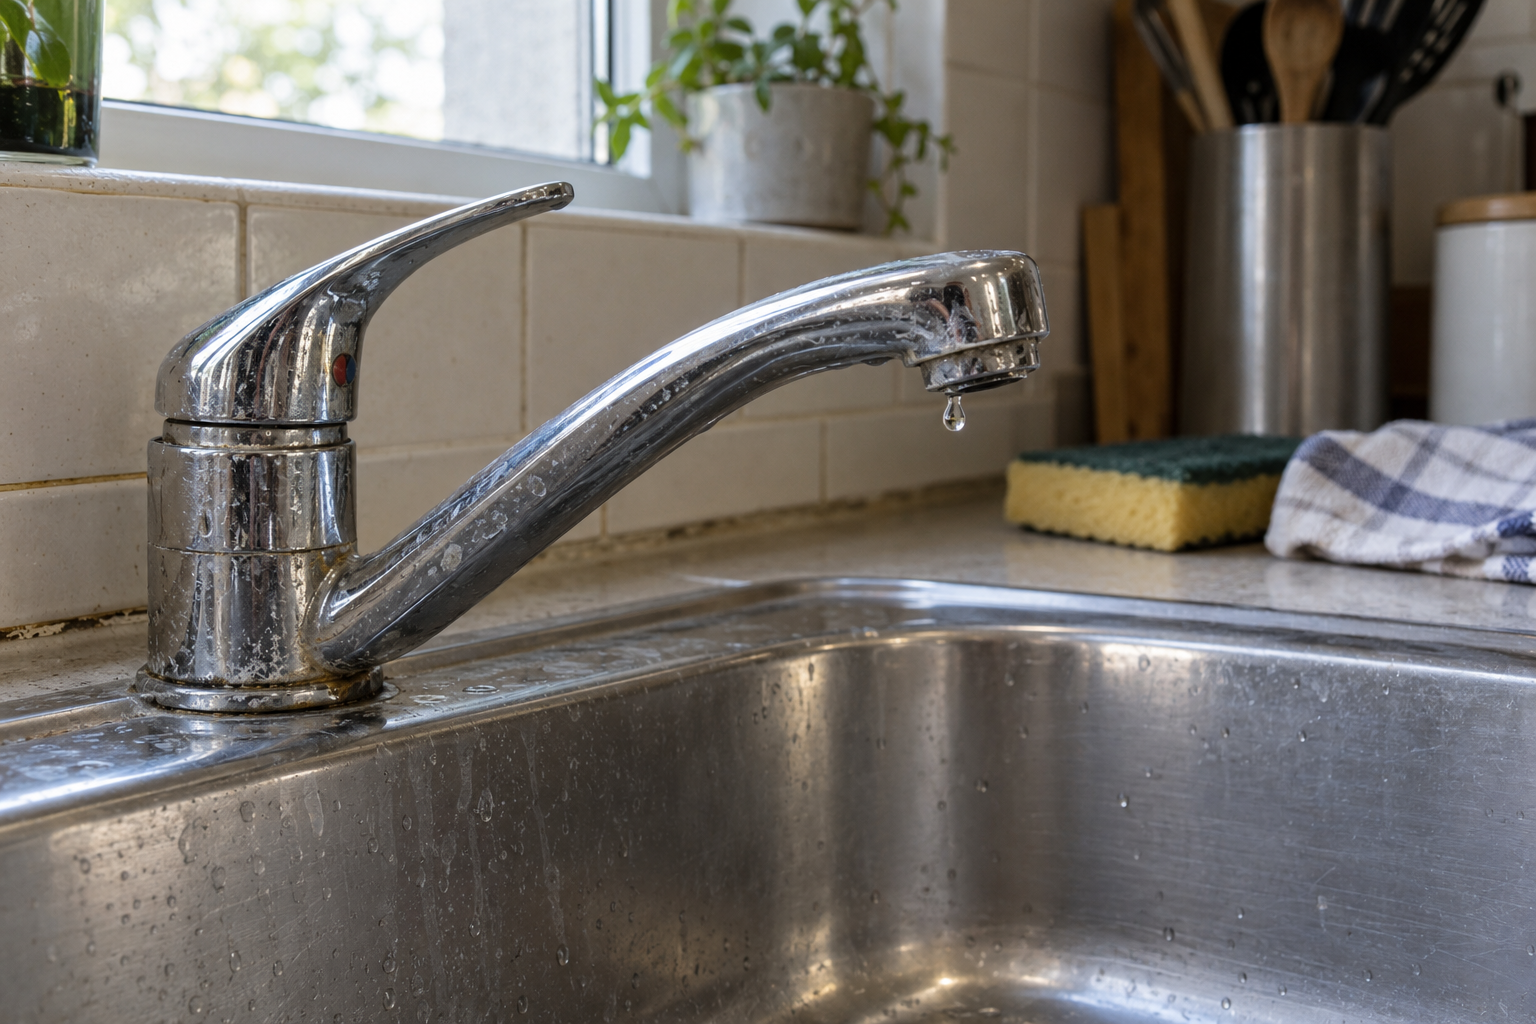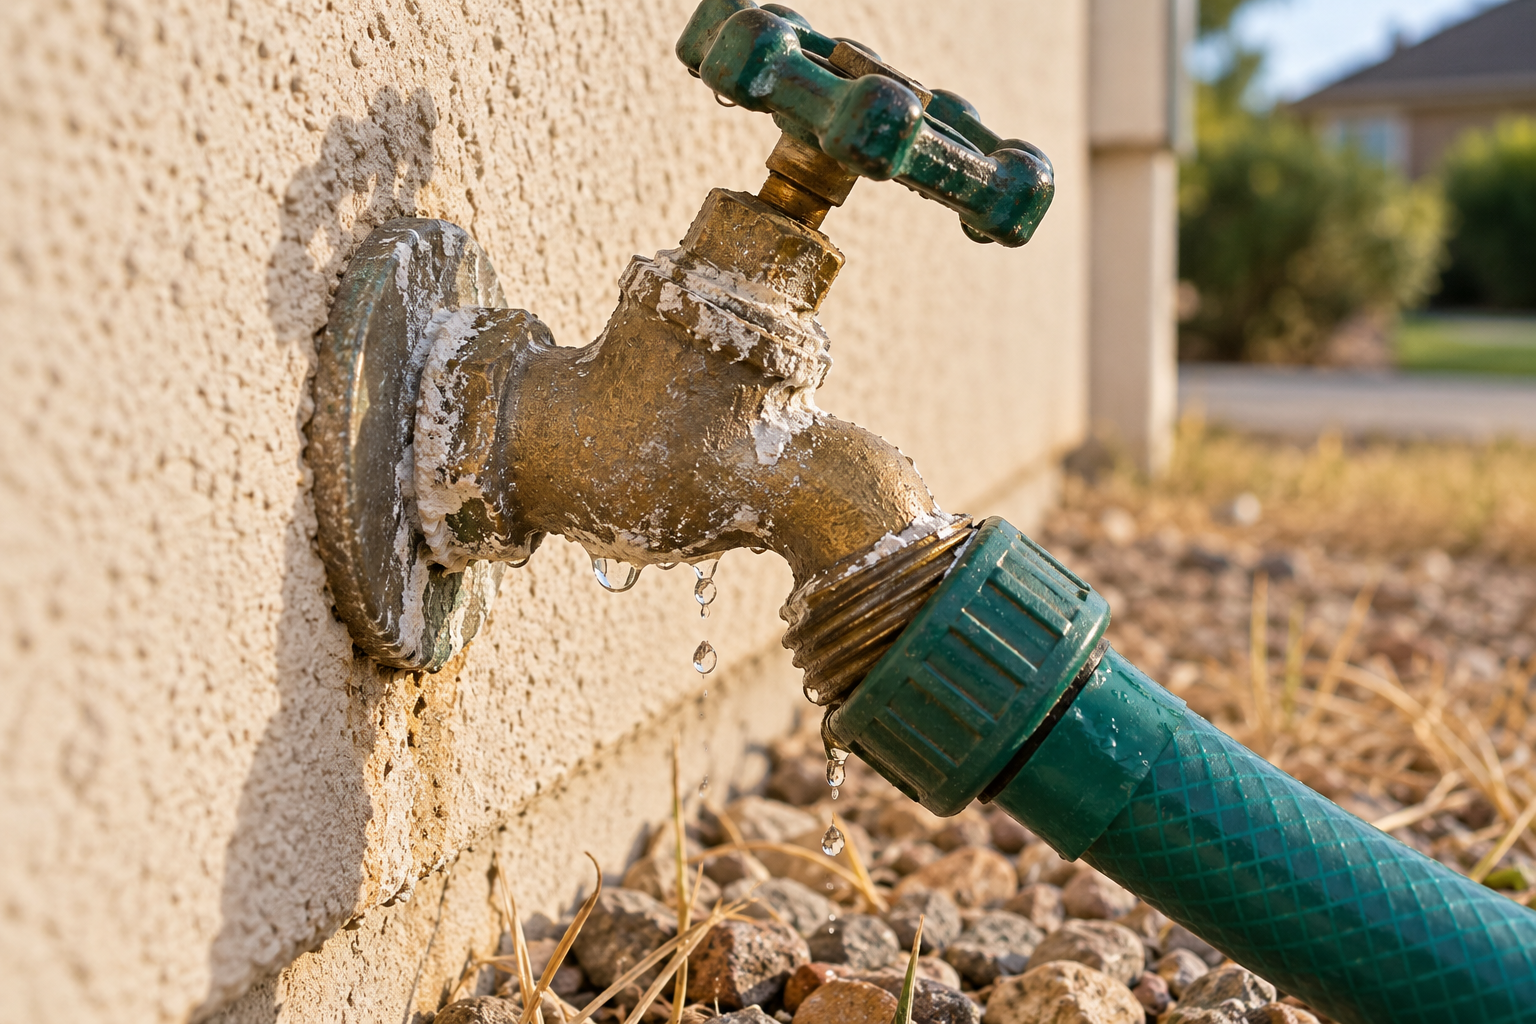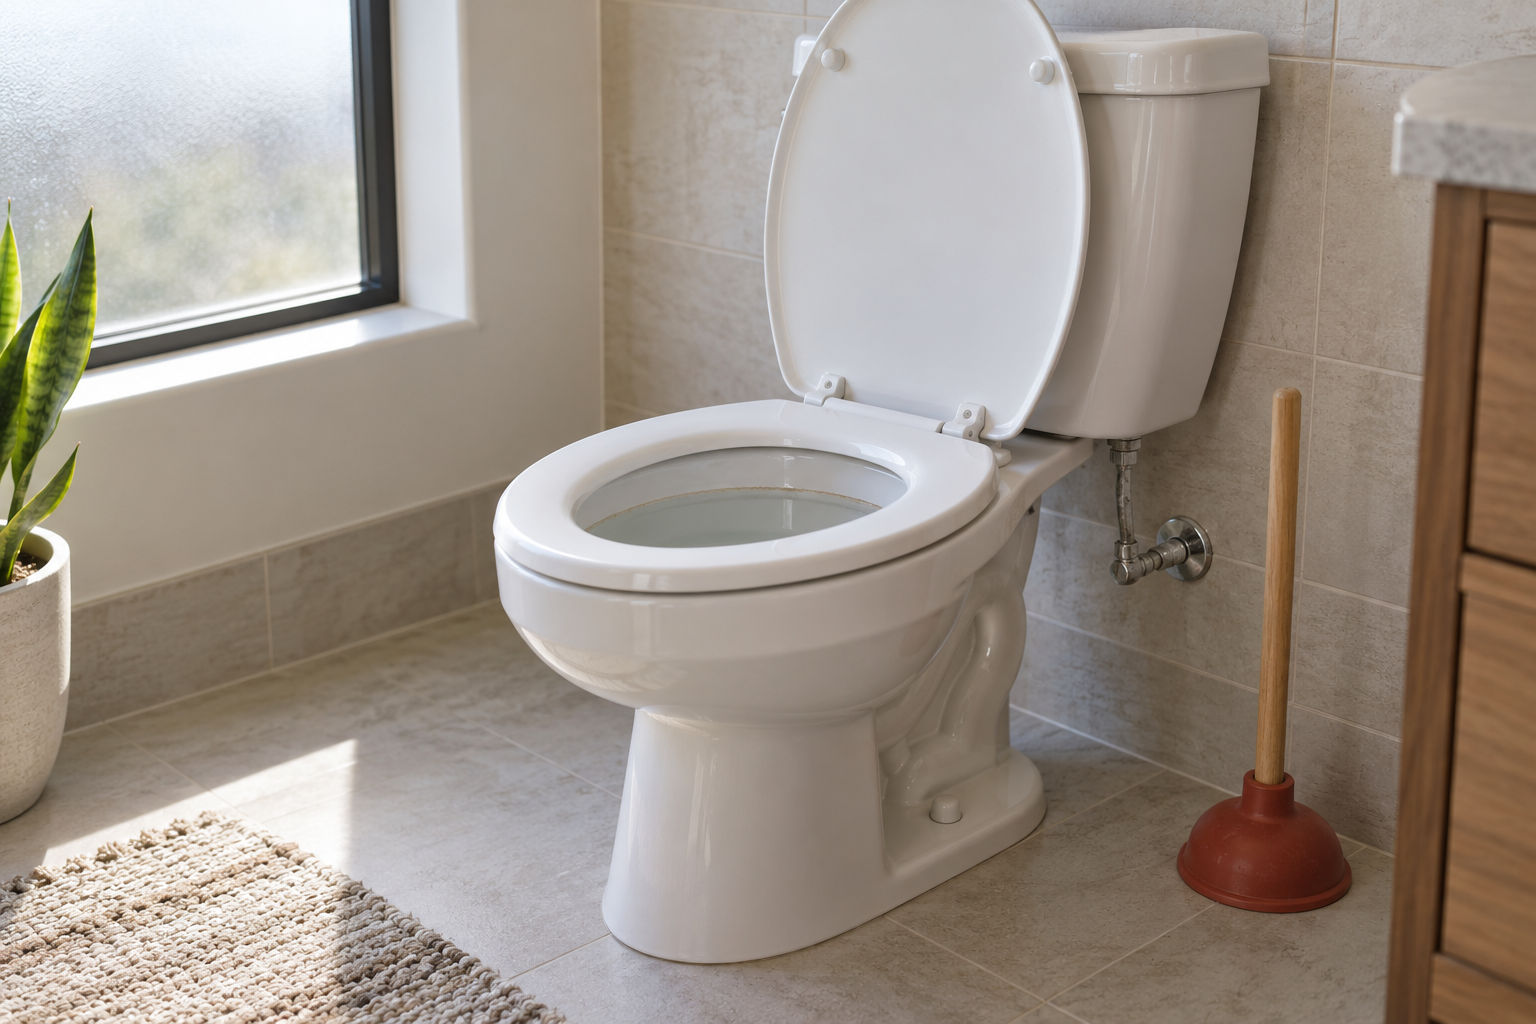
> San Antonio Local Insight: Fixture and toilet leaks in San Antonio happen faster because hard water minerals (21 gpg from Edwards Aquifer) grind down valve seats, corrode cartridges, and prevent proper sealing. Rubber tank seals and metal hardware can deteriorate early when mineral deposits remain wet around the joint.
Local San Antonio Field Notes Before You Start
Before following any generic plumbing checklist, adjust it for our Edwards Aquifer water. At roughly 357 mg/L, or 21 grains per gallon, the calcium carbonate and magnesium in the water can turn a small maintenance issue into repeat wear on valves, seals, drains, heaters, and appliance connections. That means small rubber seals, cartridges, fill valves, and supply stops deserve extra attention because mineral grit wears those parts faster here.
A homeowner in Medical Center area should be especially careful because 1970s and 1980s builds often have aging valves, supply lines, and remodel-era plumbing mixes. If you are comparing advice from national repair guides, shorten the maintenance interval and inspect for white scale, crusted fittings, stiff shutoff valves, and early corrosion before assuming the part simply “got old.”
For budgeting, use local pricing instead of national averages: fixture labor commonly runs $150-$300 for simple faucet or supply work, while toilet replacement often lands around $300-$800 including the unit. If the issue appears after a summer high-use period or after a rare freeze like Winter Storm Uri, treat it as a local risk signal and document what you see before calling a licensed plumber in Bexar County.
Quick answer: stop the water and confirm the source
A toilet leaking from tank bolts most often has deteriorated rubber bolt washers, loose hardware, corrosion, or movement between the tank and bowl. Close the toilet's shutoff valve, flush to lower the tank level, and sponge out remaining water before loosening anything. Do not keep tightening a dripping bolt: uneven or excessive force can crack porcelain, turning a small seal repair into a full toilet replacement.
First confirm that the bolts are truly the source. Condensation, a leaking supply connection, water escaping around the flush-valve gasket, and splashes from the tank lid can all travel to the same low point. Dry the tank and bowl completely, then place tissue around each bolt and the large center tank-to-bowl gasket. Refill and flush while observing. The first tissue to darken identifies the likely path.
Why tank bolts begin to leak
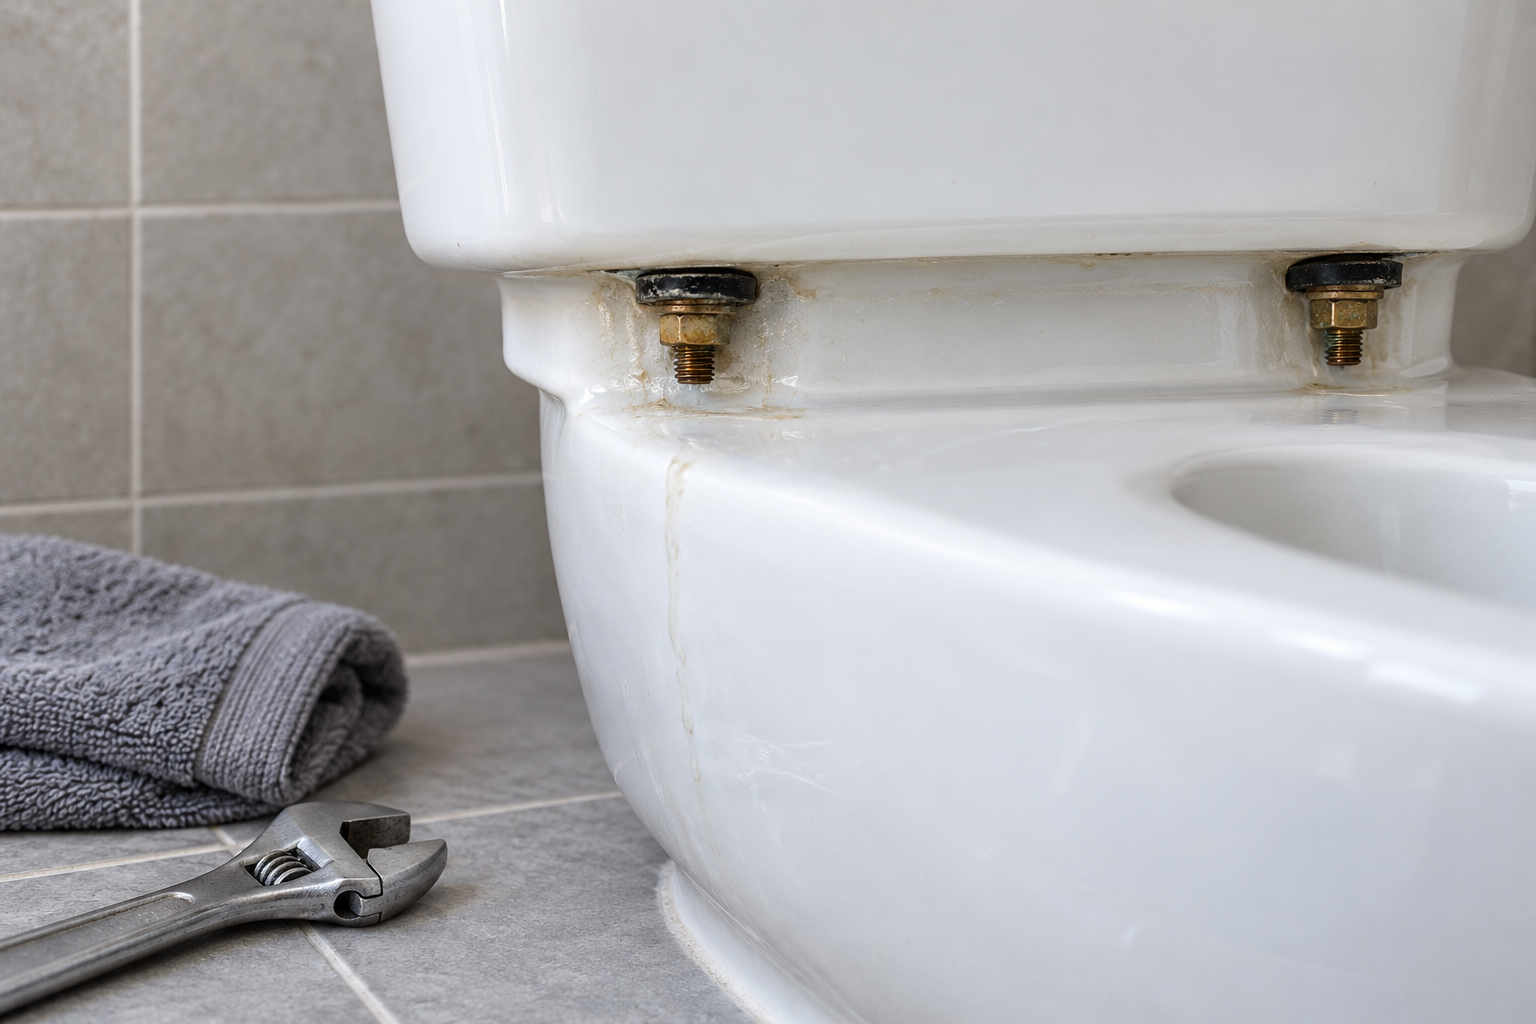
Tank bolts pass through holes in the porcelain and rely on rubber washers to keep water inside. Rubber eventually hardens, compresses, cracks, or shifts. Metal hardware can corrode, especially in a damp bathroom or where incompatible metals remain wet. A tank that rocks because its supports are incorrect can work the seals loose over time. Recent leakage after service may indicate washers installed in the wrong order or uneven tightening.
A larger center gasket seals the flush valve outlet between tank and bowl. When it fails, water can appear near both bolts during a flush, making the bolts look guilty. A hairline porcelain crack is less common but more serious. Use bright side lighting to inspect around every hole; stains or mineral tracks show where water has repeatedly traveled.
Safety and sanitation boundaries
Tank water is normally clean supply water, but bathroom floors are not sanitary work surfaces. Wear eye protection when dealing with corroded hardware, use gloves, and disinfect the area after cleanup. Keep tools from contacting receptacles or powered bidet seats. If water has reached electrical equipment, switch off the circuit from a dry location and do not use the fixture until it is safe.
A bolt leak is different from wastewater escaping at the toilet base. Odor, sewage, or water appearing from beneath the bowl calls for stopping use and evaluating the wax seal or drain. Do not rock or remove a toilet casually. Shut off the main supply if the fixture stop does not hold, and call a plumber if the valve begins leaking or the porcelain is cracked.
How to diagnose the exact leak
Remove the tank lid with both hands and set it flat on a padded surface. Dry the exterior, bolts, supply connection, and underside of the tank. Add a few drops of food coloring to tank water only if needed, wait without flushing, and check whether colored water emerges at a bolt. Then flush and watch the center connection. Color appearing only during a flush suggests the flush-valve area rather than a submerged bolt seal.
Check that the tank is stable without leaning or pressing hard. Look for rust, missing washers, distorted rubber, and porcelain contact where a support should exist. Never use the tank as a handhold. If a best bidet attachment for toilet or other accessory was recently installed, inspect its supply tee separately; water may be tracking along the hose.

Tools, parts, and correct washer order
Gather towels, a bucket, sponge, adjustable wrench, screwdriver suited to the bolt heads, penetrating oil for external rusty threads, a small hacksaw only if safe access permits, and a toilet-specific tank bolt kit that matches the fixture. A toilet tank bolt replacement kit commonly includes brass bolts, rubber washers, metal washers, and nuts. Confirm compatibility rather than assuming every kit fits.
Inside the tank, the rubber washer generally seals beneath the bolt head against porcelain; hardware below secures the assembly. Exact arrangements vary, particularly on three-bolt or proprietary toilets, so follow manufacturer instructions. Metal should not grind directly against porcelain. Plumbing tape is not a substitute for a rubber washer, as explained in does plumbing tape stop leaks. Avoid caulk as a shortcut because it hides the failed joint and complicates future repair.
A careful tank-bolt replacement process
Close the valve, flush, hold the lever to drain, and sponge the tank dry. Disconnect the supply at the tank only if necessary, supporting the fill-valve shank so it cannot twist. Loosen each bolt gradually. If corroded hardware spins, hold the head with the proper screwdriver while turning the nut below. Protect porcelain and stop if cutting access is cramped or sparks could reach flammable material.
With a helper if the tank is awkward, lift it straight up and place it on padding. Replace both bolt seals as a set and inspect the center gasket while accessible. Clean mating surfaces without abrasive scratching. Reassemble in the specified order, finger-tighten, then alternate small turns from side to side. Keep the tank level and supported; do not pull it down by force. Reconnect, fill slowly, and test several flushes with dry tissue beneath every joint.

Mistakes that crack tanks or preserve leaks
The most dangerous mistake is tightening one side fully before the other. Porcelain tolerates compression poorly when loads are concentrated. Another mistake is stacking old and new washers, reusing deeply corroded bolts, or installing a metal washer inside where rubber should seal. Generic fasteners may rust or have heads that do not seat properly. Do not use an impact driver; hand tools provide the necessary feedback.
Also avoid diagnosing by puddle location alone. Water follows curves and bolt threads. Check the supply tube, fill-valve shank, tank-to-bowl gasket, and condensation. If leakage persists after correctly replacing matched seals, drain the toilet again rather than tightening harder. A damaged sealing surface, wrong kit, cracked tank, or flush-valve leak requires a different solution.
When to call a licensed plumber
Professional help is prudent when bolts are fused by corrosion, the shutoff will not close, the tank or bowl has a crack, the toilet rocks, or water has damaged the subfloor or ceiling below. Call promptly if the leak is substantial or the only available toilet cannot remain off. A plumber can remove seized hardware with less risk, identify proprietary parts, and determine whether replacement is safer than repair.
Stop using the fixture if water or odor emerges at the base, because that can indicate a drain-side problem rather than clean tank water. Active flooding, sewage backup, electrical exposure, or hidden structural damage is urgent. A broader plumbing leak may require the diagnostic approach used for pipe leak repair, not another set of toilet washers.
Cost, time, and repair-versus-replacement
For a compatible toilet in good condition, a bolt kit is usually an inexpensive part and a careful DIY repair may take an hour or two, including draining, cleaning, and testing. Corroded hardware can make the job much longer. Professional tank-to-bowl repair commonly runs about $175–$350 here, depending on access, toilet design, and whether the center gasket, shutoff, supply line, or complete fixture must also be replaced. Obtain a clear scope rather than trusting a one-price estimate online.
Repair is sensible when porcelain is intact and parts fit correctly. Replacement is safer when there is a confirmed crack, severe corrosion, repeated movement, unavailable proprietary hardware, or several failing components on an aging fixture. Include disposal, floor condition, flange stability, and water shutoff work when comparing totals.
Prevention and follow-up checks
Do not lean on the tank or use it as support. Check for rocking and correct it according to the fixture instructions rather than using bolt tension alone. Inspect the supply connection, shutoff, floor, and bolt ends periodically. In humid rooms, improve ventilation so condensation is not mistaken for leakage and metal hardware stays drier. Avoid drop-in tank chemicals that may damage rubber components unless the toilet manufacturer approves them.
After replacement, check while the tank fills, during several flushes, after an hour, and the following day. Slide a clean tissue beneath each joint. If it remains dry, record the kit or toilet model for future maintenance. If moisture returns, turn off the water and investigate the actual path; repeated tightening is not preventive maintenance.
FAQ
What causes a toilet to leak at the tank bolts?
Aged rubber washers, corrosion, incorrect assembly, tank movement, or a nearby center-gasket leak are common causes. Cracked porcelain is less common but requires immediate attention.
Can I fix tank bolts myself?
Often, provided the shutoff works, hardware is accessible, and the tank is not cracked. Work evenly with hand tools and use compatible parts.
How urgent is the leak?
Any active leak should be shut off. A small drip can still damage flooring; rapid flow, electrical exposure, or water below the room is urgent.
Should I tighten the bolts first?
Only a very small, even correction may help loose hardware. Never keep tightening to overcome failed rubber, and stop at resistance.
What should I avoid?
Avoid impact tools, caulk shortcuts, mismatched hardware, metal against porcelain, and using the tank while it leaks.
Why This Is Different in San Antonio
San Antonio's Edwards Aquifer supplies some of the hardest municipal water in the United States: about 357 mg/L, or 21 grains per gallon. That limestone-filtered groundwater carries calcium carbonate and magnesium into our fixtures, valves, drains, heaters, and supply lines. For toilet leaking from tank bolts, that matters because mineral deposits grind down seals, cartridges, fill valves, supply stops, spray arms, and small water passages faster than many generic guides assume.
- Scale buildup makes small restrictions worse, especially at cartridges, aerators, shutoff valves, drains, and heater connections.
- Fixtures, pipes, and appliances in our area can wear out 30-50% faster than in soft-water cities when maintenance is delayed.
- SAWS publishes annual water quality reports, but the practical homeowner takeaway is simple: maintenance intervals here should be shorter than national advice suggests.
Homes in Medical Center area are particularly affected because 1970s-80s builds can have aging supply lines and occasional polybutylene concerns. Unlike cities with naturally soft water, local homeowners should treat hard-water maintenance as normal prevention, not an upsell.
> "In my 20 years working in San Antonio, I would say most surprise plumbing failures I see start with homeowners following soft-water maintenance advice in a hard-water city." — Licensed local plumber
What San Antonio Homeowners Pay (2026)
| Service | Typical Cost in San Antonio |
|---|---|
| Toilet replacement (labor + unit) | $300–$800 |
| Drain cleaning | $150–$350 |
| Plumber hourly rate | $85–$150/hr |
Prices are based on local metro area ranges for 2026. Costs may vary by neighborhood, access, pipe material, after-hours timing, and whether the plumber finds hard-water damage beyond the visible problem.
When to Call a San Antonio Plumber
Call a licensed local plumber if the problem involves active leaking, a shutoff valve that will not close, sewer smell, recurring clogs, water near electrical components, a water heater leak, or any pipe inside a wall, ceiling, or slab. Locally, expect many licensed plumbers to charge roughly $85-$150 per hour, with emergency visits commonly around $150-$350 and after-hours calls closer to $250-$500.
When you call, ask three local questions:
1. Are you licensed and insured for work in Bexar County or the surrounding local metro?
2. Have you dealt with Edwards Aquifer hard-water scale on this type of repair?
3. Should I also check the water heater, shutoff valves, or water softener while you are there?
Toilet-repair technicians here regularly find mineral-crusted bolts, brittle washers, and seized fixture stops, so a good pro should be able to explain whether the failure is normal wear, mineral damage, freeze damage from a cold snap like Winter Storm Uri, or a sign of a larger plumbing system problem.
San Antonio FAQ
Is local water hard?
Yes. San Antonio water is very hard at about 357 mg/L, or 21 grains per gallon, because much of it comes from the Edwards Aquifer and passes through limestone. That mineral content is why scale shows up quickly on faucets, showerheads, valves, drains, and water heaters.
Do local homes need a water softener?
A water softener is recommended for many local homes, especially if you see white scale, repeated faucet or valve problems, short water-heater life, or cloudy spots on dishes. A typical whole-home water softener installation in San Antonio runs about $1,500-$4,000.