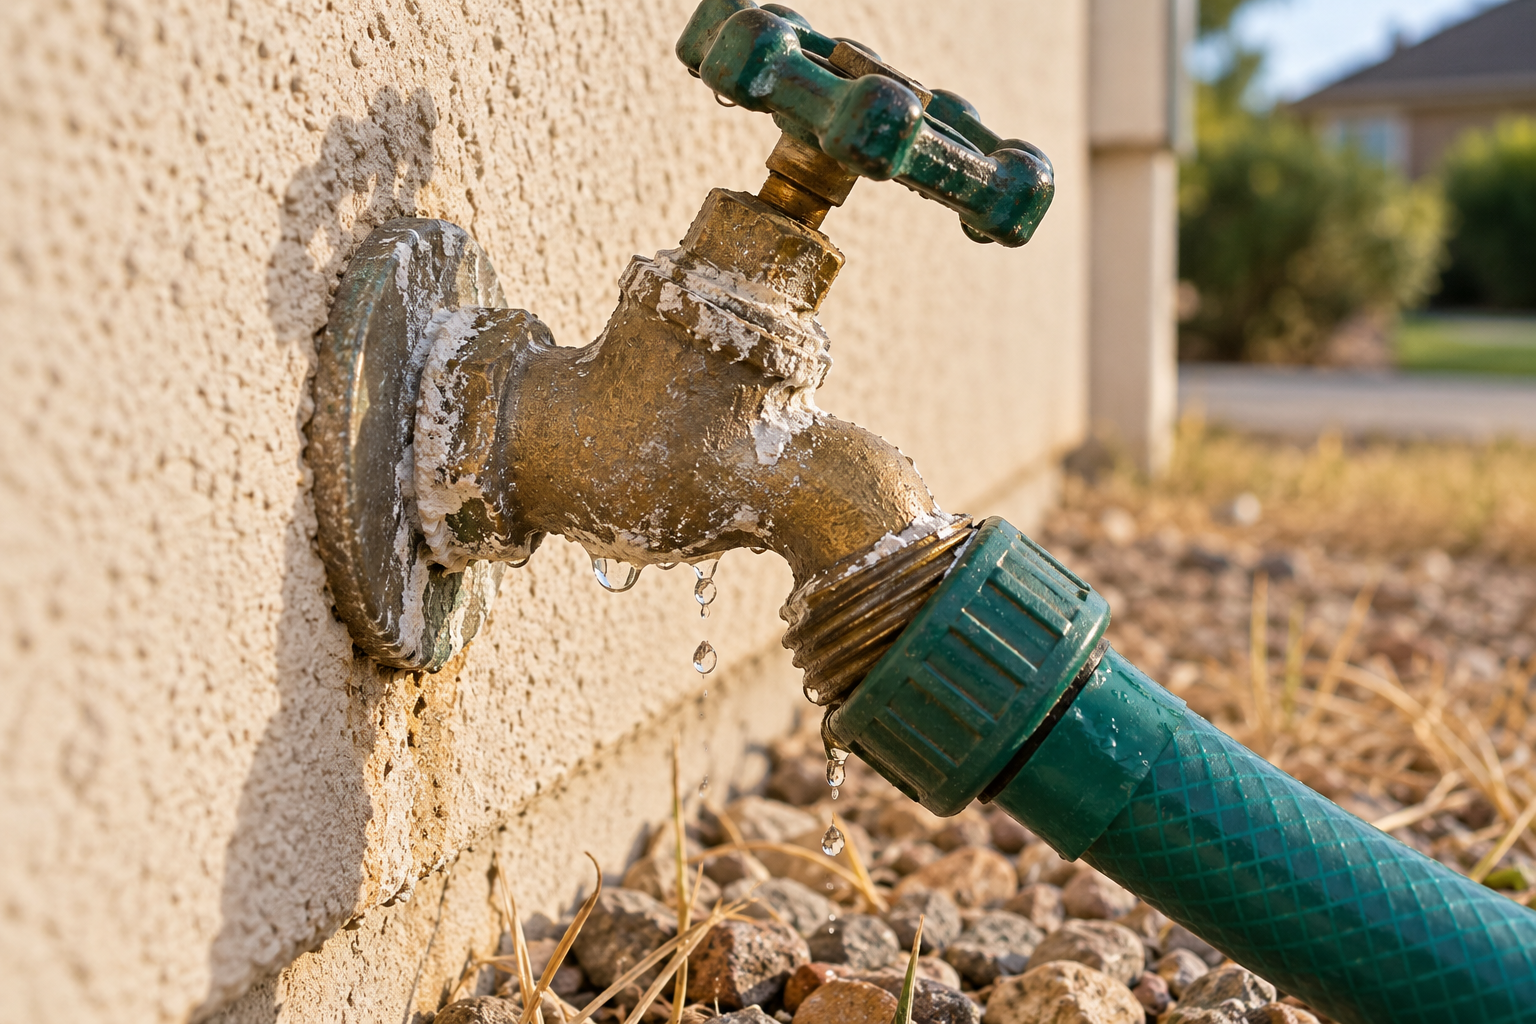
> San Antonio Local Insight: Hard water mineral deposits (21 gpg from Edwards Aquifer) affect toilet components, garbage disposals, and fixtures throughout local homes. Scale buildup causes premature wear, reduces performance, and creates problems that soft-water cities rarely see. Regular descaling maintenance is essential for San Antonio plumbing.
Begin at the Shutoff, Then Work Into the Tank
A tank that will not refill usually has a closed or restricted stop valve, a kinked connector, a stuck float, debris in the fill valve, or low supply pressure. Start with visible checks and keep the bowl usable with a manual bucket flush only if the drain is clear and there is no leak. In Alamo Heights, older mixed-metal piping and crusted stops deserve a gentler approach than a newer quarter-turn valve.
San Antonio water from the Edwards Aquifer is about 357 mg/L, or 21 gpg. Mineral grit can restrict a fill-valve inlet and make a shutoff feel frozen. Do not force the handle with pliers: a broken valve can turn a $20–$45 tank repair into an urgent whole-house shutdown.
A DIY fill valve and connector generally cost $25–$70. Local service for a simple internal repair often runs $150–$325, while replacing a failed stop or correcting a supply problem may total $250–$600. If several fixtures lose pressure at once, check SAWS service information and the house main before dismantling the toilet; a single-fixture symptom points back toward the branch or tank hardware.
Understand what should happen after a flush
Pressing the handle lifts the flapper or flush seal, allowing tank water to enter the bowl. As the tank level drops, the float descends and opens the fill valve. The valve then sends most water into the tank while a small refill stream travels through a flexible tube into the overflow tube to restore the bowl’s standing water. When the float reaches the set level, the fill valve closes.
That sequence helps narrow the fault. A tank that remains empty points toward the supply or fill-valve inlet. A tank that gains only an inch of water may have a float binding against the wall. A tank that fills normally while the bowl remains low may have a misplaced refill tube or a separate drain or vent issue. Diagnose the exact symptom rather than replacing every tank component.
Quick-reference troubleshooting table
| Symptom | Likely cause | First safe check |
|---|---|---|
| No sound and no incoming water | Closed valve or blocked supply | Verify shutoff is open and other fixtures have water |
| Hiss but very slow refill | Debris or worn fill valve | Inspect supply flow and valve inlet |
| Water starts only when float is touched | Sticking or misadjusted float | Check clearance and adjustment |
| Tank stops below marked line | Float set too low | Adjust per valve instructions |
| Tank fills but bowl level stays low | Refill tube displaced | Clip tube above overflow opening |
| Toilet runs instead of filling fully | Flapper leak or overflow setting | Test flush seal and water level |
Do not assume low pressure throughout the house from one toilet. Compare a nearby cold-water faucet. If several fixtures suddenly have weak or no flow, check the main supply situation and contact the water utility or a plumber as appropriate. A localized problem is more likely in the toilet shutoff, connector, or fill valve.
Check the shutoff valve and supply line first
The toilet shutoff is usually on the wall or floor behind the bowl. Turn a conventional multi-turn handle counterclockwise gently until open; a quarter-turn lever is typically open when aligned with the pipe. Do not use pliers on a stuck handle. Old valves can break or begin leaking at the stem when disturbed. If corrosion, dampness, or mineral buildup is visible, place a towel below and stop if movement causes a drip.
Inspect the connector for kinks, crushing, corrosion, or bulging. Confirm that it is not trapped against the wall. If the home has water but the toilet does not, close the shutoff and verify it actually stops flow before disconnecting anything. A valve that will not close needs repair upstream; do not rely on quickly swapping parts while water remains pressurized.
Inspect the float for sticking or poor adjustment
Modern fill valves commonly use a cup-shaped float that slides on the valve shaft; older toilets may have a ball float on a metal arm. The float must move freely. It can rub the tank wall, snag the refill tube, or stick because of mineral deposits. With the supply on and the tank empty, lift and lower it gently. If water responds immediately, binding or adjustment is likely.
Set the shutoff height according to the toilet and fill-valve instructions. The final tank level is generally near the manufacturer’s mark and below the top of the overflow tube. Do not bend plastic components or set water so high that it continuously spills into the overflow. A low setting produces a weak flush; a high setting wastes water and can make the toilet run without solving the underlying problem.
Examine the refill tube and overflow tube
The narrow refill tube from the fill valve should be secured by its clip so its outlet sits above the overflow-tube opening. If it has fallen out, the tank can fill while the bowl receives too little refill water. If it is shoved deeply down the overflow pipe, it may create a siphon that causes ongoing water use. Restore it to the arrangement specified by the valve manufacturer.
A cracked overflow tube or damaged flush-valve assembly can also prevent the tank from holding its intended volume. Add a few drops of food coloring to a full tank only if the toilet is otherwise stable, wait without flushing, and check whether colored water enters the bowl. If it does, the flapper or flush seal is leaking. A constantly leaking seal may make the fill problem look like a weak valve because incoming water immediately escapes.
Test for a restricted supply without creating a leak
If the visible controls look normal, debris may be trapped in the connector, shutoff, or fill-valve inlet. Sediment often appears after water service, plumbing repairs, or aging pipes are disturbed. Turn off the shutoff, flush, sponge out remaining tank water, and place a shallow container and towels under the connection. Disconnect only if the valve closes completely and the connector is in sound condition.
Direct the supply connector into a bucket, hold it securely, and briefly crack the shutoff open. Strong flow points toward the fill valve; weak flow points toward the connector or shutoff. This test can release water quickly, so skip it if access is awkward, the valve is corroded, or you cannot control the container. Never leave the line unattended or direct it near electrical equipment.
Clean or replace the fill valve
Some fill valves have a serviceable top cap and seal that can be flushed; procedures differ significantly. Close the water, relieve pressure, and follow the exact manufacturer’s directions. Keep a hand or inverted cup over the opened valve when briefly flushing debris so water cannot spray across the bathroom. Do not dismantle an unfamiliar pressurized fitting based on a generic video.
Replacement is often more reliable when a valve is old, cracked, noisy, or repeatedly sticks. After shutting off and draining the tank, disconnect the connector, remove the retaining nut beneath the tank, and lift out the valve. Install a compatible replacement with its rubber washer inside the tank, set the correct height, and tighten by hand plus only the manufacturer-approved amount. Plastic threads and porcelain can be damaged by excessive force.
Replace a questionable connector at the same time
A flexible braided connector is inexpensive compared with water damage. Replace it if it is kinked, rusted, frayed, bulging, too short, or fitted with questionable adapters. Choose a connector with the correct toilet and shutoff ends and enough length for a relaxed curve. Do not join two connectors or stretch one tightly into place.
Start threaded connections by hand to avoid cross-threading. Compression and gasketed fittings generally do not need thread-seal tape unless their instructions explicitly say so. Support the shutoff body while tightening so plumbing inside the wall is not twisted. Reopen the valve slowly, wipe every joint dry, and inspect with tissue during filling and again after several flushes.
Mistakes to avoid
Do not keep jiggling the handle as a permanent solution. The handle and chain operate the flush side, while refill faults are usually elsewhere. Avoid dropping cleaning tablets into the tank; some products degrade rubber seals and can obstruct moving components. Never defeat the float so the valve remains continuously open, and do not cap or reroute the refill tube without understanding its purpose.
Do not force a frozen shutoff valve, overtighten a leaking packing nut, or leave a bucket under a drip as a long-term plan. If water reaches a receptacle, extension cord, heated bidet connection, or floor below, stop and address the electrical and water risks. Shut off the appropriate circuit only if you can do so safely and call qualified help.
When the problem is outside the toilet
If other cold-water fixtures are also weak, investigate a partially closed main valve, pressure-reducing-valve fault, frozen piping, utility interruption, or broader plumbing problem. In freezing conditions, do not use open flame or uncontrolled high heat on pipes. A suspected frozen or burst line warrants prompt professional attention and, if leakage begins, closure of the main water supply.
Very low household pressure can prevent some fill valves from performing correctly, but replacing the toilet valve will not correct the supply system. Likewise, rusty sediment returning after repeated cleaning may indicate deteriorating piping or water-heater debris migrating through mixed plumbing work. A plumber can measure pressure and isolate restrictions rather than guessing from refill time alone.
When to call a plumber
Call when the toilet shutoff will not close, the valve or pipe leaks inside the wall, the supply is corroded, the tank or porcelain is cracked, or several fixtures have lost pressure. Professional help is also sensible when mounting access is tight, a bidet or electrical accessory complicates the setup, or you cannot identify compatible replacement parts.
After any repair, watch the entire refill cycle. Confirm that the valve closes, the water ends at the proper level, the bowl refills normally, and no joint remains damp. Recheck later with dry tissue. A successful repair restores both operation and a leak-free pressurized connection; quiet filling alone is not enough.
Frequently asked questions
Why is my toilet not filling up with water even though the sink works?
The fault is probably local to the toilet: a closed or clogged shutoff, kinked connector, stuck float, or blocked fill valve. Use the supply-to-valve diagnostic sequence rather than altering the home’s main plumbing.
Can I pour water into the tank to flush?
As a short emergency measure, clean water can be added to an undamaged tank and flushed normally, but only if there is no leak, blockage, or sanitation concern. It does not fix the refill fault and should not become routine.
How high should the tank water be?
Use the toilet manufacturer’s waterline mark or the fill-valve instructions. The level must remain below the overflow-tube top. Avoid relying on a universal measurement because tank designs differ.
Why does tapping the fill valve make it work?
The float or internal seal is probably sticking from wear or deposits. Cleaning may help if the model is serviceable, but recurring sticking usually supports replacing the valve.
Is a slow-filling toilet wasting water?
Slow filling alone changes refill time more than volume, but a leaking flapper or valve that never closes can waste substantial water. Confirm that flow stops completely and test for tank-to-bowl leakage.
Why This Is Different in San Antonio
San Antonio's Edwards Aquifer supplies some of the hardest municipal water in the United States: about 357 mg/L, or 21 grains per gallon. That limestone-filtered groundwater carries calcium carbonate and magnesium into our fixtures, valves, drains, heaters, and supply lines. For why is my toilet not filling up with water, that matters because mineral deposits grind down seals, cartridges, fill valves, supply stops, spray arms, and small water passages faster than many generic guides assume.
- Scale buildup makes small restrictions worse, especially at cartridges, aerators, shutoff valves, drains, and heater connections.
- Fixtures, pipes, and appliances in our area can wear out 30-50% faster than in soft-water cities when maintenance is delayed.
- SAWS publishes annual water quality reports, but the practical homeowner takeaway is simple: maintenance intervals here should be shorter than national advice suggests.
Homes in Alamo Heights are particularly affected because older 1920s-40s homes often still have galvanized or mixed-metal plumbing that reacts badly to mineral-heavy water. Unlike cities with naturally soft water, local homeowners should treat hard-water maintenance as normal prevention, not an upsell.
> "In my 20 years working in San Antonio, I would say most surprise plumbing failures I see start with homeowners following soft-water maintenance advice in a hard-water city." — Licensed local plumber
What San Antonio Homeowners Pay (2026)
| Service | Typical Cost in San Antonio |
|---|---|
| Toilet replacement (labor + unit) | $300–$800 |
| Drain cleaning | $150–$350 |
| Plumber hourly rate | $85–$150/hr |
Prices are based on local metro area ranges for 2026. Costs may vary by neighborhood, access, pipe material, after-hours timing, and whether the plumber finds hard-water damage beyond the visible problem.
When to Call a San Antonio Plumber
Call a licensed local plumber if the problem involves active leaking, a shutoff valve that will not close, sewer smell, recurring clogs, water near electrical components, a water heater leak, or any pipe inside a wall, ceiling, or slab. Locally, expect many licensed plumbers to charge roughly $85-$150 per hour, with emergency visits commonly around $150-$350 and after-hours calls closer to $250-$500.
When you call, ask three local questions:
1. Are you licensed and insured for work in Bexar County or the surrounding local metro?
2. Have you dealt with Edwards Aquifer hard-water scale on this type of repair?
3. Should I also check the water heater, shutoff valves, or water softener while you are there?
local plumbers see hard-water issues every week, so a good pro should be able to explain whether the failure is normal wear, mineral damage, freeze damage from a cold snap like Winter Storm Uri, or a sign of a larger plumbing system problem.
San Antonio FAQ
Is San Antonio water hard?
Yes. San Antonio water is very hard at about 357 mg/L, or 21 grains per gallon, because much of it comes from the Edwards Aquifer and passes through limestone. That mineral content is why scale shows up quickly on faucets, showerheads, valves, drains, and water heaters.
Do local homes need a water softener?
A water softener is recommended for many local homes, especially if you see white scale, repeated faucet or valve problems, short water-heater life, or cloudy spots on dishes. A typical whole-home water softener installation in San Antonio runs about $1,500-$4,000.