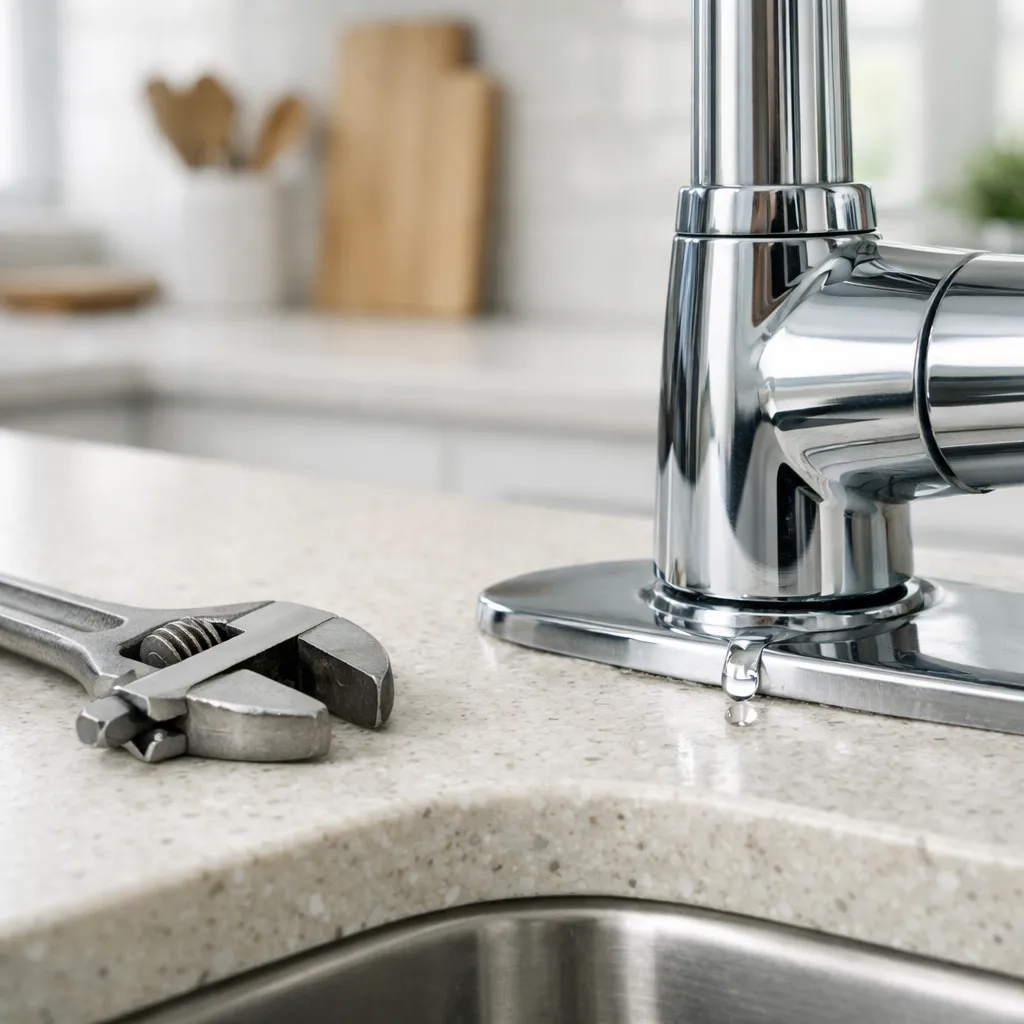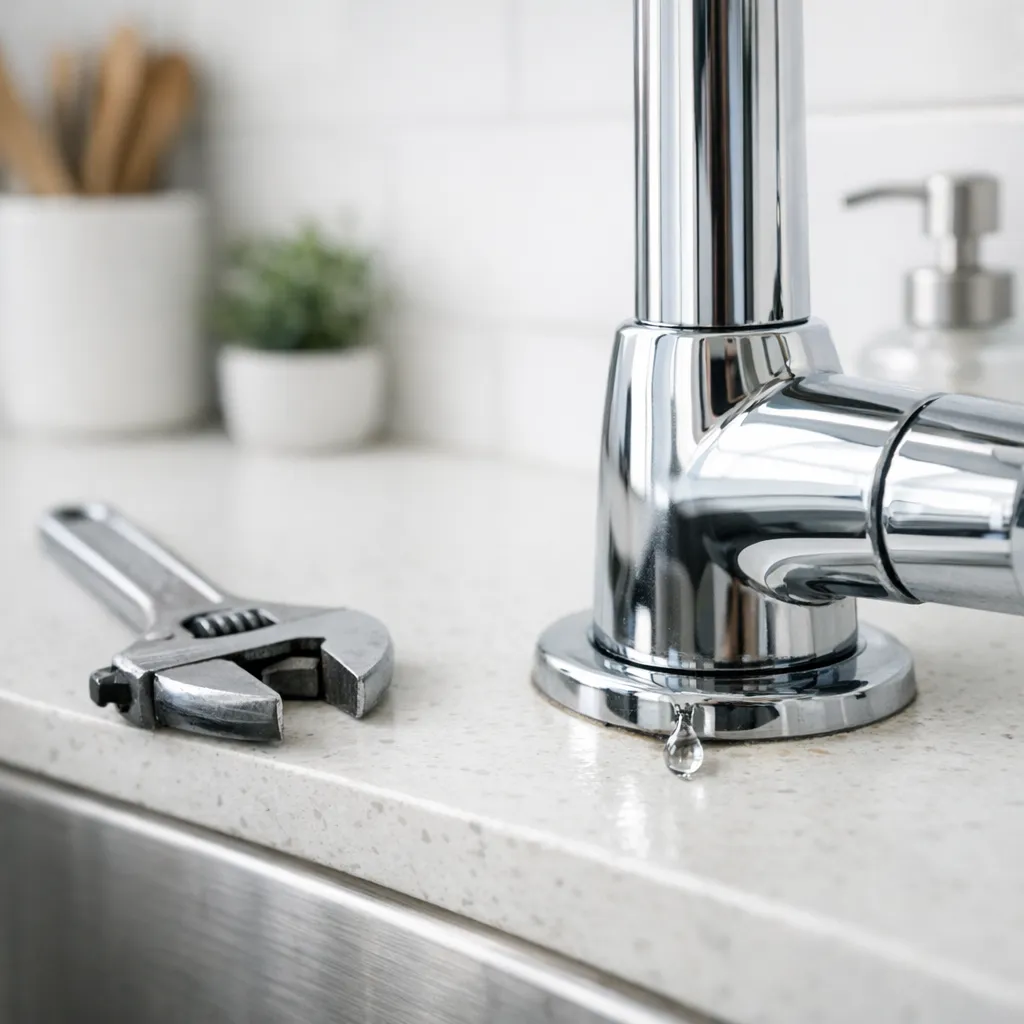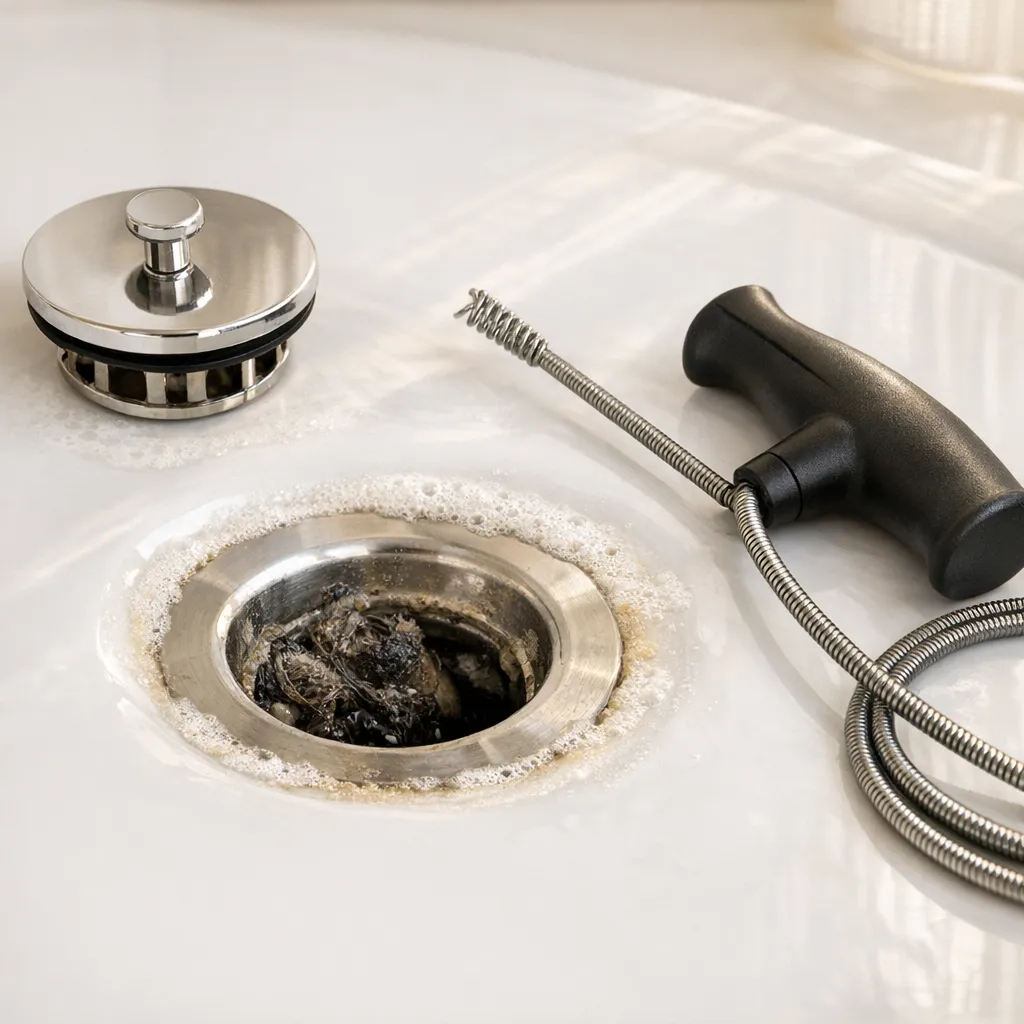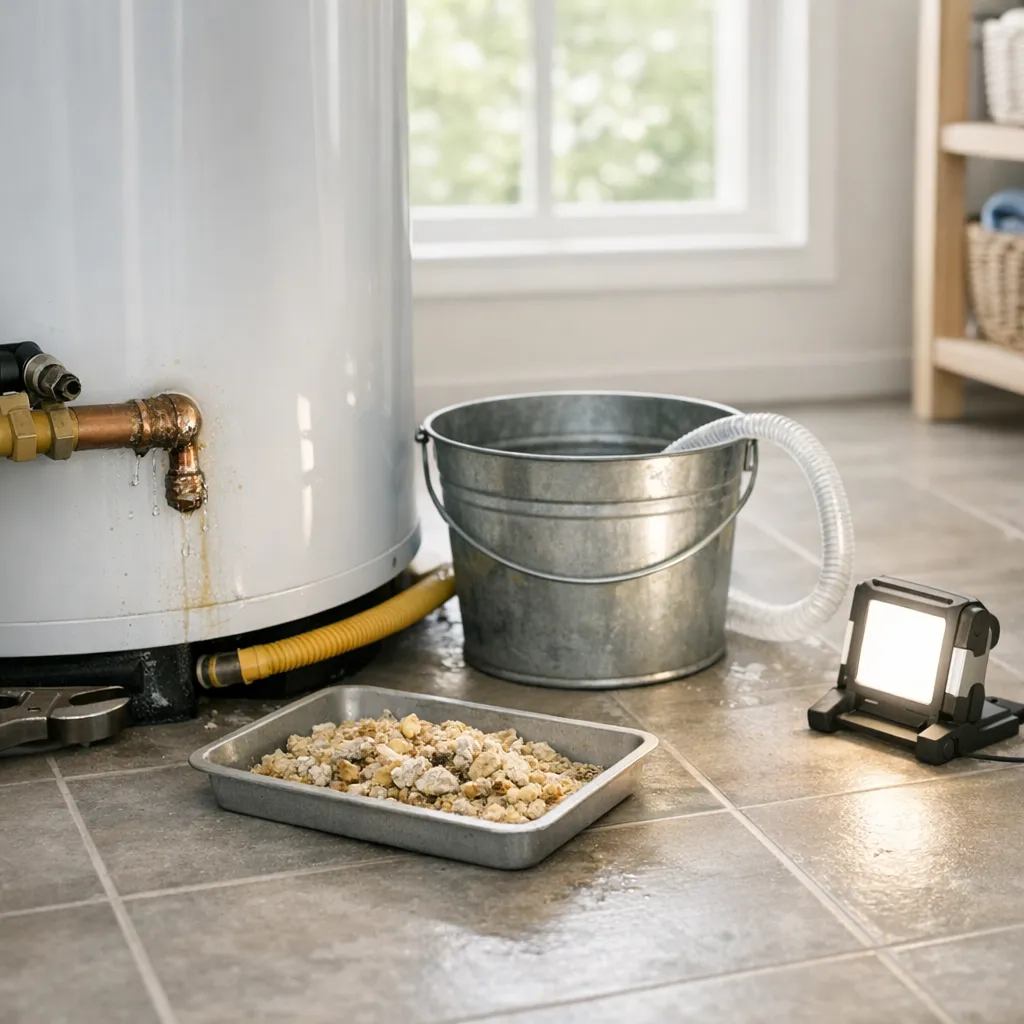
> San Antonio Local Insight: Fixture and faucet leaks in San Antonio happen faster because hard water minerals (21 gpg from Edwards Aquifer) grind down valve seats, corrode cartridges, and prevent proper sealing. A faucet that lasts 15 years in soft-water cities often starts leaking within 5–8 years in San Antonio without a water softener.
Treat the Drip as Evidence, Not the Whole Failure
Copper often leaks away from the spot where water finally appears. In a King William remodel, mixed pipe generations, tight chases, and old masonry can redirect water several feet; in newer Bexar County construction, a pinhole may still signal chemistry, velocity, or installation stress. Edwards Aquifer hardness of roughly 357 mg/L (21 gpg) creates visible scale, but scale alone does not prove why copper perforated. Dry the pipe, inspect upstream, and note whether the mark is a pinhole, split, rubbed area, or failed joint.
Shut off water and electricity to any wet circuit before opening a wall. A clamp is damage control, not a concealed permanent repair. San Antonio pricing often starts around $250–$700 for an accessible section repair; investigation and slab work can reach $2,000–$5,000. After Winter Storm Uri, a longitudinal split or repeated leaks justify checking the whole run rather than soldering one more patch. Ask whether pressure, recirculation velocity, dissimilar metals, or water treatment should be tested before closing the wall.
A homeowner in King William should be especially careful because historic cast iron, galvanized pipe, and tight retrofit spaces change what a safe repair looks like. If you are comparing advice from national repair guides, shorten the maintenance interval and inspect for white scale, crusted fittings, stiff shutoff valves, and early corrosion before assuming the part simply “got old.”
For budgeting, use local pricing instead of national averages: emergency plumber calls often run $150-$350, after-hours visits $250-$500, and slab leak repair can reach $2,000-$5,000. If the issue appears after a summer high-use period or after a rare freeze like Winter Storm Uri, treat it as a local risk signal and document what you see before calling a licensed plumber in Bexar County.
A leaking copper pipe needs two responses: stop the water and determine why the pipe failed. The immediate goal is damage control, not a permanent repair made under pressure. Shut off the nearest reliable valve or the home’s main water supply, open a lower faucet to relieve pressure, keep water away from electricity, and dry the area enough to identify the exact leak.
A clamp or epoxy product may temporarily control a small accessible pinhole, but a sound permanent copper pipe leak repair usually means removing the damaged section and installing compatible pipe and fittings. Soldered, press-connect, and approved push-to-connect repairs each have requirements and limitations. A hidden leak, repeated pinholes, severe corrosion, frozen or split pipe, or water near energized equipment warrants professional help.
Find the source instead of following the drip
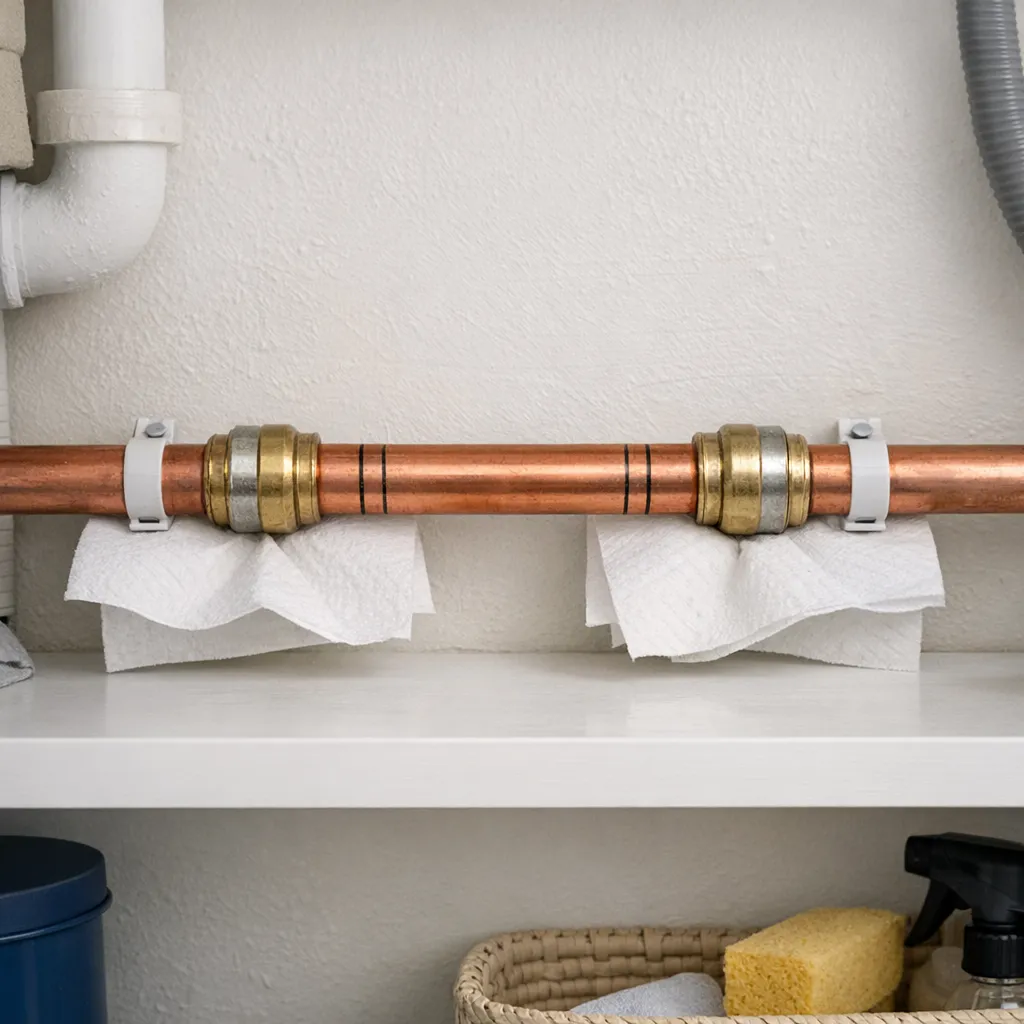
Water often travels along a pipe, joist, wire, or cabinet before it drips, so the wettest visible point is not always the failure. After shutting off the supply, dry the pipe and surrounding surfaces. Wrap individual joints with dry tissue or paper towel and watch which area becomes wet first when pressure is briefly restored. Use only a short, controlled test and have someone ready at the shutoff.
Look for a bright bead at a joint, a green-blue crust around a pinhole, a longitudinal split caused by freezing, or moisture entering from above. Condensation can mimic a leak on cold-water lines, especially in humid spaces, but condensation usually forms broadly rather than from one repeatable point. If water continues after the domestic supply is off, consider a drain leak, roof intrusion, appliance discharge, or water stored in the structure.
Shut down water and electrical hazards
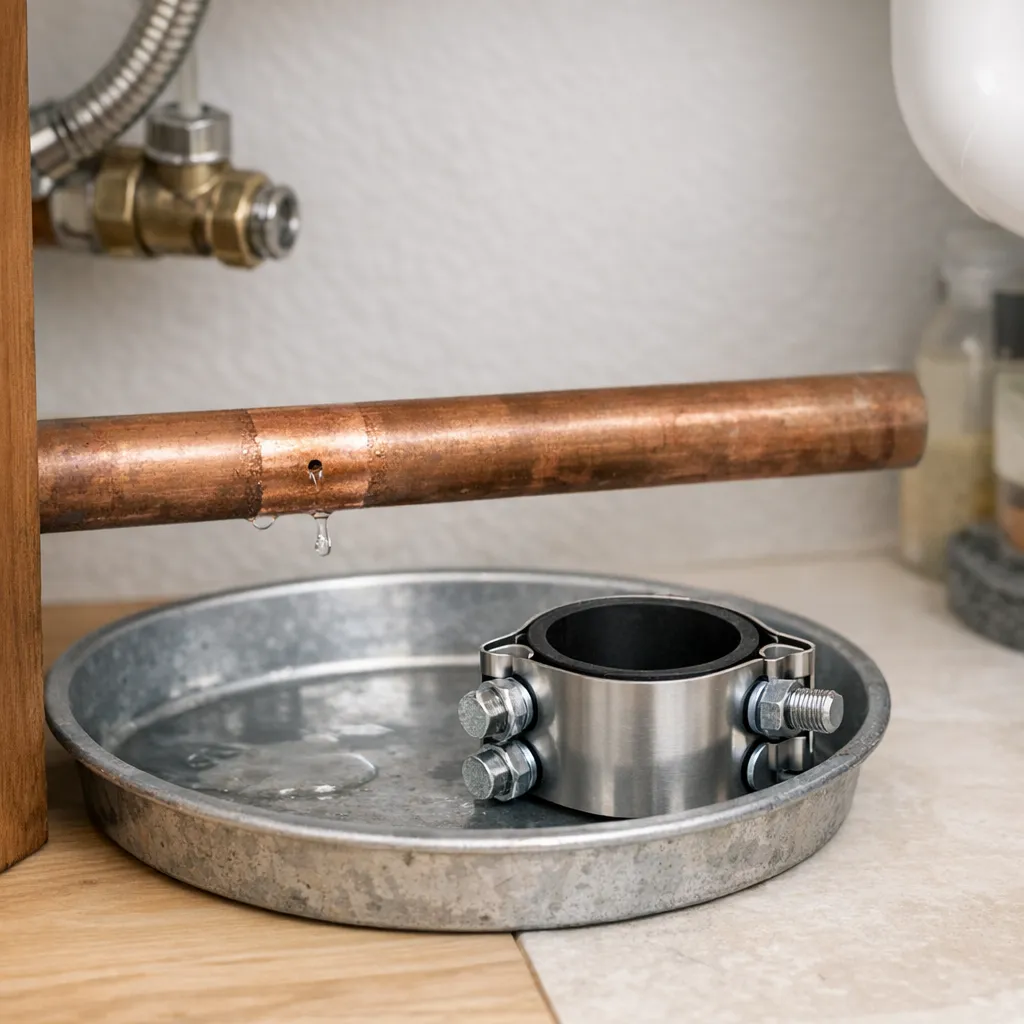
Know how to close the main shutoff before touching the pipe. Turn a conventional valve gently; forcing a seized valve can break it. Once the supply is off, open a faucet at a lower level and another nearby faucet to relieve pressure and admit air. Catch residual water in a pan. Closing the supply stops new water, but the line can still hold enough to soak insulation and ceilings.
If leaking water is near a service panel, receptacle, light fitting, furnace, boiler, pump, or appliance connection, do not enter standing water or handle wet electrical equipment. Disconnect the affected circuit at a dry, safely accessible panel only if you can do so without exposure; otherwise contact emergency electrical help. Also stop if the pipe is part of a fire-sprinkler system, hydronic heating loop, gas appliance assembly, or another system you cannot positively identify.
Understand why copper develops leaks
A single leak can result from a poor joint, accidental puncture, freezing, or external abrasion. A nail or screw can pierce a concealed line and leak immediately or after years of corrosion. Pipe rubbing against a sharp opening may thin from movement. A frozen line often splits along its length and releases water only after thawing, which means the visible opening may be larger than expected.
Scattered pinholes can indicate a broader condition rather than bad luck. Possible contributors include corrosive water chemistry, excessive water velocity, erosion near abrupt fittings, electrical grounding or bonding problems, aggressive flux left from installation, and external chemicals in contact with the pipe. Green staining alone does not prove the cause. When several leaks appear, save the failed section and ask a plumber about water testing and system conditions before repeatedly patching symptoms.
Decide whether a temporary patch is appropriate
A temporary repair makes sense only on a small, accessible defect in otherwise solid pipe when the water can be shut off and the product is approved for that pipe size and service. A listed repair clamp with a rubber gasket can bridge a pinhole when installed on clean, round pipe. Two-part plumbing epoxy may also be labeled for temporary use, but its success depends on surface preparation, temperature, cure time, and pressure rating.
Do not patch pipe that is crushed, deeply pitted, split for several inches, or corroded around its full circumference. A clamp cannot restore missing structural material, and epoxy should not be treated as a permanent substitute for sound pipe. Never cover active leakage and immediately repressurize unless the manufacturer explicitly permits it. Keep the repaired area visible and arrange a permanent correction rather than closing it behind drywall.
Prepare for a permanent section repair
The durable approach is to cut back to clean, full-thickness copper on both sides of the defect. That requires enough access to inspect and work without damaging wiring, framing, insulation, or nearby materials. Identify the tube’s nominal size and type, and choose fittings listed for the application. Water service, heating, underground, and concealed installations may be governed by different local code requirements.
Drain the line thoroughly. Mark a replacement section long enough to remove all suspect material, not just the visible hole. Use a tubing cutter where space allows, tightening gradually so the pipe remains round. Deburr the inside and clean the outside without thinning it. Before cutting, confirm that the line is not supporting another assembly and that movement will not stress adjacent joints.
Compare soldered, press, and push-to-connect methods
Soldering creates a compact, established copper connection when the tube and fitting are correctly cleaned, fluxed, assembled, and heated. However, it introduces flame and fire risk. Water trapped in the line prevents proper heating, while too much heat can damage valves and ignite concealed materials. Homeowners without hot-work training, shielding, an extinguisher, and the ability to inspect both sides of the work area should choose another approved method or hire a plumber.
Press fittings are fast and avoid flame, but they require the correct calibrated tool and manufacturer-specific preparation. Push-to-connect fittings can be useful in accessible residential repairs when approved by local rules and the manufacturer. The pipe must be cut square, deburred, cleaned, marked to insertion depth, and fully inserted. Scratches, oval pipe, shallow insertion, or side load can compromise the seal. No method compensates for damaged tube outside the replaced section.
| Repair option | Best suited for | Important limitation |
|---|---|---|
| Gasketed repair clamp | Short-term control of a small pinhole | Needs round, structurally sound pipe |
| Plumbing epoxy | Temporary stabilization when specifically rated | Requires clean surface and full cure time |
| Soldered copper | Permanent conventional repair | Flame, dry-pipe, and skill requirements |
| Press fitting | Permanent flame-free repair | Correct proprietary tool is essential |
| Approved push fitting | Accessible repair with careful preparation | Insertion depth and pipe condition are critical |
Install and test without creating a second leak
Dry-fit the replacement and ensure it does not force adjacent pipe sideways. Follow the selected fitting manufacturer’s instructions exactly, including cleaning, insertion marks, jaw placement, cure time, or cooling. Support the pipe so the new connection is not carrying its weight. Restore any protective sleeves where copper passes through masonry or framing, and prevent contact with incompatible metals or chemicals.
Repressurize gradually with a faucet open to release air. Close the faucet when flow steadies, then inspect each joint under normal pressure with a dry paper towel. Check again after several minutes and after the system has experienced hot and cold cycles if applicable. A connection that “only sweats a little” is not complete; shut down and correct it. Do not close the wall until the pipe remains dry and surrounding materials have been addressed.
Dry the structure and check for hidden damage
Repairing the pipe does not remove water from insulation, drywall, flooring, or cabinets. Remove standing water, open accessible cavities when necessary, and use ventilation and dehumidification appropriate to the space. Wet porous materials can swell, stain, lose strength, and support microbial growth. Water passing through dirty cavities may also become contaminated even if it began as clean supply water.
Document the leak and damaged areas with photos before discarding materials, especially when an insurance claim may be considered. If a ceiling is bulging, keep people out from beneath it; waterlogged material can collapse. Large releases, water present for an unknown period, sewage involvement, or extensive concealed dampness are reasons to contact a qualified water-restoration professional.
Investigate repeated pinholes rather than patching forever
One isolated puncture does not automatically condemn a plumbing system. Several pinholes in different locations over a short period are different. Ask a licensed plumber to inspect pipe samples, pressure, recirculation velocity, grounding and bonding concerns, installation practices, and the pattern of failures. A laboratory water analysis may be useful, but a single pH reading cannot diagnose every corrosion mechanism.
Keep a record of each leak’s date, location, whether it was on hot or cold water, and what the removed pipe looked like inside. That pattern helps distinguish a local installation defect from a system-wide issue. Depending on findings, the answer may be correcting pressure or flow, replacing a vulnerable run, treating water, or repiping more broadly. Avoid expensive whole-house work based solely on guesswork or a product sales pitch.
Know when to call a plumber immediately
Professional service is the safer choice when the main shutoff will not close, the leak is inside a wall or slab, pipe is badly corroded, or a large split releases water. Call promptly for leaks near electrical equipment, boilers, fire sprinklers, or inaccessible hot-water lines. A plumber is also appropriate when local rules require a permit or licensed work, or when you cannot confidently identify the system and fitting requirements.
The service call should include diagnosis, not just a cosmetic patch. Ask what failed, how much pipe needs removal, how the repair will be tested, and whether the pattern suggests further investigation. For an emergency, control water and damage first. For a non-emergency pinhole, obtaining a clear scope can help you compare a localized repair with a more extensive recommendation.
Prevent future copper pipe problems
Protect pipes from freezing by sealing air leaks, insulating vulnerable runs, maintaining safe building heat, and following local cold-weather guidance. Do not use exposed flame to thaw a pipe. Install nail plates where piping passes close to framing surfaces, support lines at appropriate intervals, and isolate copper where it can rub against abrasive edges or contact incompatible materials.
Watch for rising water bills, meter movement when fixtures are off, recurring green deposits, cabinet staining, or unexplained warm spots. Have excessive water pressure corrected with properly maintained equipment. Avoid hanging objects from plumbing and keep corrosive household chemicals away from exposed copper. Periodic observation cannot prevent every leak, but it catches small failures before they become major structural repairs.
Frequently asked questions
Can I repair a copper pinhole without soldering?
Yes. Depending on local rules and the installation, a permanent repair may use approved press or push-to-connect fittings after the damaged section is cut out. A repair clamp or epoxy is better treated as temporary unless its listing and the authority governing the installation say otherwise.
How long should a temporary pipe clamp last?
There is no dependable universal lifespan because pipe condition, pressure, temperature, gasket material, and installation quality vary. Treat the clamp as time to plan a proper repair, not permission to conceal the pipe and forget it. Inspect it frequently until replacement.
Why is the copper pipe green around the leak?
Green-blue deposits are copper corrosion products left where moisture and oxygen have acted on the surface. They help locate long-term wetness but do not by themselves identify whether the cause is water chemistry, flux, condensation, external contamination, or a failing joint.
Can I solder a pipe that still contains water?
Reliable soldering requires the joint area to be drained and dry enough to reach the correct temperature. Heating a wet pipe repeatedly encourages a poor joint and increases fire exposure. If the line cannot be isolated and drained, use an appropriate professional method rather than improvising.
Is one pinhole evidence that the whole house needs repiping?
No. One leak may be local damage or a defective joint. Repiping becomes a stronger consideration when failures recur across the system or inspection shows widespread thinning. Diagnosis, saved pipe samples, and a documented leak pattern should guide that decision.
Copper pipe leak repair is successful only when the water is controlled, the damaged material is removed or safely stabilized, the chosen connection is installed to its listing, and the surrounding structure is dried. If any of those steps exceed your access, tools, or experience, shutting off the water and bringing in a qualified plumber is the correct repair decision—not a failed DIY attempt.
Why This Is Different in San Antonio
San Antonio's Edwards Aquifer supplies some of the hardest municipal water in the United States: about 357 mg/L, or 21 grains per gallon. That limestone-filtered groundwater carries calcium carbonate and magnesium into our fixtures, valves, drains, heaters, and supply lines. For copper pipe leak repair, that matters because mineral deposits grind down seals, cartridges, fill valves, supply stops, spray arms, and small water passages faster than many generic guides assume.
- Scale buildup makes small restrictions worse, especially at cartridges, aerators, shutoff valves, drains, and heater connections.
- Fixtures, pipes, and appliances in our area can wear out 30-50% faster than in soft-water cities when maintenance is delayed.
- SAWS publishes annual water quality reports, but the practical homeowner takeaway is simple: maintenance intervals here should be shorter than national advice suggests.
Homes in King William are particularly affected because historic homes may still have cast iron, galvanized pipe, and tight retrofit spaces. Unlike cities with naturally soft water, local homeowners should treat hard-water maintenance as normal prevention, not an upsell.
> "When I see early leaks in San Antonio, I always look for hard-water scale, corrosion, and older neighborhood pipe materials before blaming one bad fixture." — Licensed local plumber
What San Antonio Homeowners Pay (2026)
| Service | Typical Cost in San Antonio |
|---|---|
| Emergency plumber call | $150–$350; after hours $250–$500 |
| Faucet replacement labor | $150–$300 |
| Plumber hourly rate | $85–$150/hr |
Prices are based on local metro area ranges for 2026. Costs may vary by neighborhood, access, pipe material, after-hours timing, and whether the plumber finds hard-water damage beyond the visible problem.
When to Call a San Antonio Plumber
Call a licensed local plumber if the problem involves active leaking, a shutoff valve that will not close, sewer smell, recurring clogs, water near electrical components, a water heater leak, or any pipe inside a wall, ceiling, or slab. Locally, expect many licensed plumbers to charge roughly $85-$150 per hour, with emergency visits commonly around $150-$350 and after-hours calls closer to $250-$500.
When you call, ask three local questions:
1. Are you licensed and insured for work in Bexar County or the surrounding local metro?
2. Have you dealt with Edwards Aquifer hard-water scale on this type of repair?
3. Should I also check the water heater, shutoff valves, or water softener while you are there?
local plumbers see hard-water issues every week, so a good pro should be able to explain whether the failure is normal wear, mineral damage, freeze damage from a cold snap like Winter Storm Uri, or a sign of a larger plumbing system problem.
San Antonio FAQ
Is local water hard?
Yes. San Antonio water is very hard at about 357 mg/L, or 21 grains per gallon, because much of it comes from the Edwards Aquifer and passes through limestone. That mineral content is why scale shows up quickly on faucets, showerheads, valves, drains, and water heaters.
Do local homes need a water softener?
A water softener is recommended for many local homes, especially if you see white scale, repeated faucet or valve problems, short water-heater life, or cloudy spots on dishes. A typical whole-home water softener installation in San Antonio runs about $1,500-$4,000.