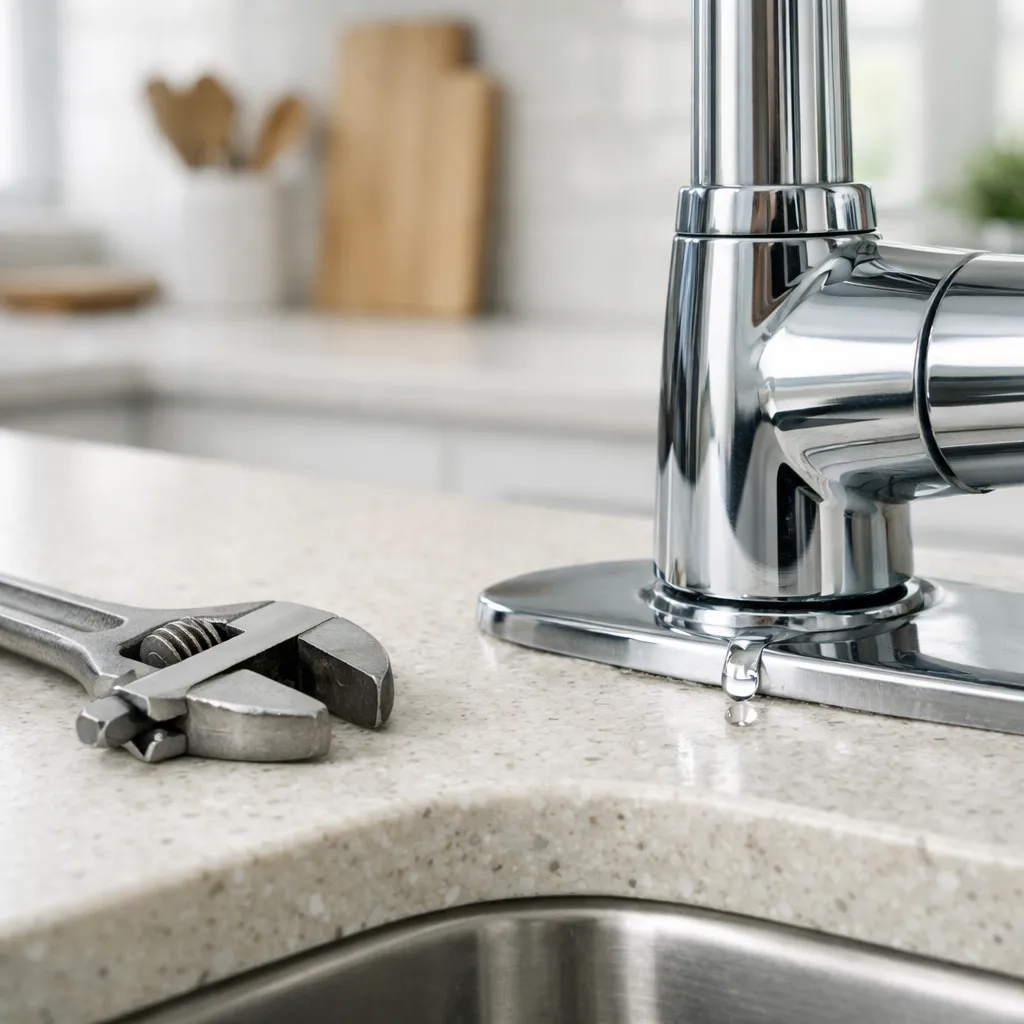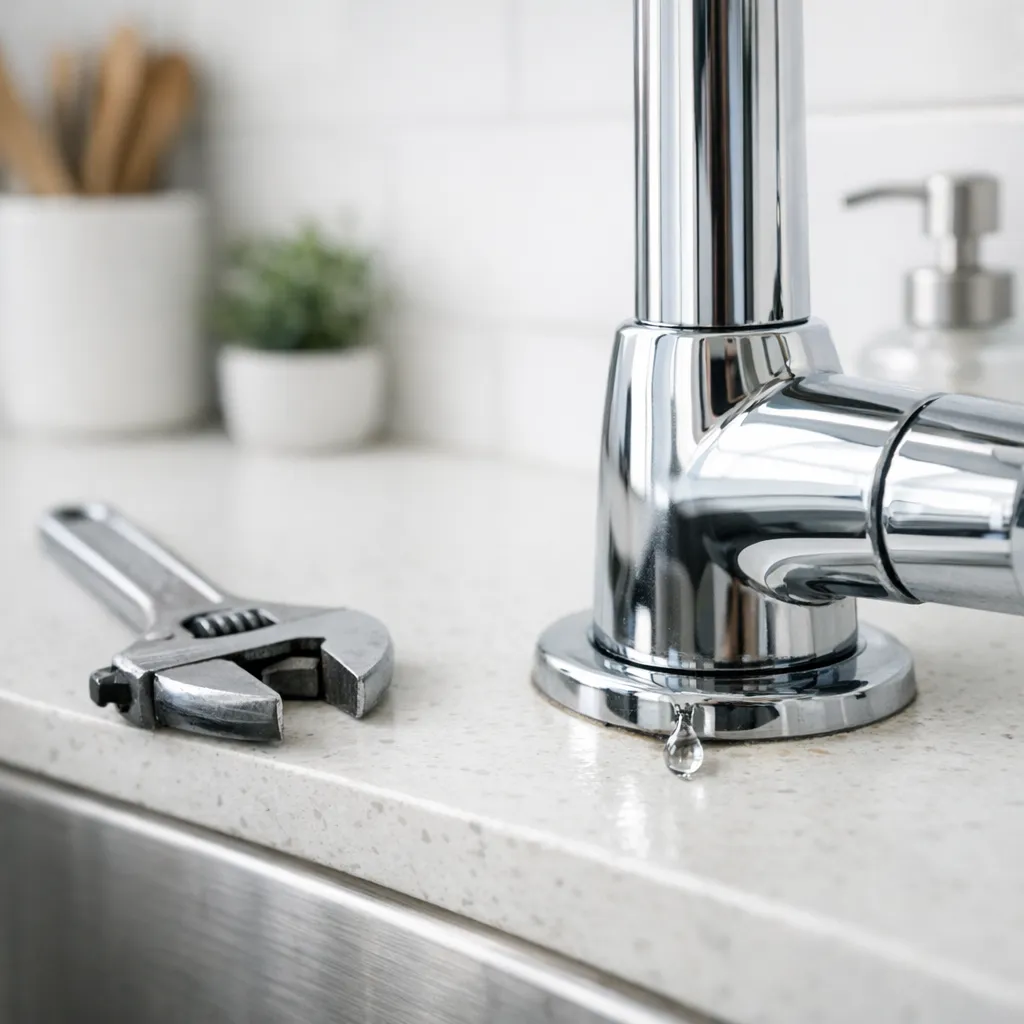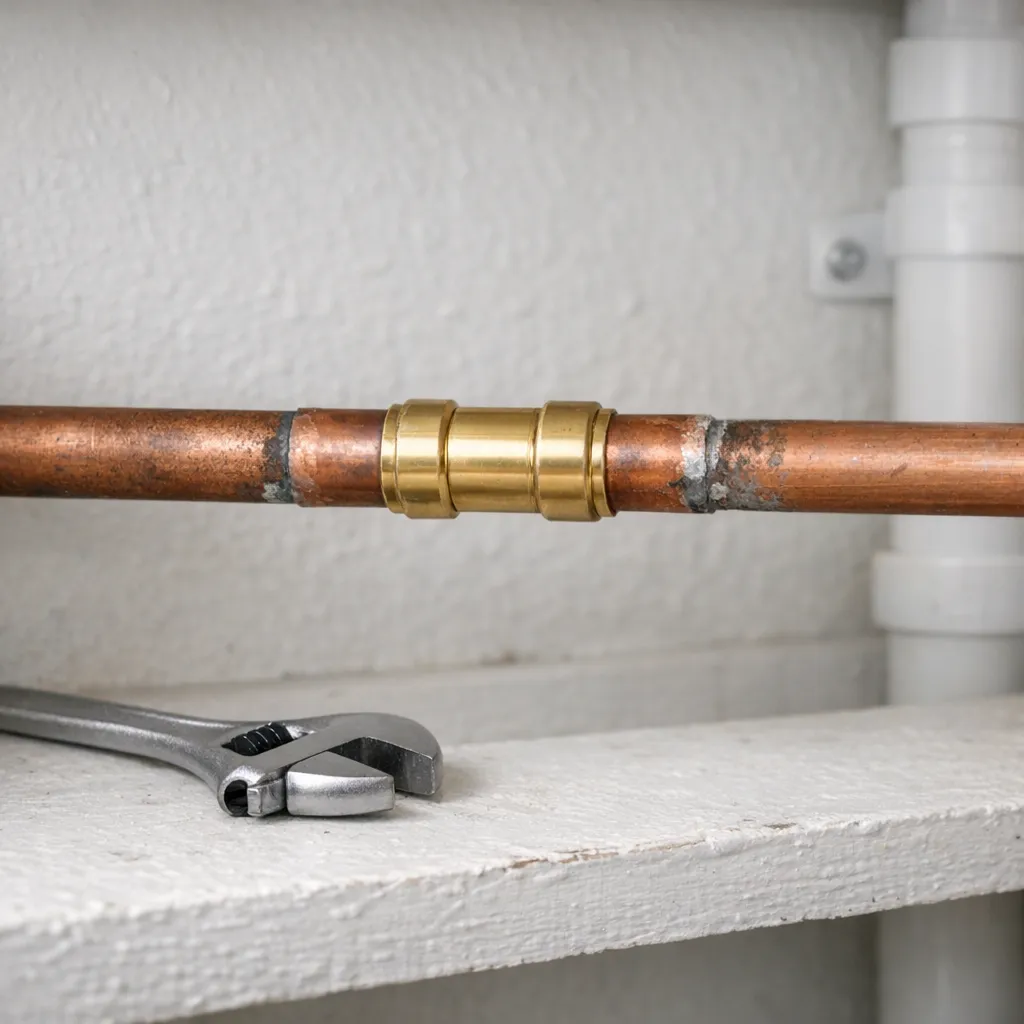
> San Antonio Local Insight: Pipe problems in San Antonio are driven by hard water corrosion from the Edwards Aquifer (357 mg/L). High calcium content eats through copper from inside, causes pinhole leaks, and builds deposits that restrict flow. Local plumbers increasingly recommend PEX over copper for repiping because it resists mineral corrosion.
Local San Antonio Field Notes Before You Start
A pinhole leak in a copper line is rarely just a bad spot. In Medical Center area homes, mixed repair eras, slab routing, and mineral deposits can leave several weak points on the same run. Photograph the leak, note whether it appears only when a fixture runs, and check the meter with every fixture closed. A steady meter movement points to a pressurized-line leak. A white or blue-green crust around a joint suggests a slow leak that has been evaporating for some time. Budget roughly $250–$750 for an accessible localized copper repair; opening tile, masonry, or a slab can move the job into the $2,000–$5,000 range. Do not use a torch in a wall cavity or clamp a pipe that is visibly thinned along a longer section.
Quick answer: contain the leak before diagnosing it
For an active supply-line leak, close the nearest working fixture or branch valve if one exists; otherwise, use the main water shutoff. Open a cold-water faucet at a lower level to relieve pressure, then place a bucket and towels beneath the damaged area. Do not assume the line is safe merely because the flow slows. Water trapped in upper piping can continue draining, and a pinhole may reopen when pressure returns.
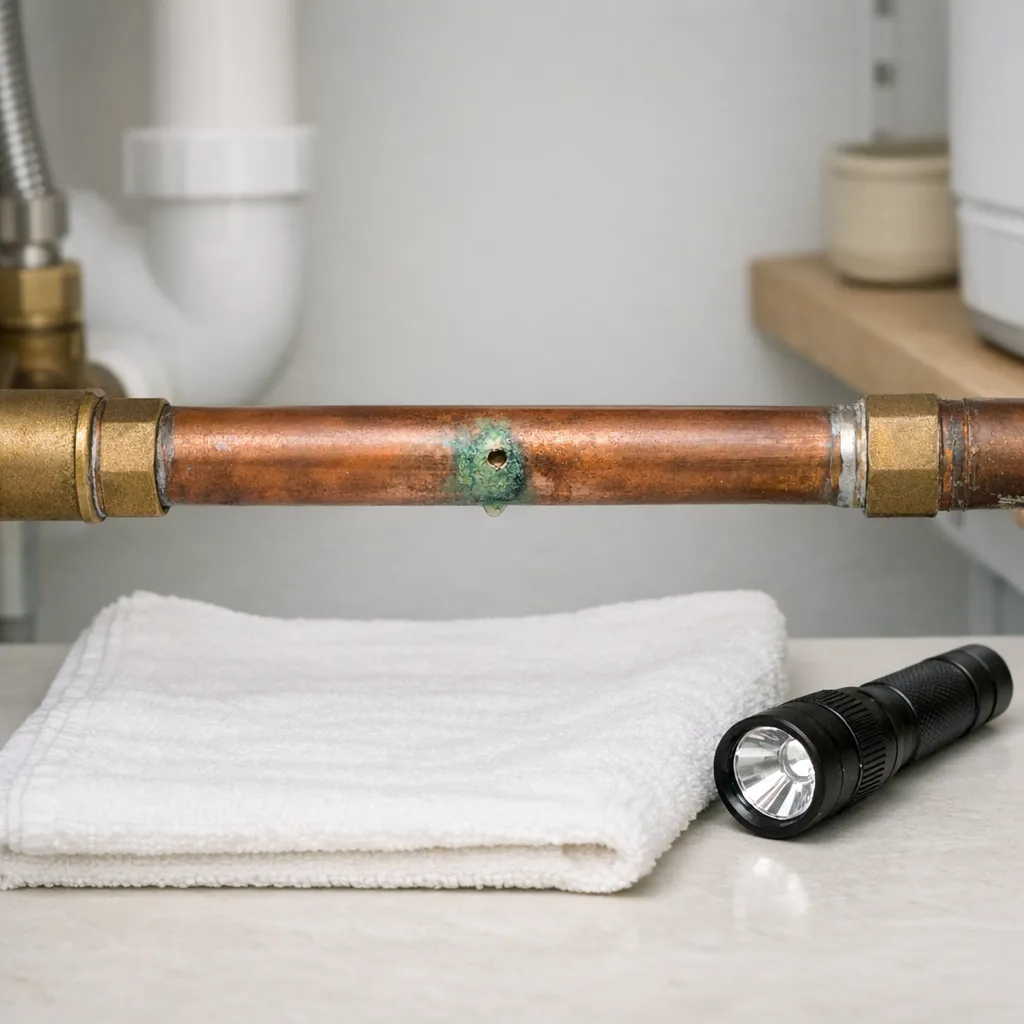
Once the area is stable, dry the pipe and observe it with good lighting. Water often travels along copper before dripping, so the wettest point is not always the failure point. Check above the stain and inspect nearby valves, unions, appliance hoses, and drain components. A one-time condensation problem calls for a different solution than a pressurized pinhole. Temporary repair products can reduce damage while you arrange service, but they should not conceal a systemic corrosion problem.
Why copper pipes begin leaking
A pinhole leak may result from localized internal corrosion, aggressive water chemistry, excessive water velocity, or workmanship that left flux residue or poorly prepared joints. External corrosion can occur when copper contacts certain masonry materials, damp insulation, soil, or incompatible metals. A green-blue surface stain shows that copper has reacted with moisture, but discoloration alone does not prove the pipe wall has perforated.
Mechanical damage is another possibility. A nail or screw driven into a wall can nick a hidden tube and leak immediately or years later. Freezing can split a line longitudinally, while movement at an unsupported pipe can stress fittings. Leaks at joints may stem from aging valves, failed solder connections, or movement rather than failure of the straight tube. Recurring leaks deserve a broader plumbing assessment instead of repeated spot patches.
Distinguish a pipe leak from condensation or drainage
Cold-water copper can sweat in humid rooms. Condensation generally forms as many small droplets over a broad length of cold pipe, especially near an unconditioned basement or crawlspace. A pressurized leak usually creates a persistent bead at one point, a fine spray, or a trail beginning at a fitting. Dry the entire line, wrap a paper towel around the suspected point, and observe it without disturbing the pipe.
Also check whether the moisture appears only when a sink, tub, dishwasher, or washing machine drains. If so, the source may be a drain or appliance connection rather than copper supply tubing. Colored staining, odor, or dirty water can suggest drainage trouble. Avoid contact with suspected sewage and call a plumber. For additional diagnosis of supply-line failures, see this guide to pipe leak repair.
Safety first around water, electricity, and heat
Treat water near electrical equipment as an urgent hazard. Do not touch a wet breaker panel, plugged-in appliance, outlet, or switch. If power must be disconnected, it should be done only from a dry, safely accessible location; otherwise contact the utility, an electrician, or emergency services as appropriate. Keep household members away from wet ceilings because saturated drywall can collapse.
Traditional copper repair often uses a torch, but soldering inside a wall creates a real fire risk. Hidden wood, insulation, dust, and old construction materials can ignite or smolder after the flame is gone. A licensed, insured plumber is the safer choice when access is cramped, the pipe cannot be fully drained, or local rules require permitted work. Never heat a pipe that may contain pressure, and never use an open flame near fuel gas, solvents, or unknown materials.
Step-by-step checks a homeowner can make
First, locate and test the main shutoff before an emergency. Then inspect the pipe without scraping, bending, or squeezing it. Use a flashlight to follow moisture uphill and around the full circumference. Mark the apparent source with painter’s tape. Note whether it lies in straight tubing, at a soldered fitting, beside a valve, or where copper touches another material.
Second, record when the leak occurs. A supply leak continues whenever the system is pressurized. A drain leak corresponds with fixture use, while condensation follows humidity and pipe temperature. With every faucet and water-using appliance off, check the water meter. Movement may indicate an unseen leak, although irrigation, ice makers, softeners, and other automatic equipment must also be ruled out.
Third, inspect adjacent rooms, ceilings, cabinets, and flooring. Bubbling paint, soft drywall, staining, musty odor, or warped trim can indicate concealed spread. Do not cut into a wall until electrical and plumbing routes are understood. If the failure is behind a finished surface, prompt professional water pipe repair can reduce demolition and drying costs.
A quick-reference response checklist
| What you observe | Immediate response | Likely next step |
|---|---|---|
| Fine spray or steady bead from copper | Shut off water and relieve pressure | Professional permanent repair |
| Moisture near outlets or panel | Keep clear; do not touch electrical equipment | Emergency plumber and electrician as needed |
| Droplets along an entire cold line | Dry and monitor humidity | Insulate after confirming no leak |
| Leak only while a fixture drains | Stop using that fixture | Inspect drain and trap connections |
| Multiple pinholes or widespread green crust | Avoid repeated spot patches | Water testing and system evaluation |
| Split pipe after freezing | Shut off water; warm the building safely | Replace damaged section and inspect nearby lines |
Photograph the dry and wet conditions, note the meter reading, and write down which valves were closed. This information helps a plumber diagnose efficiently. It can also help with an insurance claim, although coverage varies. Do not delay drying wet materials while waiting to determine coverage.
Tools and temporary materials worth having
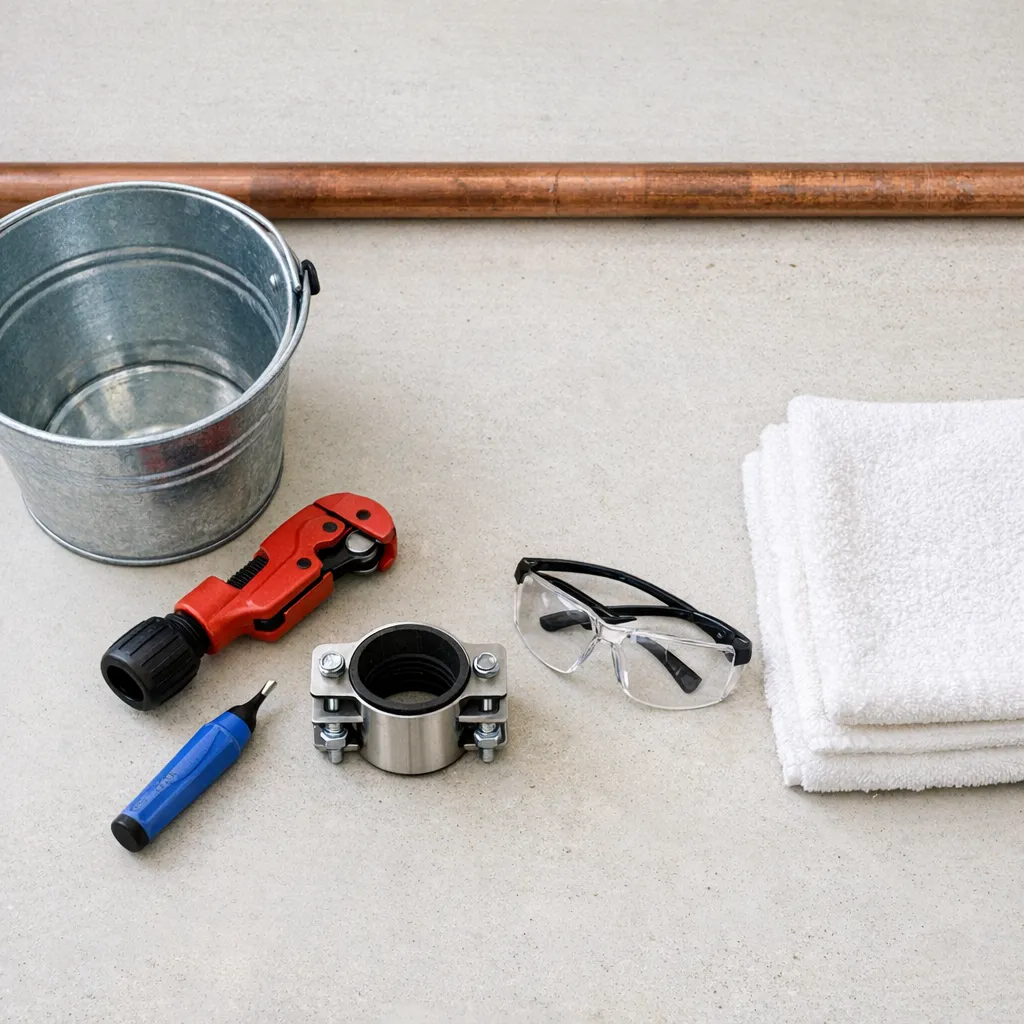
Basic leak-response supplies include a flashlight, bucket, absorbent towels, painter’s tape, safety glasses, and a valve key if your shutoff requires one. A digital moisture meter can help map damp drywall, but readings are screening information rather than proof of the exact pipe location. A small inspection mirror is useful behind accessible piping.
Pipe-repair clamps and approved epoxy products are sold as temporary measures, but their suitability depends on pipe diameter, surface condition, temperature, water service, and product instructions. Do not apply a random adhesive to a wet, pressurized drinking-water line. If a temporary clamp is used, choose an appropriately sized copper pipe repair clamp, follow its label, restore pressure slowly, and arrange a permanent repair.
DIY actions that are usually low risk
A homeowner can generally shut off water, relieve pressure, catch drips, move belongings, photograph damage, and dry accessible surfaces. After confirming that broad surface moisture is condensation rather than leakage, correctly sized pipe insulation may reduce sweating. Replace wet disposable materials and run ventilation or dehumidification only where electrical conditions are safe.
A temporary clamp on a fully accessible straight section may be reasonable for a skilled homeowner when the manufacturer approves the product for that exact application. It is not a permanent answer for thin, pitted, crushed, or out-of-round copper. Push-to-connect repair fittings also require square cuts, correct insertion depth, deburring, and sound pipe; installation errors can cause a sudden release. Local codes may limit concealed use, so check requirements before treating one as permanent.
Repairs best left to a licensed plumber
Call promptly for spraying water, inaccessible shutoffs, concealed leaks, extensive corrosion, recurring pinholes, frozen splits, or damage near electrical systems. Professional help is also warranted when the affected line serves a water heater, fire-suppression system, boiler, or other specialized equipment. A plumber can determine whether a short section, fitting, or longer run should be replaced and can pressure-test the completed work.
Several failures in a short period can point to water chemistry, high pressure, excessive velocity, poor grounding or bonding conditions requiring qualified evaluation, or aging installation. Replacing one visible hole without investigating the pattern may only reset the clock. When larger replacement is proposed, compare the disruption, warranty, code compliance, and material choice; this overview of PEX vs. copper repiping explains common tradeoffs.
What permanent repair may involve
For sound pipe with an isolated defect, a plumber may remove the damaged section and install new copper or an approved transition repair. Soldered connections require the line to be drained, surfaces cleaned, fittings properly prepared, and nearby materials protected from heat. Press fittings avoid a flame but require specialized tools, compatible fittings, correct pipe preparation, and adequate access.
If the tube is pitted beyond the visible hole, the replacement should extend to sound material. Concealed work may require opening drywall and later repairing finishes. A good scope should clarify whether leak detection, access, pipe repair, testing, drying, and finish restoration are included. Ask what caused the failure, what condition the adjacent pipe is in, and whether pressure or water testing is advisable.
Cost and time expectations
An accessible isolated repair is generally faster and less expensive than tracing a leak behind tile, concrete, cabinetry, or a finished ceiling. Price is influenced by emergency timing, local labor, access, pipe size, valve condition, material, permits, and restoration. Drywall removal, mold remediation, electrical work, or replacement of a larger run can cost more than the plumbing connection itself.
Get an itemized estimate when the situation is stable enough to compare options. It should identify the repair area, material, access responsibility, testing, warranty, and exclusions. For recurring leaks, ask for separate pricing for a spot repair and for a longer-term corrective option. The cheapest patch can be poor value if another weakened section is likely to fail soon.
Preventing another copper pipe failure
Know where the main shutoff is and operate it periodically if the manufacturer permits, so it is less likely to seize. Keep pipes protected from freezing, seal drafts around penetrations, and maintain safe indoor heat during cold weather. Do not hang objects from plumbing or allow copper to rub against sharp edges. Address slow drips quickly because persistent moisture can corrode nearby components and damage the building.
If pinholes recur, discuss static and dynamic water-pressure testing and appropriate water analysis with qualified professionals. Do not add treatment equipment based on appearance alone; poorly selected treatment can create new problems. Make sure dissimilar metals are joined with suitable transitions, and have questionable supports corrected. After any repair, inspect the area during the first day and again over the following weeks.
Frequently asked questions
What causes pinholes in copper pipe?
Localized corrosion can be influenced by water chemistry, flow velocity, workmanship, deposits, and environmental contact. Because several mechanisms look similar from outside, repeated pinholes should be evaluated rather than blamed on one cause without testing.
Can I permanently repair copper pipe myself?
Some jurisdictions allow homeowner plumbing work, but a reliable permanent repair requires sound material, correct fittings, proper preparation, and code compliance. If the line is concealed, cannot be fully isolated, or requires flame work, hiring a licensed plumber is safer.
How urgent is a tiny copper leak?
A tiny pressurized leak is urgent because it can enlarge, soak hidden materials, and reach electrical components. Shut off or isolate the line and arrange repair promptly. Do not leave a bucket as the long-term solution.
What should I avoid doing?
Do not bend a corroded pipe, smear unapproved adhesive over a pressurized leak, use a torch in an unsafe cavity, or energize wet electrical equipment. Avoid closing a wall until the repair has been tested and surrounding materials are dry.
Does green staining mean the whole pipe must be replaced?
Not necessarily. Green staining indicates copper compounds formed in the presence of moisture, but the source may be condensation, a past leak, or active corrosion. Clean diagnosis, wall-thickness condition, leak history, and surrounding pipe determine the appropriate scope.
The practical bottom line
Copper pipe repair begins with controlling water and protecting people, not selecting a fitting. Confirm the true source, look for hidden spread, and treat electrical proximity, concealed damage, or repeated failures as reasons to stop DIY work. A temporary measure can buy time, but it should remain visible and monitored until a tested permanent repair is complete.
When reviewing an estimate, ask whether the proposal addresses only the hole or also the reason it formed. Clear scope, appropriate materials, pressure testing, and a plan for drying and restoration are more valuable than a fast patch that leaves the underlying risk untouched.
Why This Is Different in San Antonio
Edwards Aquifer water measures about 357 mg/L, or 21 gpg, so scale can conceal corrosion and make old shutoffs difficult to operate. SAWS water-quality reporting helps explain the mineral load, but it cannot tell you whether one pinhole is isolated or a longer copper run is thinning. In Bexar County slab-on-grade homes, rerouting a failed line through an attic or wall may be less disruptive than opening the slab. Winter Storm Uri also showed why an old freeze-stressed section deserves inspection beyond the visible hole.
What San Antonio Homeowners Pay (2026)
| Copper-pipe service | Typical 2026 range |
|---|---|
| Accessible pinhole or joint repair | $250–$750 |
| Wall opening and localized line repair | $600–$1,500 |
| Slab leak location and repair | $2,000–$5,000 |
| Whole-home PEX repipe | $4,500–$9,000 |
Access, after-hours response, finish restoration, and the length of damaged pipe change the final number. Ask whether drywall or tile repair is included.
When to Call a San Antonio Plumber
Call a licensed plumber for a leak inside a wall or slab, repeated pinholes, a shutoff that will not close, water near wiring, or copper that looks pitted beyond one fitting. DIY should stop at shutting off water, protecting belongings, documenting the meter, and using a temporary manufacturer-rated clamp only where the pipe is fully accessible.
San Antonio FAQ
Does one pinhole mean I need a repipe?
Not always. One damaged joint can be repaired, but several leaks on the same aging run justify a broader pressure, material, and routing assessment.
Should I replace damaged copper with PEX?
PEX can avoid mineral-related copper corrosion, but the correct transition fittings, support, heat clearance, and route matter. Get the scope in writing.