> San Antonio Local Insight: Fixture and faucet leaks in San Antonio happen faster because hard water minerals (21 gpg from Edwards Aquifer) grind down valve seats, corrode cartridges, and prevent proper sealing. A faucet that lasts 15 years in soft-water cities often starts leaking within 5–8 years in San Antonio without a water softener.
Local San Antonio Field Notes Before You Start
A leaking tap in the Medical Center area often fails at the cartridge or shutoff before the faucet body itself. Edwards Aquifer water measures roughly 357 mg/L, or 21 gpg, so mineral grit can score ceramic discs and make an older angle stop difficult to close. Exercise the stop gently; if the stem begins weeping or will not turn without force, stop and use the main shutoff rather than creating a second leak under the sink.
For a common single-handle faucet, expect roughly $20–$90 for a genuine cartridge and $175–$375 for a routine professional replacement when access is clear. Decorative widespread faucets, seized retaining nuts, and damaged stops cost more because disassembly takes longer. Bring the old cartridge and faucet model number to the parts counter instead of buying by appearance—several near-identical cartridges are not interchangeable.
Capture a short video of the drip and check the SAWS meter with every fixture off. A spout drip is normally a faucet repair; a meter that continues moving points to another leak. After rare freeze events such as Winter Storm Uri, also inspect the cabinet wall and exterior hose connections before assuming the tap is the only source.
Identify Exactly Where the Water Is Coming From
Dry the tap, sink rim, supply hoses, shutoff valves, and cabinet floor completely. Then use a dry tissue to touch each joint while the tap is off and again while it runs. Tissue reveals a small seep sooner than a hand does. Observe whether water falls from the spout, wells up around a handle, appears at the tap base, or forms on a hose connection below. Condensation can mimic a leak, especially on cold supply lines, so repeat the test after everything has reached room temperature.
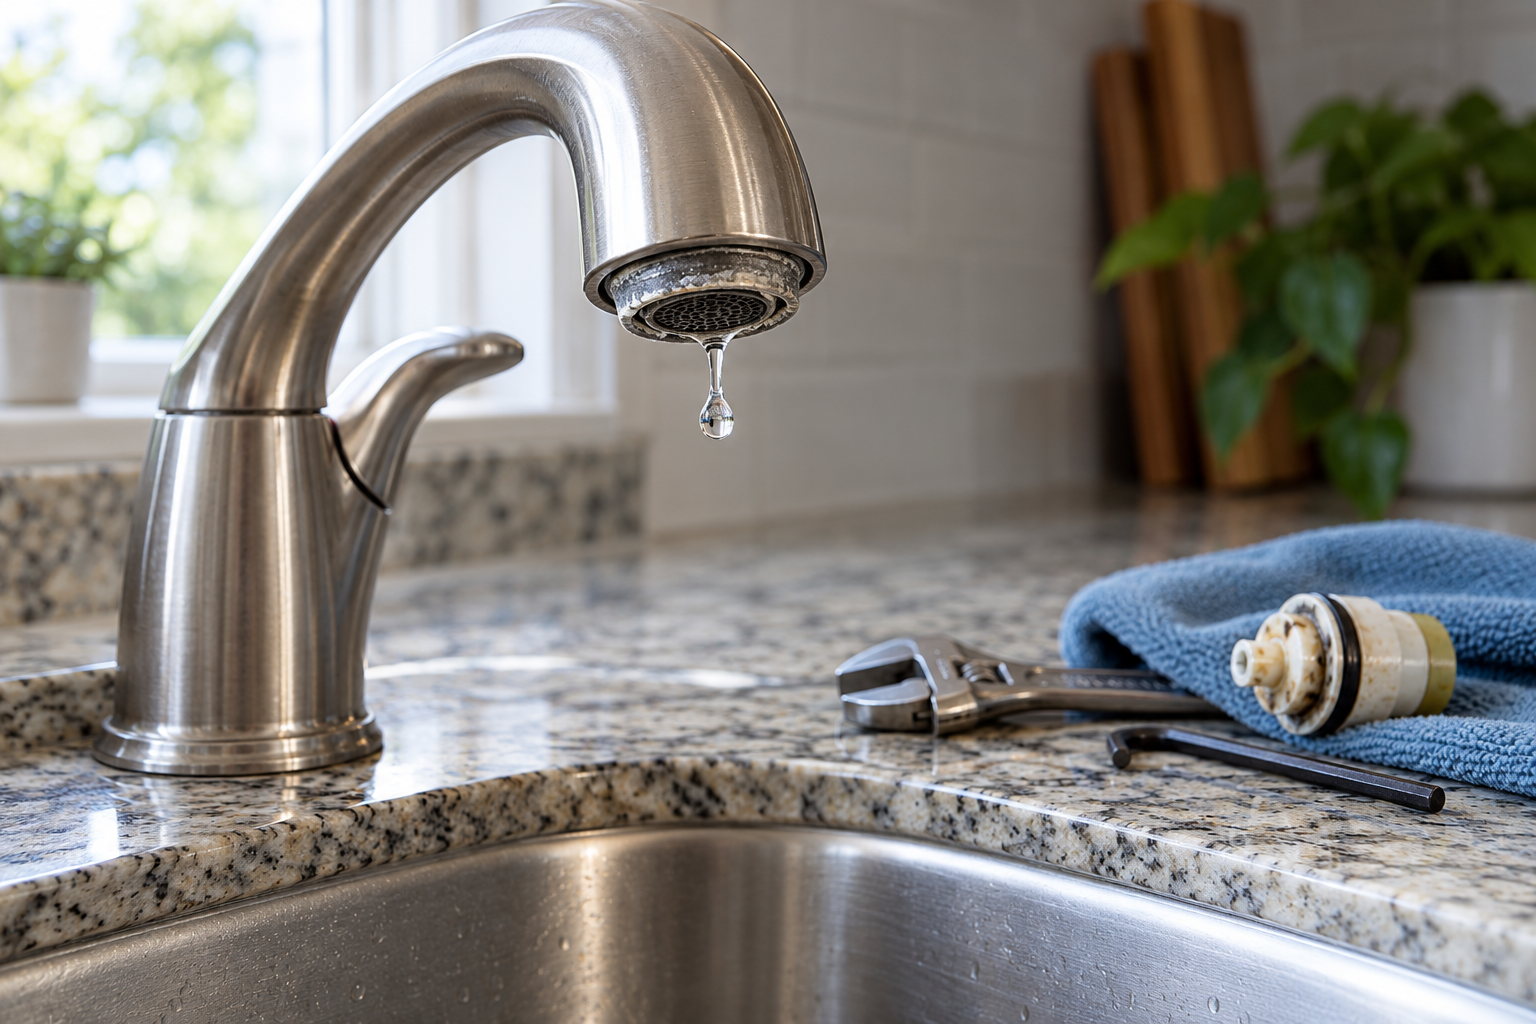
A spout drip with the handles closed generally indicates that an internal sealing part is no longer closing cleanly. A leak at the spindle or handle often points to an O-ring or packing seal. Water at the tap base may come from a body seal, but it can also be splashed water slipping past failed caulk. Under-sink moisture may originate from a supply hose, drain, or basin overflow rather than the tap itself. If a concealed pipe is wet, follow guidance for pipe leak repair rather than treating it as a simple tap repair.
Understand the Tap Type Before Buying Parts
Traditional compression taps normally use separate hot and cold handles. Turning a handle lowers a rubber washer onto a valve seat. A worn washer commonly causes a persistent drip, while a scored valve seat can quickly damage a new washer. Ceramic-disc taps often operate with a quarter-turn and rely on a cartridge containing precisely matched ceramic surfaces. Mixer taps may use a single cartridge that controls both temperature and flow.
Ball and cartridge designs can look similar from the outside, so avoid buying parts based only on the tap’s general shape. Look for a manufacturer mark, take clear photos, and retain every removed component in order. Model-specific cartridges vary in height, spline count, port position, and stem shape. When the model is unknown, taking the old part to a plumbing supplier is more reliable than guessing. Never force a “nearly right” cartridge into the body; it can crack the housing or create a larger leak.

Shut Off the Water and Prepare the Work Area
Close both under-sink isolation valves by turning them gently clockwise, then open the tap to release pressure and confirm that the flow stops. For a mixer, test both hot and cold positions. If water continues, the isolation valve may have failed. Close the main supply and verify it at another fixture before proceeding. Tell other occupants that the water is off, and do not leave an open tap unattended while the supply is isolated.
Plug the drain so screws cannot disappear, place a towel in the basin, and keep a shallow tray below the supply connections. Photograph the tap before each stage of disassembly. Protect chrome with cloth or smooth-jaw tools; toothed pliers can permanently scar the finish. Keep the area dry if outlets, disposals, lighting connections, or appliance wiring are nearby. If water has reached electrical equipment, do not touch wet fittings or attempt the plumbing repair until power has been made safe by a qualified person.
Gather Only the Tools and Materials You Need
Most contained repairs require screwdrivers, an adjustable wrench, hex keys, needle-nose pliers, a soft cloth, a small brush, and the correct replacement seal or cartridge. A faucet repair tool kit can be useful when it includes soft-jaw grips and common handle tools. Food-grade silicone plumber’s grease is suitable for many O-rings; petroleum grease can damage some rubber compounds, so follow the component manufacturer’s directions.
Use penetrating oil cautiously on an externally corroded fastener, keeping it away from waterways and surfaces that may stain. Plumber’s tape is for compatible threaded pipe joints, not for valve seats, cartridge bodies, compression nuts, or random gaps. If you are wondering does plumbing tape stop leaks, the answer depends entirely on the joint type. Adding tape to a connection designed to seal with a washer can prevent proper seating and hide the actual defect.
| Symptom | Likely area | Reasonable first action |
|---|---|---|
| Drip from spout when off | Washer, seat, or cartridge | Identify tap type and replace the matched wear part |
| Water around handle | Stem O-ring or packing | Replace the model-specific seal |
| Water at tap base | Body seal, mounting area, or splash | Dry, retest, and inspect the base seal |
| Wet hose or shutoff joint | Hose, washer, valve, or connection | Isolate water; inspect without overtightening |
| Damp wall or cabinet continues | Concealed supply or drain leak | Stop using fixture and call a plumber |
Replace a Washer or Cartridge Step by Step
Remove the decorative cap only if the design has one, loosen the handle screw, and lift the handle without twisting it sideways. Unscrew the trim or retaining nut while supporting the tap body. On a compression tap, remove the valve stem and inspect the rubber washer at its end. Replace it with the same diameter, thickness, and fastening style. Examine the brass valve seat using a light; heavy pitting, cracks, or an uneven surface require more than a washer swap.
For a cartridge tap, note the cartridge orientation before lifting it out. Clean loose mineral deposits from the accessible cavity with a soft brush and cloth, without scratching sealing surfaces or dropping debris into open ports. Lubricate replacement O-rings only if instructed, align locating tabs, and press the exact cartridge evenly into place. Reinstall the retainer snugly, not with maximum force. Excess torque can deform seals, strip threads, or crack ceramic and plastic parts.
Reassemble the handle, leave the tap in the open position, and restore the water slowly. This allows trapped air to escape with less shock. Close the tap, wipe every surface dry, and inspect for several minutes. Run hot and cold water, operate the handle through its full range, and check beneath the sink. A repaired spout drip should stop without needing to wrench the handle closed.

Know Which DIY Fixes Are Low Risk—and Which Are Not
Replacing an accessible washer, O-ring, aerator seal, or clearly identified cartridge is usually reasonable for a careful homeowner who can fully isolate the water. Cleaning mineral debris from an aerator is also low risk, although an aerator affects flow quality more often than an off-position drip. Tightening an obviously loose mounting nut can help a wobbly tap, provided the body and supply lines are supported and the basin is not cracked.
Stop if a fastener is seized, the tap body rotates with the wrench, a valve will not isolate, or a supply hose shows corrosion, blistering, fraying, or a swollen section. Do not apply a torch, drill into a stuck fitting, grind parts near the basin, or improvise seals with adhesive. Avoid repeated force on old shutoff valves because their stems can snap. A bathtub faucet leaking may also involve access behind a finished wall, making the consequences of a mistake greater than at an open vanity.
Troubleshoot a Leak That Continues After Repair
If a new washer does not stop the drip, first confirm that its size and orientation match the original. Check that the retaining screw is secure and that no fragment of the old washer remains. The valve seat may be rough enough to cut the new rubber or may need professional replacement. On a ceramic tap, persistent dripping often means the cartridge is incorrect, installed backward, contaminated by debris, or damaged during installation.
A leak appearing only while the tap runs suggests a different path: a loose spout seal, compromised hose, body crack, or water escaping around the sink opening. Dry and test again rather than tightening every visible nut. Overtightening is a common cause of cracked connectors and flattened washers. If pressure seems unusually high, several fixtures begin dripping, or pipes bang when valves close, ask a plumber to assess pressure and system conditions rather than repeatedly replacing tap parts.
Decide When to Call a Licensed Plumber
Call promptly when water cannot be shut off, a connector is actively spraying, cabinetry is swelling, flooring is lifting, or a ceiling below is stained or dripping. Hidden moisture can travel away from its source, so the visible spot may not identify the failed fitting. Professional help is also sensible for heavily corroded pipework, cracked tap bodies, inaccessible bath valves, damaged valve seats, and installations that require modifying fixed plumbing.
Treat sewage odor, wastewater backup, or gas odor as separate hazards rather than symptoms of a tap washer. Stop using the affected area, avoid ignition sources if gas is suspected, leave when appropriate, and contact the relevant emergency utility or licensed trade. Water close to energized wiring, outlets, appliances, or a disposal also moves the job outside routine DIY. The cost of a service call is often lower than repairing water damage caused by a failed improvised connection.
Prevent the Next Tap Leak
Operate handles with moderate pressure; crushing a washer harder against its seat does not improve the seal and accelerates wear. Periodically inspect below sinks with a flashlight, feeling for dampness only after confirming there is no electrical hazard. Replace supply hoses that show corrosion, kinks, damaged braiding, or manufacturer-defined age limits. Keep the cabinet clear enough that moisture is visible rather than absorbed unnoticed by stored paper products.
Hard-water deposits can shorten cartridge life and obstruct aerators. Clean removable aerators according to the tap manufacturer’s instructions and address persistent water-quality issues at the household level rather than scraping precision valve surfaces. After plumbing work elsewhere in the home, flush lines as directed before relying on a sensitive cartridge; loosened debris can lodge in its ports. Know where the main shutoff is, label it, and test it periodically if local guidance permits.
Set Realistic Time and Cost Expectations
A straightforward washer or known cartridge replacement may take an experienced DIYer less than an afternoon, including careful diagnosis and leak testing. The part cost can range from a small seal to a relatively expensive proprietary cartridge. Decorative trim, discontinued models, and imported fittings can make sourcing slower than the repair itself. Buying the exact component once is generally cheaper than trying several generic parts.
Professional pricing varies with location, access, callout timing, tap design, and whether shutoff valves or fixed pipes also need replacement. Ask whether the quoted work includes diagnosis, parts, testing, and disposal. If the tap is badly corroded or parts are obsolete, compare repair with complete replacement. Replacement can be more economical, but it may involve awkward mounting hardware and aging supply connections that make a plumber the safer choice.
Frequently Asked Questions
What is the most common cause of a leaking tap?
Wear inside the valve is most common: a compression washer, O-ring, or cartridge can no longer seal. Mineral debris and a damaged valve seat can produce similar symptoms, so identify the tap type and leak location before ordering a part.
Can I fix a leaking tap myself?
Often, yes—if the leak is accessible, the water shuts off completely, and you have the exact replacement component. Stop if isolation fails, parts are seized, fixed pipes move, or moisture is entering a concealed or electrical area.
How urgent is a slow drip?
A contained spout drip is not usually an immediate emergency, but it wastes water and may worsen. A leak below the sink, into cabinetry, through a floor, or near electricity is urgent because damage can develop before the flow looks dramatic.
What should I avoid doing?
Do not overtighten handles or fittings, force corroded valves, use adhesive as a seal, wrap tape around unsuitable joints, or dismantle the tap without shutting off and testing the water supply first.
Why did the tap begin dripping again soon after a repair?
The replacement may be mismatched, debris may be trapped in the valve, or the mating surface may be damaged. High pressure can also accelerate wear. Recheck the exact part and installation; seek professional diagnosis if the leak promptly returns.
Why This Is Different in San Antonio
San Antonio's Edwards Aquifer supplies some of the hardest municipal water in the United States: about 357 mg/L, or 21 grains per gallon. That limestone-filtered groundwater carries calcium carbonate and magnesium into our fixtures, valves, drains, heaters, and supply lines. For fix leaking tap, that matters because mineral deposits grind down seals, cartridges, fill valves, supply stops, spray arms, and small water passages faster than many generic guides assume.
- Scale buildup makes small restrictions worse, especially at cartridges, aerators, shutoff valves, drains, and heater connections.
- Fixtures, pipes, and appliances in our area can wear out 30-50% faster than in soft-water cities when maintenance is delayed.
- SAWS publishes annual water quality reports, but the practical homeowner takeaway is simple: maintenance intervals here should be shorter than national advice suggests.
Homes in Medical Center area are particularly affected because 1970s-80s builds can have aging supply lines and occasional polybutylene concerns. Unlike cities with naturally soft water, local homeowners should treat hard-water maintenance as normal prevention, not an upsell.
> "When I see early leaks in San Antonio, I always look for hard-water scale, corrosion, and older neighborhood pipe materials before blaming one bad fixture." — Licensed local plumber
What San Antonio Homeowners Pay (2026)
| Service | Typical Cost in San Antonio |
|---|---|
| Emergency plumber call | $150–$350; after hours $250–$500 |
| Faucet replacement labor | $150–$300 |
| Plumber hourly rate | $85–$150/hr |
Prices are based on local metro area ranges for 2026. Costs may vary by neighborhood, access, pipe material, after-hours timing, and whether the plumber finds hard-water damage beyond the visible problem.
When to Call a San Antonio Plumber
Call a licensed local plumber if the problem involves active leaking, a shutoff valve that will not close, sewer smell, recurring clogs, water near electrical components, a water heater leak, or any pipe inside a wall, ceiling, or slab. Locally, expect many licensed plumbers to charge roughly $85-$150 per hour, with emergency visits commonly around $150-$350 and after-hours calls closer to $250-$500.
When you call, ask three local questions:
1. Are you licensed and insured for work in Bexar County or the surrounding local metro?
2. Have you dealt with Edwards Aquifer hard-water scale on this type of repair?
3. Should I also check the water heater, shutoff valves, or water softener while you are there?
local plumbers see hard-water issues every week, so a good pro should be able to explain whether the failure is normal wear, mineral damage, freeze damage from a cold snap like Winter Storm Uri, or a sign of a larger plumbing system problem.
San Antonio FAQ
Is local water hard?
Yes. San Antonio water is very hard at about 357 mg/L, or 21 grains per gallon, because much of it comes from the Edwards Aquifer and passes through limestone. That mineral content is why scale shows up quickly on faucets, showerheads, valves, drains, and water heaters.
Do local homes need a water softener?
A water softener is recommended for many local homes, especially if you see white scale, repeated faucet or valve problems, short water-heater life, or cloudy spots on dishes. A typical whole-home water softener installation in San Antonio runs about $1,500-$4,000.