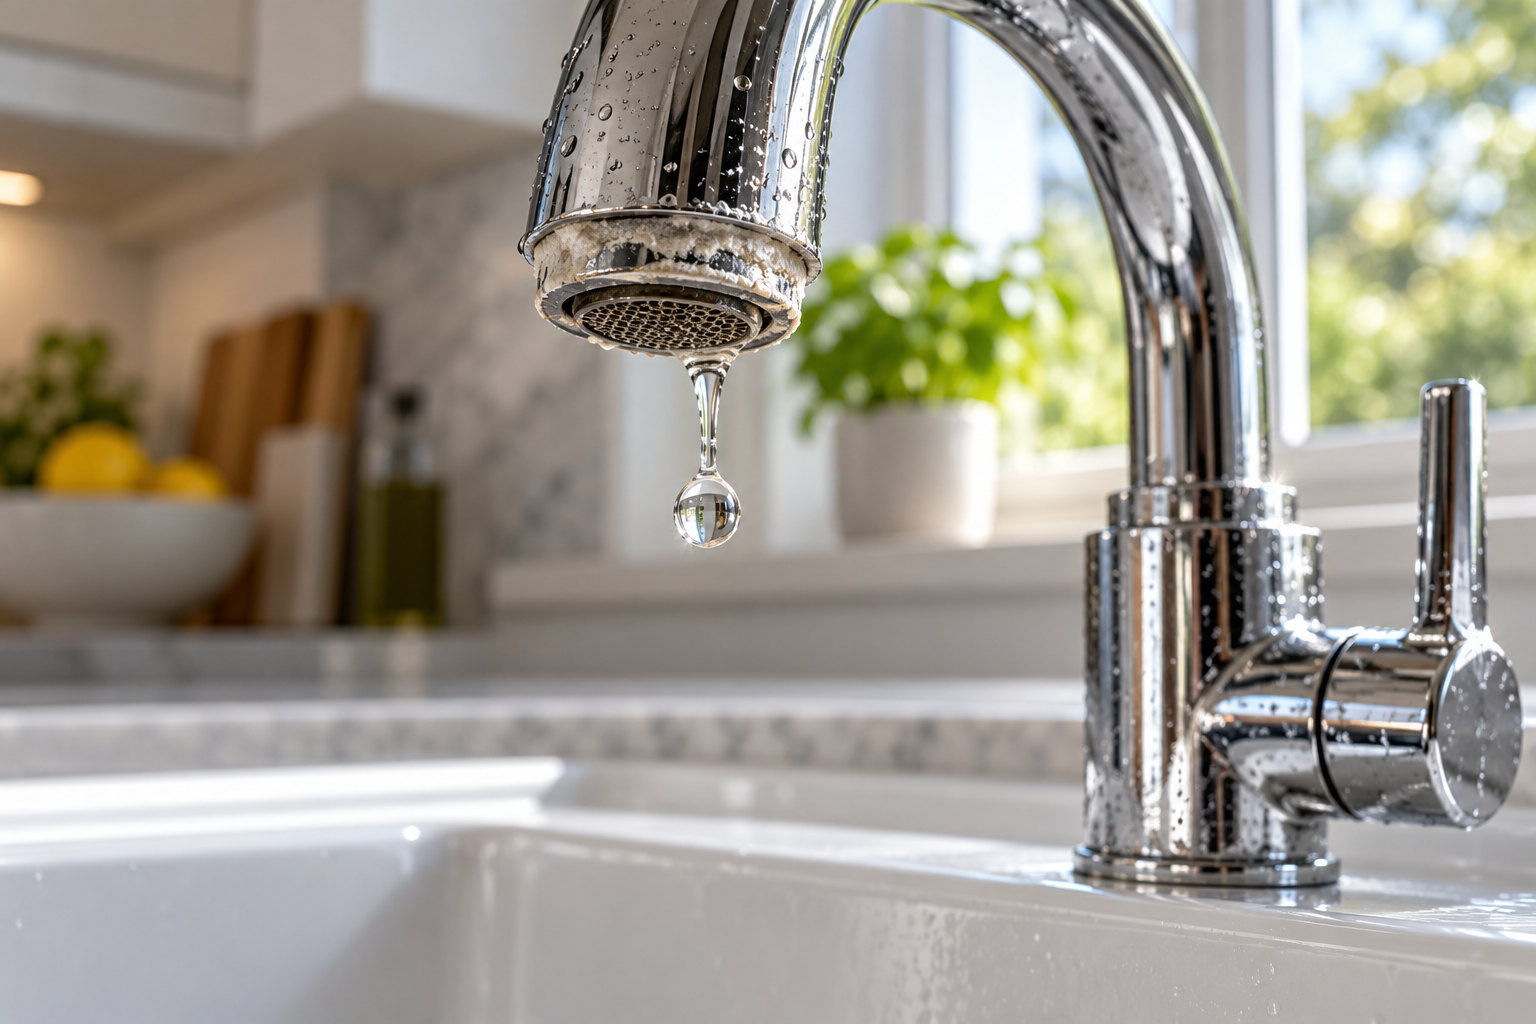
> San Antonio Local Insight: Fixture and faucet leaks in San Antonio happen faster because hard water minerals (21 gpg from Edwards Aquifer) grind down valve seats, corrode cartridges, and prevent proper sealing. A faucet that lasts 15 years in soft-water cities often starts leaking within 5–8 years in San Antonio without a water softener.
Local San Antonio Field Notes Before You Start
Before following any generic plumbing checklist, adjust it for our Edwards Aquifer water. At roughly 357 mg/L, or 21 grains per gallon, the calcium carbonate and magnesium in the water can turn a small maintenance issue into repeat wear on valves, seals, drains, heaters, and appliance connections. That means a visible drip may be the symptom, while the real risk is scale, corrosion, freeze stress, or an older pipe material failing behind the wall or under the slab.
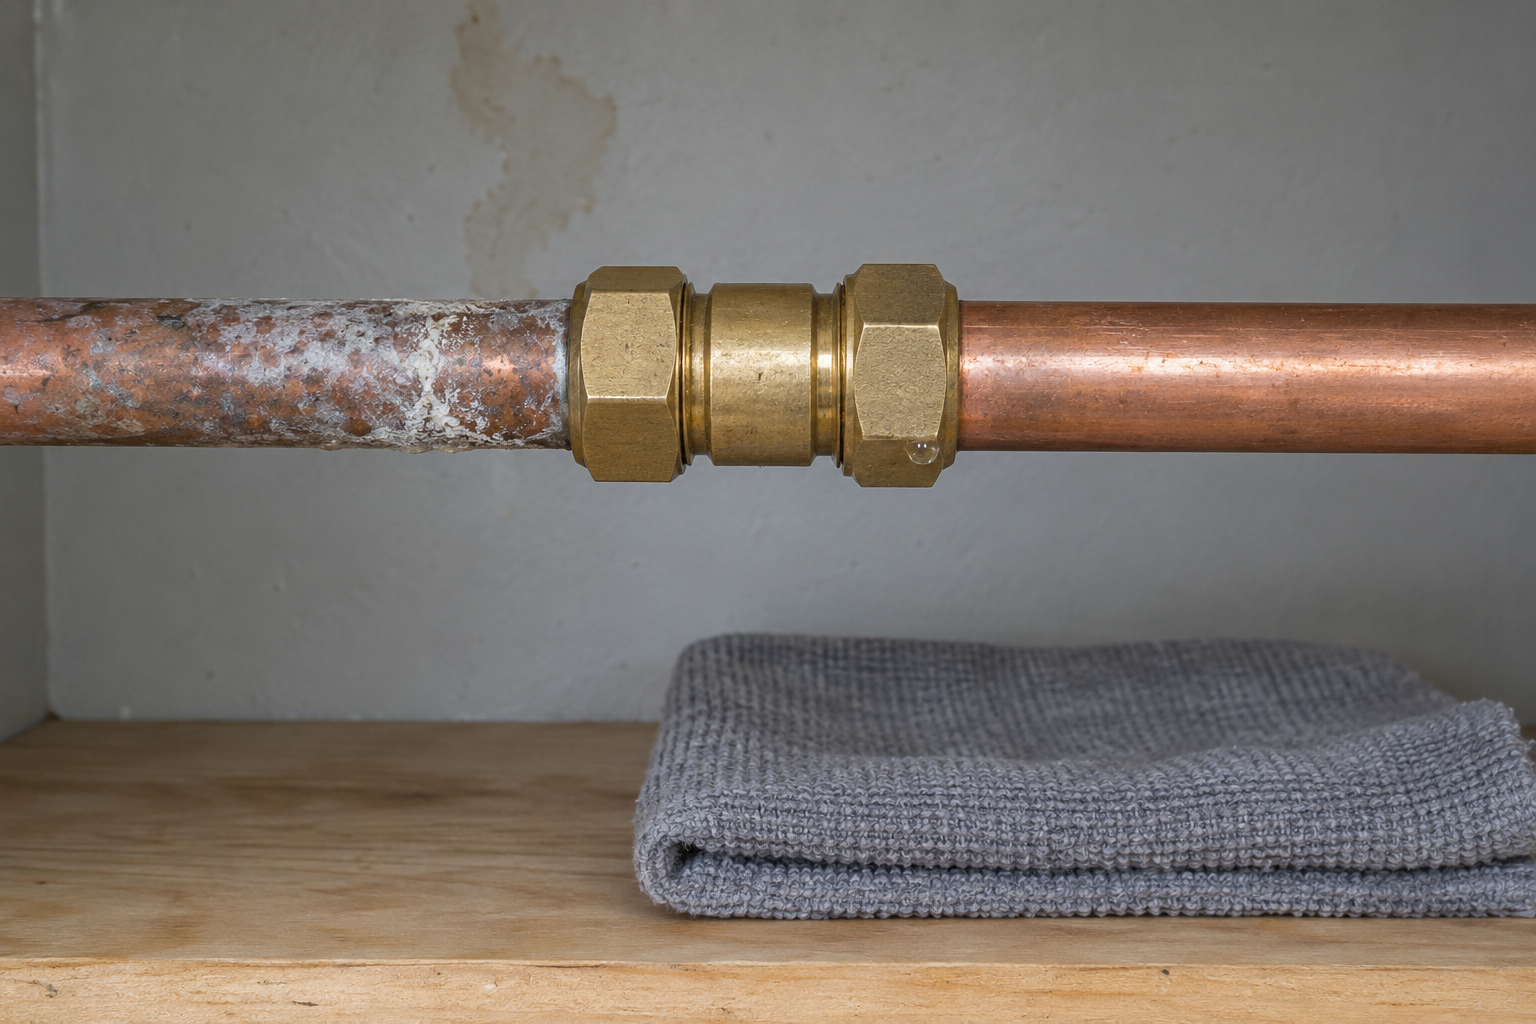
A homeowner in Helotes should be especially careful because well-water and edge-of-system supply can make mineral scale show up even faster. If you are comparing advice from national repair guides, shorten the maintenance interval and inspect for white scale, crusted fittings, stiff shutoff valves, and early corrosion before assuming the part simply “got old.”
For budgeting, use local pricing instead of national averages: emergency plumber calls often run $150-$350, after-hours visits $250-$500, and slab leak repair can reach $2,000-$5,000. If the issue appears after a summer high-use period or after a rare freeze like Winter Storm Uri, treat it as a local risk signal and document what you see before calling a licensed plumber in Bexar County.
A plumbing leak can range from a loose sink connection to a damaged pipe hidden inside a wall. The safest first move is not to reach for a wrench but to control the water: close the fixture shutoff valve for a localized drip, or the home’s main shutoff if water is spreading quickly. Then protect nearby electrical equipment, collect dripping water, and identify the source before attempting a repair.
Many visible, accessible leaks are reasonable homeowner projects. A worn faucet washer, loose slip nut, failed supply hose, or poorly sealed threaded connection may need only basic tools and the correct replacement part. Stop, however, if water is near energized wiring, sewage is involved, a pipe is concealed, or shutting a valve does not control the flow. Those conditions can turn a small repair into an injury or expensive structural damage.
Identify the Leak Before Taking Anything Apart
Water often travels along a pipe, cabinet, joist, or wall before it drips, so the wettest spot is not always the source. Dry the entire area, place paper towels beneath each connection, and restore water briefly while watching from the highest point downward. A fresh wet mark can distinguish a leaking faucet body from a supply connection or drain joint. Under a sink, test the faucet supply and drain separately: run clean water into a bowl without using the drain, then empty the bowl through the drain.
Check whether the leak occurs continuously, only when a fixture runs, or only during drainage. Continuous leakage suggests a pressurized supply line, valve, or water heater problem. Leakage during use may come from a faucet body, shower seal, or appliance hose. Water appearing only while draining points toward a trap, gasket, disposal flange, or waste pipe. Mark the suspected source with removable tape and take a photo before disassembly so each washer and nut returns in the correct order.
Common Causes and the Clues They Leave
Loose compression nuts and aging flexible supply hoses commonly create clean-water drips beneath sinks and toilets. Mineral crust, green-blue staining on copper, rust, or a swollen braided hose indicates a long-running problem. Faucet leaks usually involve a cartridge, stem seal, washer, or O-ring. If the issue is at a tub, use the symptom-specific checks in this bathtub faucet leaking guide before opening the wall.
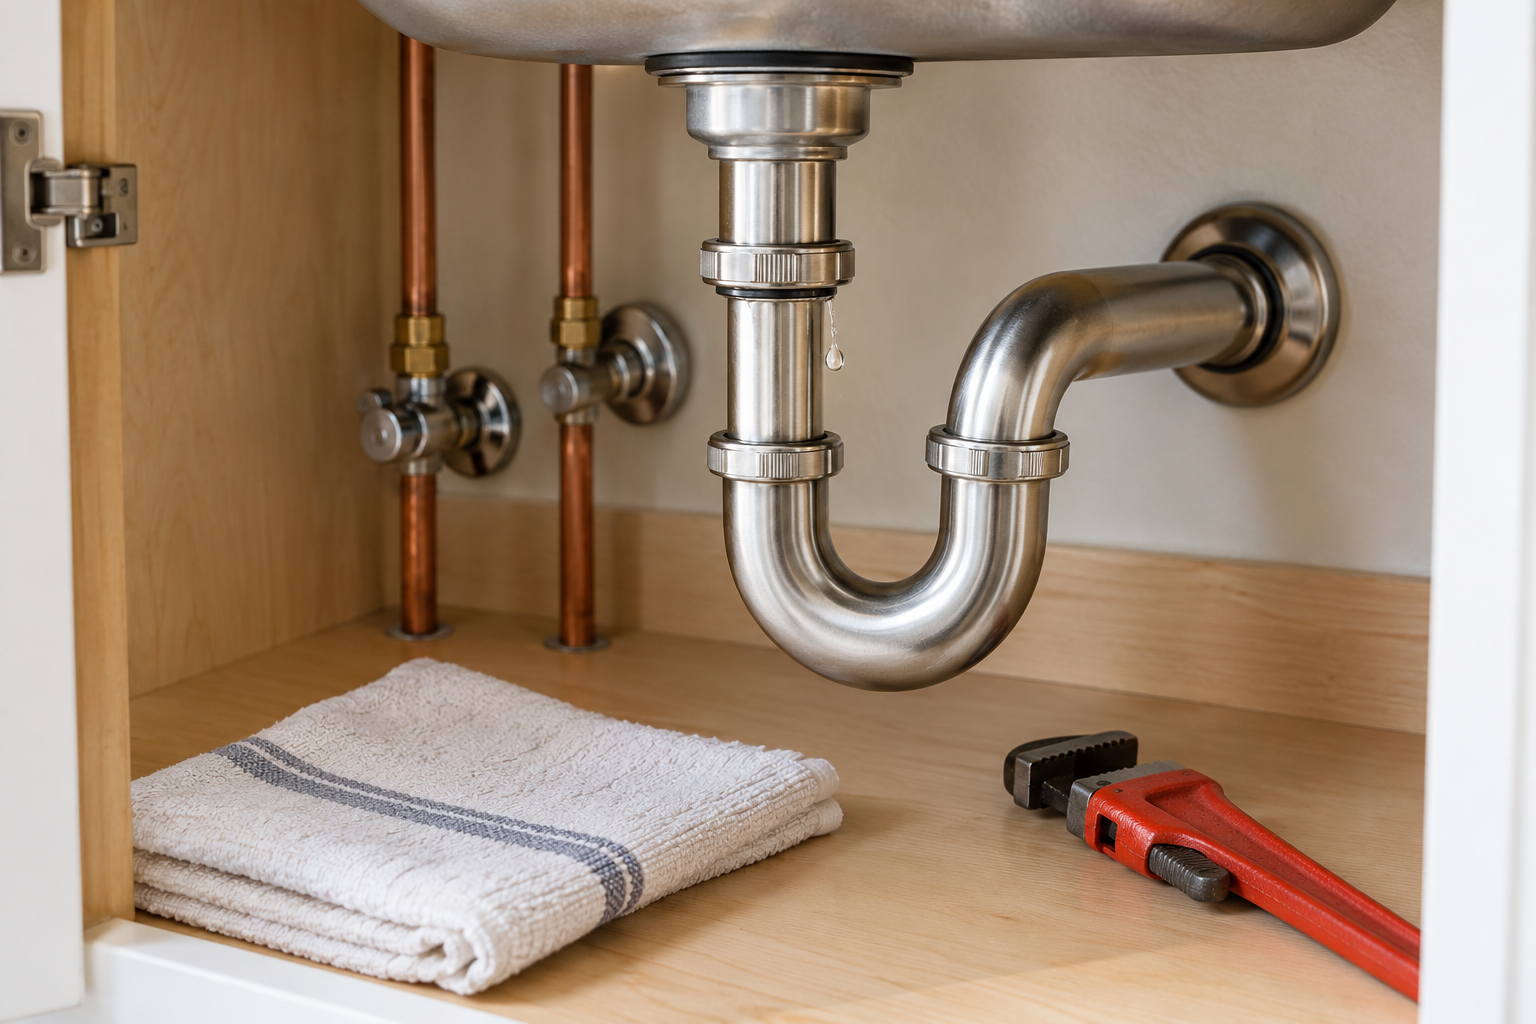
Drain leaks behave differently. A misaligned P-trap, hardened slip-joint washer, failed sink strainer putty, or cracked plastic fitting leaks only while water passes through it. Pipe corrosion, freeze damage, excessive pressure, and accidental fastener punctures are more serious causes. A damp ceiling, musty odor, peeling paint, or unexplained meter movement can signal a concealed leak. A water heater dripping from above deserves prompt investigation; this guide to a water heater leaking from the top explains the likely valves and connections.
Safety Steps Before You Start
Know where the main water shutoff is and verify that it turns before an emergency. Close it slowly, then open a low cold-water faucet to relieve pressure. For a fixture repair, use the nearest working isolation valve instead. Never force a corroded valve: its stem can break and release more water. If a valve will not close, call a plumber or the water utility rather than dismantling a pressurized connection.
Water and electricity require a strict boundary. Do not stand in water to reach a panel, touch a wet receptacle, or operate plugged-in equipment near the leak. If power can be disconnected safely from a dry location, shut off the affected circuit; otherwise call emergency services or an electrician as appropriate. Leave sewage backups alone because they can contain pathogens. If you smell gas, leave immediately, avoid switches and flames, and contact the gas utility from outdoors—plumbing repair is not the right response.

A Step-by-Step Homeowner Leak Check
Begin with a visual inspection under good lighting. Remove stored items, dry surfaces, and look for cracks, corrosion, loose nuts, staining, or droplets. Check the water meter after confirming every fixture and water-using appliance is off. If its flow indicator continues moving, there may be an active leak, although irrigation, softeners, and automatic appliances must also be ruled out. Do not leave the system isolated for long if household equipment requires water.
Next, test one component at a time. Wrap dry tissue around supply connections, run the faucet, fill the basin, and then release it. For a toilet, add no dye or chemicals unless the manufacturer permits it; listen for refilling and inspect the supply line, tank bolts, and floor perimeter. A leak at the floor seal, a rocking toilet, or stained ceiling below usually warrants professional service. After any simple fix, restore pressure gradually and observe the repair for several minutes, then check again later that day.
Tools and Materials Worth Having
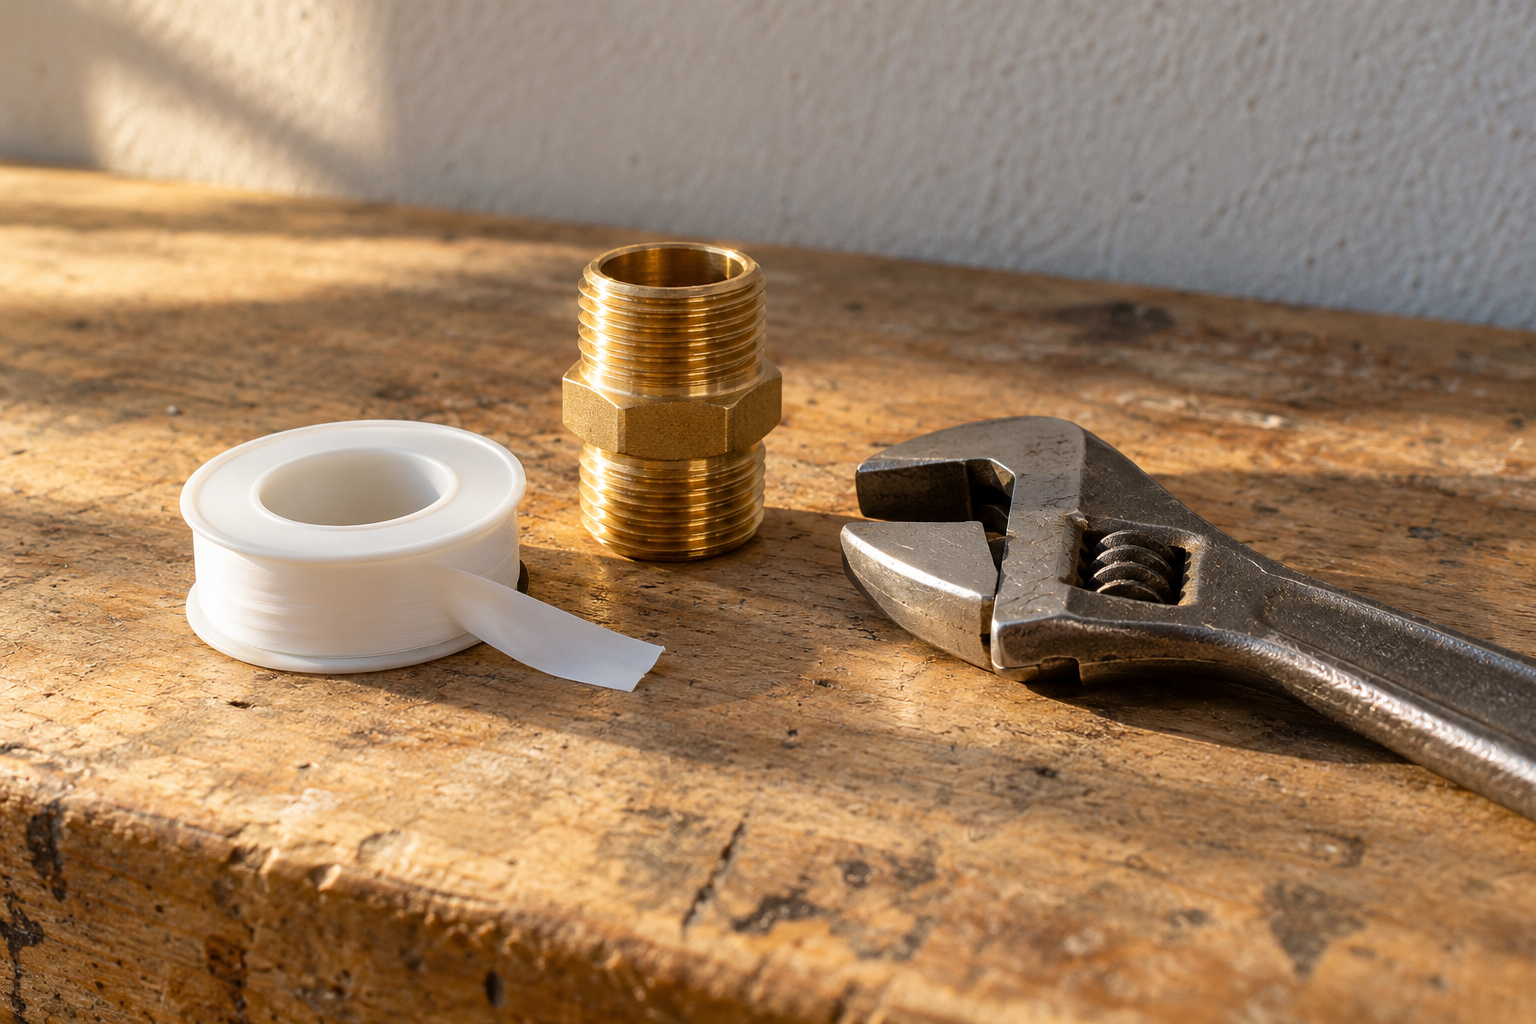
A flashlight, bucket, absorbent towels, adjustable wrench, tongue-and-groove pliers, and screwdriver set cover basic inspection and many accessible fixture repairs. Use two wrenches when a fitting requires counterhold so torque does not twist the pipe inside the wall. A basic plumbing hand-tool kit can be useful, but correctly sized tools are safer than an oversized wrench that rounds a nut.
Replacement materials must match the fixture and connection. Take the old cartridge, washer, gasket, or hose to a hardware counter when identification is uncertain. Choose a listed supply connector of the correct length rather than stretching or sharply bending one. Thread seal tape is appropriate only for certain tapered threaded joints; it does not repair compression fittings, slip joints, cracked pipes, or faucet seats. Read does plumbing tape stop leaks before treating tape as a universal solution.
DIY Fixes That Are Usually Reasonable
A loose sink drain slip nut can often be hand-tightened and then nudged slightly with pliers; overtightening may deform the washer or crack plastic. If it still leaks, shut off fixture use, disassemble the trap over a bucket, clean the mating surfaces, and replace the cone washer in the correct orientation. Realign the pipes so the joint is not under sideways stress. Never mix incompatible drain chemicals or open a trap containing chemical cleaner without professional guidance.
Replacing an accessible faucet aerator, manufacturer-specified cartridge, toilet flapper, or flexible supply hose can also be manageable. Shut off water, relieve pressure, follow the fixture instructions, and use new seals supplied with the part. For a threaded shower arm or approved tapered connection, apply seal tape in the tightening direction without covering the opening. Do not solder, cut walls, clamp severely corroded pipe, or improvise a permanent patch unless you have the required competence and local rules allow the work.

Repairs to Avoid as a DIY Shortcut
Do not keep tightening a fitting simply because it drips. Compression ferrules, plastic threads, and ceramic fixture bodies can be permanently damaged by excess torque. Avoid caulk smeared over active pipe joints, household glue, rubber bands, and tape applied to the outside of a pressurized leak. Such patches may hide deterioration while moisture continues into cabinetry or framing. A temporary manufacturer-rated repair clamp may reduce damage on an appropriate straight pipe, but it is not a substitute for a proper section replacement.
Do not open a wall based only on a stain, work on a water heater’s gas controls, cap a temperature-and-pressure relief valve, or defeat an appliance safety device. Never seal a recurring sewer odor without identifying its source. Work involving service lines, backflow devices, buried pipes, fire sprinklers, shared building systems, or permit-required alterations belongs with qualified professionals. Your goal during an emergency is to stop water and limit damage, not complete every repair immediately.
When to Call a Licensed Plumber
Call promptly for uncontrolled water, a failed main shutoff, falling ceiling material, bulging drywall, sewage, low pressure throughout the home, repeated pipe failures, or suspected hidden damage. A sudden high water bill or meter movement with all fixtures off also deserves leak detection. Slab leaks may present as warm flooring, foundation-area moisture, running-water sounds, or unexplained pressure loss; locating them generally requires specialized equipment.
Professional help is also sensible when a fitting breaks during removal, pipe material is heavily corroded, the repair requires soldering near combustible framing, or local code requires a permit. A plumber can diagnose the underlying cause—such as excessive pressure or unsupported piping—rather than repeatedly treating the symptom. For an accessible but damaged line, this overview of pipe leak repair can help you understand likely options before requesting estimates.
Cost, Time, and Damage Expectations
A washer, gasket, or hose replacement may take an experienced homeowner less than an afternoon and involve inexpensive parts. A plumber’s total depends on travel, diagnosis, access, San Antonio metro labor rates, emergency timing, and whether walls or finishes must be opened. Ask whether the estimate includes leak detection, plumbing repair, testing, and restoration; drywall, flooring, cabinetry, or mold remediation may be separate services.
Hidden water raises the cost of waiting. In a Helotes slab-on-grade home, a $200 fixture repair and a concealed slab leak are entirely different scopes, so ask how the source was confirmed before authorizing demolition. Even after the pipe is fixed, wet porous materials may need drying or removal. Photograph the area and damaged belongings, retain invoices, and contact the insurer promptly if the loss may be covered. Do not assume a dry surface means the cavity behind it is dry. A moisture professional can assess extensive saturation, while limited clean-water spills may be managed with extraction, ventilation, and dehumidification if electrical conditions are safe.
Preventing the Next Plumbing Leak
Inspect visible supply hoses, valves, traps, appliance connections, and the water heater several times a year. Replace components showing rust, bulging, cracking, or active mineral deposits according to manufacturer guidance. Keep cabinets uncluttered enough to spot moisture, and avoid hanging objects from pipes. Know the age and material of the home’s supply piping, especially if previous repairs suggest system-wide deterioration.
Protect pipes from freezing by insulating vulnerable runs, sealing cold-air gaps, and maintaining safe indoor heat; do not use open flame to thaw a pipe. Have unusually high pressure evaluated, because it can shorten the life of valves, hoses, and fixtures. Consider water alarms near sinks, laundry equipment, the water heater, and other risk points. A battery water leak alarm provides early warning but never replaces inspection or a functioning shutoff.
Quick-Reference Leak Response Checklist
| Situation | Immediate action | DIY boundary |
|---|---|---|
| Slow drip at visible joint | Catch water, dry and identify source | Replace matching seal only after shutoff |
| Fast clean-water flow | Close fixture or main valve | Call if flow cannot be controlled |
| Water near wiring | Keep away; disconnect only from dry safe location | Use electrician/plumber |
| Sewage backup | Stop fixture use and isolate area | Professional cleanup and plumbing service |
| Damp wall or ceiling | Shut water if active; document damage | Arrange leak detection |
| Gas odor near appliance | Leave without operating switches | Call gas utility from outdoors |
After restoring water, inspect every disturbed joint under full pressure and repeat the check later. Keep the shutoff accessible and tell other household members where it is. If uncertainty remains, leaving the water off until professional help arrives is usually less costly than gambling on a questionable repair.
Frequently Asked Questions
What causes most household plumbing leaks?
Worn seals, loose or misaligned connections, aging supply hoses, corrosion, freezing, excessive pressure, and damaged fixture parts are common causes. The timing of the leak—constant, during use, or during drainage—helps narrow the source.
Can I fix a plumbing leak myself?
You can often replace an accessible washer, cartridge, hose, flapper, or drain-joint gasket after shutting off the water. Concealed, corroded, pressurized, sewage-related, gas-adjacent, or code-regulated work should go to a qualified professional.
How urgent is a slow drip?
It is not as immediately destructive as flowing water, but it should not be ignored. Slow leaks damage cabinets and framing, encourage microbial growth, waste water, and may indicate a connection nearing failure.
What should I never use to stop a leak?
Do not rely on caulk, household glue, exterior tape, or repeated overtightening. Never plug a water-heater relief valve. Use only a repair method approved for the exact pipe, fitting, pressure, and temperature.
How do I know the repair worked?
Dry the joint, restore water slowly, test the fixture through several cycles, and inspect with tissue or a paper towel. Recheck later and watch for meter movement, odors, stains, pressure changes, or recurring moisture.
Why This Is Different in San Antonio
San Antonio's Edwards Aquifer supplies some of the hardest municipal water in the United States: about 357 mg/L, or 21 grains per gallon. That limestone-filtered groundwater carries calcium carbonate and magnesium into our fixtures, valves, drains, heaters, and supply lines. For fix plumbing leak, that matters because mineral deposits grind down seals, cartridges, fill valves, supply stops, spray arms, and small water passages faster than many generic guides assume.
- Scale buildup makes small restrictions worse, especially at cartridges, aerators, shutoff valves, drains, and heater connections.
- Fixtures, pipes, and appliances in our area can wear out 30-50% faster than in soft-water cities when maintenance is delayed.
- SAWS publishes annual water quality reports, but the practical homeowner takeaway is simple: maintenance intervals here should be shorter than national advice suggests.
Homes in Helotes are particularly affected because well-water and edge-of-metro systems can be even harder than SAWS city supply. Unlike cities with naturally soft water, local homeowners should treat hard-water maintenance as normal prevention, not an upsell.
> "When I see early leaks in San Antonio, I always look for hard-water scale, corrosion, and older neighborhood pipe materials before blaming one bad fixture." — Licensed local plumber
What San Antonio Homeowners Pay (2026)
| Service | Typical Cost in San Antonio |
|---|---|
| Emergency plumber call | $150–$350; after hours $250–$500 |
| Faucet replacement labor | $150–$300 |
| Plumber hourly rate | $85–$150/hr |
Prices are based on local metro area ranges for 2026. Costs may vary by neighborhood, access, pipe material, after-hours timing, and whether the plumber finds hard-water damage beyond the visible problem.
When to Call a San Antonio Plumber
Call a licensed local plumber if the problem involves active leaking, a shutoff valve that will not close, sewer smell, recurring clogs, water near electrical components, a water heater leak, or any pipe inside a wall, ceiling, or slab. Locally, expect many licensed plumbers to charge roughly $85-$150 per hour, with emergency visits commonly around $150-$350 and after-hours calls closer to $250-$500.
When you call, ask three local questions:
1. Are you licensed and insured for work in Bexar County or the surrounding local metro?
2. Have you dealt with Edwards Aquifer hard-water scale on this type of repair?
3. Should I also check the water heater, shutoff valves, or water softener while you are there?
local plumbers see hard-water issues every week, so a good pro should be able to explain whether the failure is normal wear, mineral damage, freeze damage from a cold snap like Winter Storm Uri, or a sign of a larger plumbing system problem.
San Antonio FAQ
Is local water hard?
Yes. local water is very hard at about 357 mg/L, or 21 grains per gallon, because much of it comes from the Edwards Aquifer and passes through limestone. That mineral content is why scale shows up quickly on faucets, showerheads, valves, drains, and water heaters.
Do local homes need a water softener?
A water softener is recommended for many local homes, especially if you see white scale, repeated faucet or valve problems, short water-heater life, or cloudy spots on dishes. A typical whole-home water softener installation in San Antonio runs about $1,500-$4,000.