> San Antonio Local Insight: San Antonio's hard water from the Edwards Aquifer affects every plumbing system in your home. With 357 mg/L mineral content (21 grains per gallon), our water causes faster corrosion, heavier scale buildup, and more frequent repairs than most US cities. Understanding this local factor helps you make better decisions about maintenance, repair, and prevention.
Local San Antonio Field Notes Before You Start
Before following any generic plumbing checklist, adjust it for our Edwards Aquifer water. At roughly 357 mg/L, or 21 grains per gallon, the calcium carbonate and magnesium in the water can turn a small maintenance issue into repeat wear on valves, seals, drains, heaters, and appliance connections. That means national advice needs a local filter before a homeowner decides whether to DIY, maintain, or call a pro.
A homeowner in Alamo Heights should be especially careful because older galvanized and mixed-metal lines make small leaks more urgent than they look. If you are comparing advice from national repair guides, shorten the maintenance interval and inspect for white scale, crusted fittings, stiff shutoff valves, and early corrosion before assuming the part simply “got old.”
For budgeting, use local pricing instead of national averages: licensed plumber labor commonly runs $85-$150 per hour, with emergency visits costing more. If the issue appears after a summer high-use period or after a rare freeze like Winter Storm Uri, treat it as a local risk signal and document what you see before calling a licensed plumber in Bexar County.
A plumbing problem rarely improves by itself. A slow drip can damage a cabinet, a running toilet can waste a surprising amount of water, and a blocked drain can become a contaminated overflow. The useful first step is not taking the whole fixture apart. It is identifying where the water is coming from, stopping any active damage, and deciding whether the repair is within a homeowner’s safe limits.
Many minor problems can be corrected with basic tools and inexpensive replacement parts. Others involve concealed pipes, sewage, gas appliances, electrical hazards, or the home’s main supply and need a licensed plumber. This guide explains how to make that distinction and how to approach common repairs without turning a manageable fault into a larger one.
Start by Containing the Problem
For an active leak, move belongings out of the wet area, place a bucket or tray beneath the source, and shut off the nearest fixture valve. Sink and toilet valves are normally on the wall or floor near the fixture. Turn the handle clockwise gently; forcing a seized valve can break its stem. If the local valve does not stop the flow, use the home’s main shutoff. Every household should know where that valve is before an emergency occurs.
Keep water away from outlets, power strips, appliances, and light fittings. If water has reached electrical equipment or is running through a ceiling, do not stand in the wet area to operate switches. Shut off power only from a dry, safely accessible panel, or call emergency help. A ceiling that is bulging with water can collapse, so keep people out from beneath it rather than puncturing it casually.
A sewage backup, suspected gas odor, burst supply line, or uncontrolled hot-water discharge is not a routine DIY job. Leave contaminated areas, avoid flames and switches if gas may be present, and call the appropriate emergency service or licensed trade professional. Containment is a successful first response even when the final repair is outsourced.
Diagnose Before You Take Anything Apart
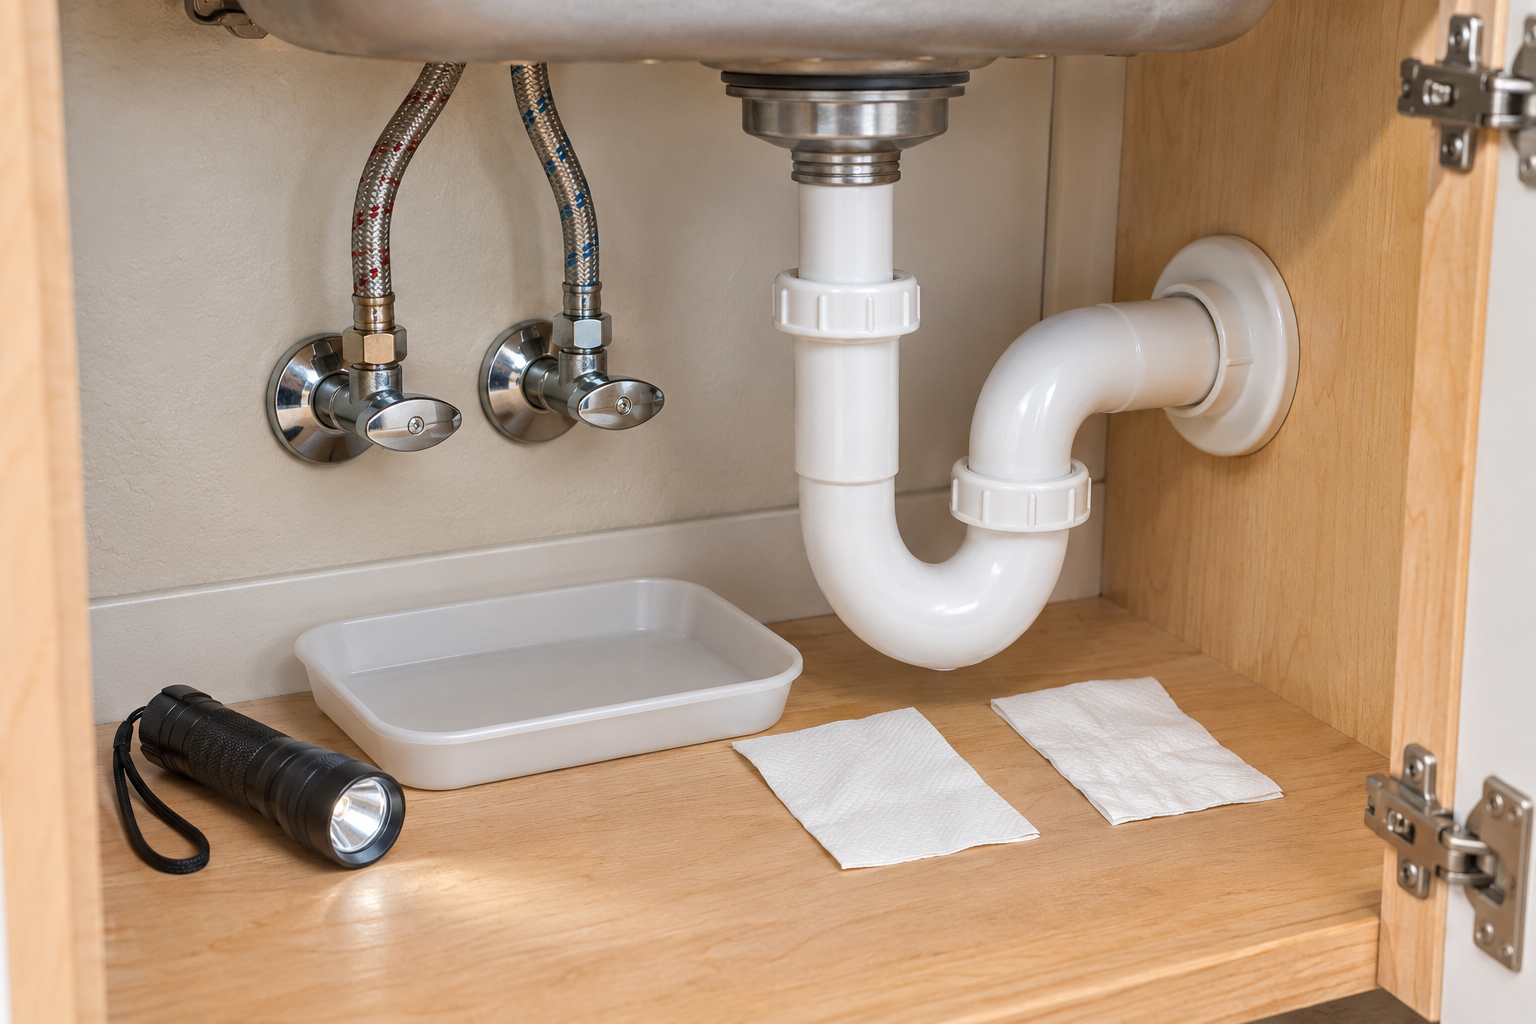
Dry the fixture and surrounding surfaces, then watch for the first place moisture reappears. Tissue paper wrapped around a joint can reveal a small seep. Check whether leakage happens constantly, only while a tap runs, only when a basin drains, or only when another fixture is used. Those timing clues separate pressurized supply leaks from drain and seal problems.
A constant leak at a braided hose or stop valve points toward the supply side. Water appearing beneath a sink only while the basin drains suggests the trap, waste fitting, or basin seal. A toilet that refills periodically may have a leaking flush valve even when no water is visible on the floor. Dampness after rain, by contrast, may be a roof or exterior-envelope problem rather than plumbing.
Do not assume the visible drip is directly below the defect. Water can travel along a pipe, cabinet edge, or joist before falling. Trace it uphill with a flashlight. Photograph the assembly before disassembly, note the make and model where possible, and label unusual parts. This makes reassembly easier and helps a plumbing supplier match replacements.
Use a Simple Plumbing Triage Table
The table below helps identify a sensible next action. It is not a substitute for inspection where water is concealed or safety is uncertain.
| Symptom | Likely area | Safe first check | Stop DIY when |
|---|---|---|---|
| Tap drips from spout | Cartridge, washer, or valve seat | Isolate supplies and identify tap model | Parts are seized or body is cracked |
| Water under sink while running tap | Supply hose or tap base | Dry area and observe joints | Valve will not close or hose is damaged |
| Water under sink while draining | Trap or waste seal | Hand-check slip nuts and inspect washers | Pipe is split or leak enters wall |
| Slow single drain | Local trap or branch blockage | Remove debris and use a plunger | Multiple fixtures back up |
| Toilet runs intermittently | Flapper, seal, or fill valve | Add food coloring to cistern water and observe bowl | Toilet is cracked or valve cannot isolate |
| Low pressure at one outlet | Clogged aerator or local valve | Clean aerator and confirm valves are open | Pressure drops throughout home |
| Damp wall or ceiling | Concealed supply or drain | Shut water off and document spread | Always obtain professional diagnosis |
Allow the fixture to remain out of use while diagnosing it. Repeatedly “testing” a suspected drain leak can saturate cabinetry and flooring. If a shutoff valve is old, corroded, or packed with mineral deposits, do not apply excessive leverage. Replacing that valve may require shutting down the whole home and should be planned rather than improvised.
Fix a Dripping Tap Without Damaging It
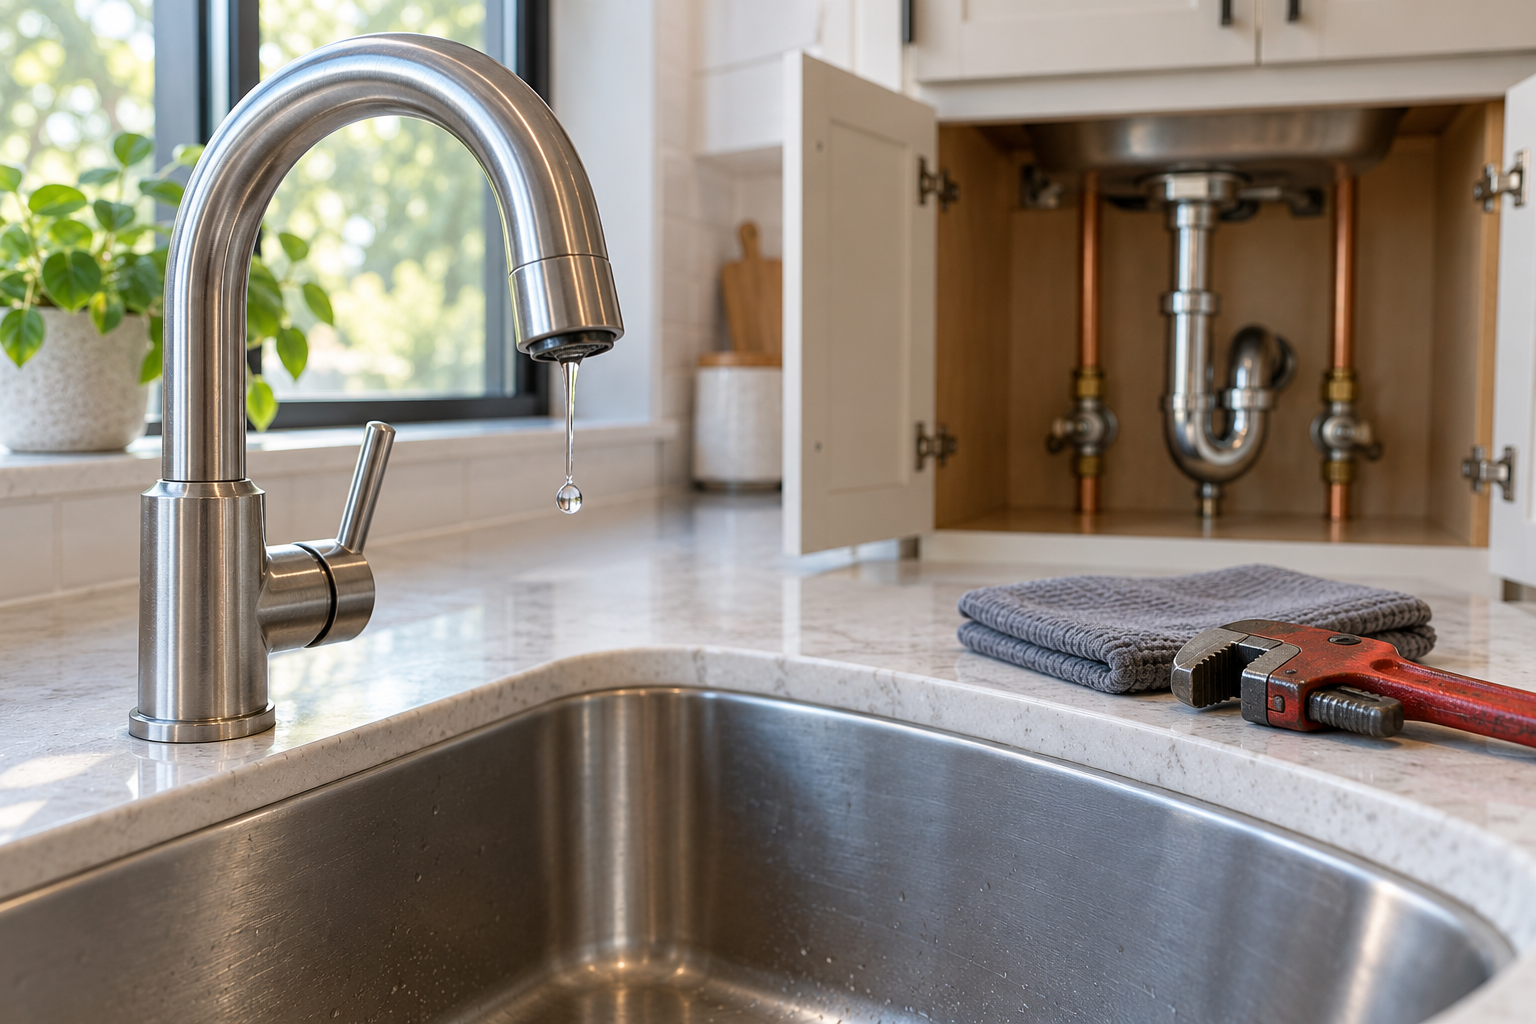
First close both hot and cold isolation valves, open the tap to release pressure, and plug the drain so screws cannot fall into it. Protect decorative finishes with a cloth and use the correct screwdriver or hex key. Remove the handle and trim according to the manufacturer’s arrangement, taking photos as layers come off. Cartridge taps usually need an exact replacement cartridge; traditional compression taps may need a washer, O-ring, or attention to a worn valve seat.
Mineral scale can make components stubborn. Use penetrating product only if it is suitable for potable-water fittings and keep it away from seals unless the instructions permit contact. Do not grip chrome directly with toothed pliers. If the retaining nut begins to round, the tap body twists in the sink, or a corroded component will not release with moderate force, stop. Breaking the body can turn a small repair into a flooded cabinet and full replacement.
Clean mating surfaces without scratching them, fit replacement seals in the correct orientation, and use only manufacturer-recommended lubricant. Reassemble snugly rather than overtightening. Restore water slowly and inspect with the tap closed, open, and moving between hot and cold. A few minutes of observation is more valuable than assuming a dry first glance means success.
Repair Leaks Beneath a Sink
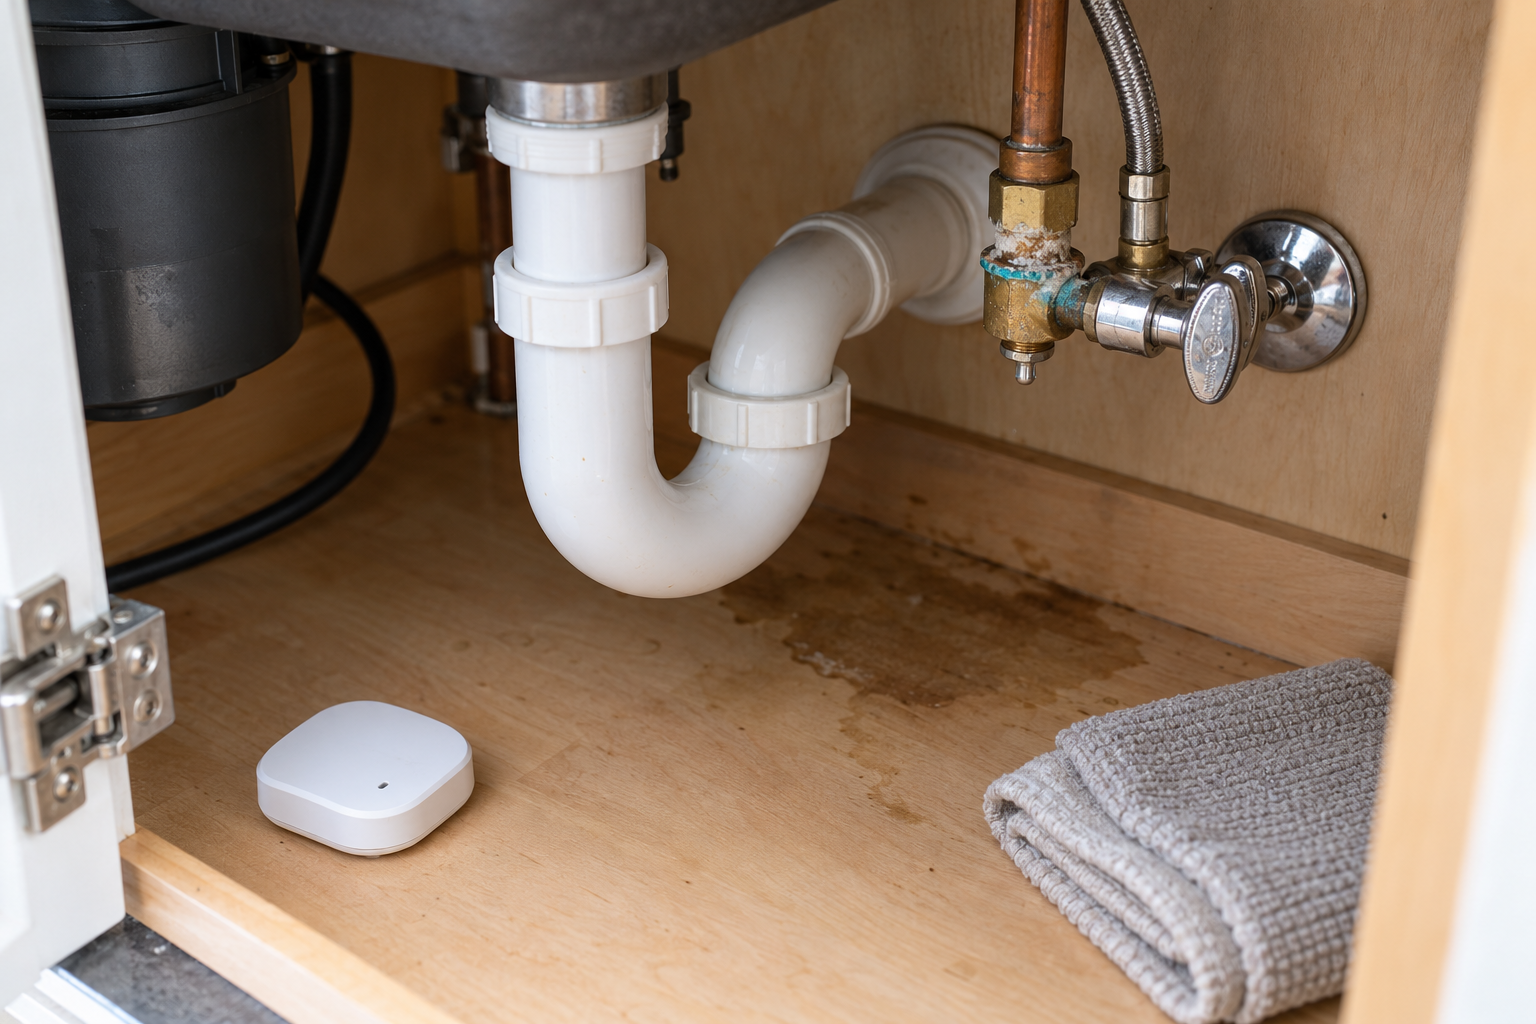
Clear the cabinet and distinguish supply components from drain components. Supply hoses remain pressurized even when the sink is not being used; any bulge, split braid, severe rust, or leak at a crimp calls for replacement rather than tape. Shut the fixture valves, release pressure at the tap, and use a correctly rated hose of the same connection type and appropriate length. Never reuse a visibly deformed sealing washer.
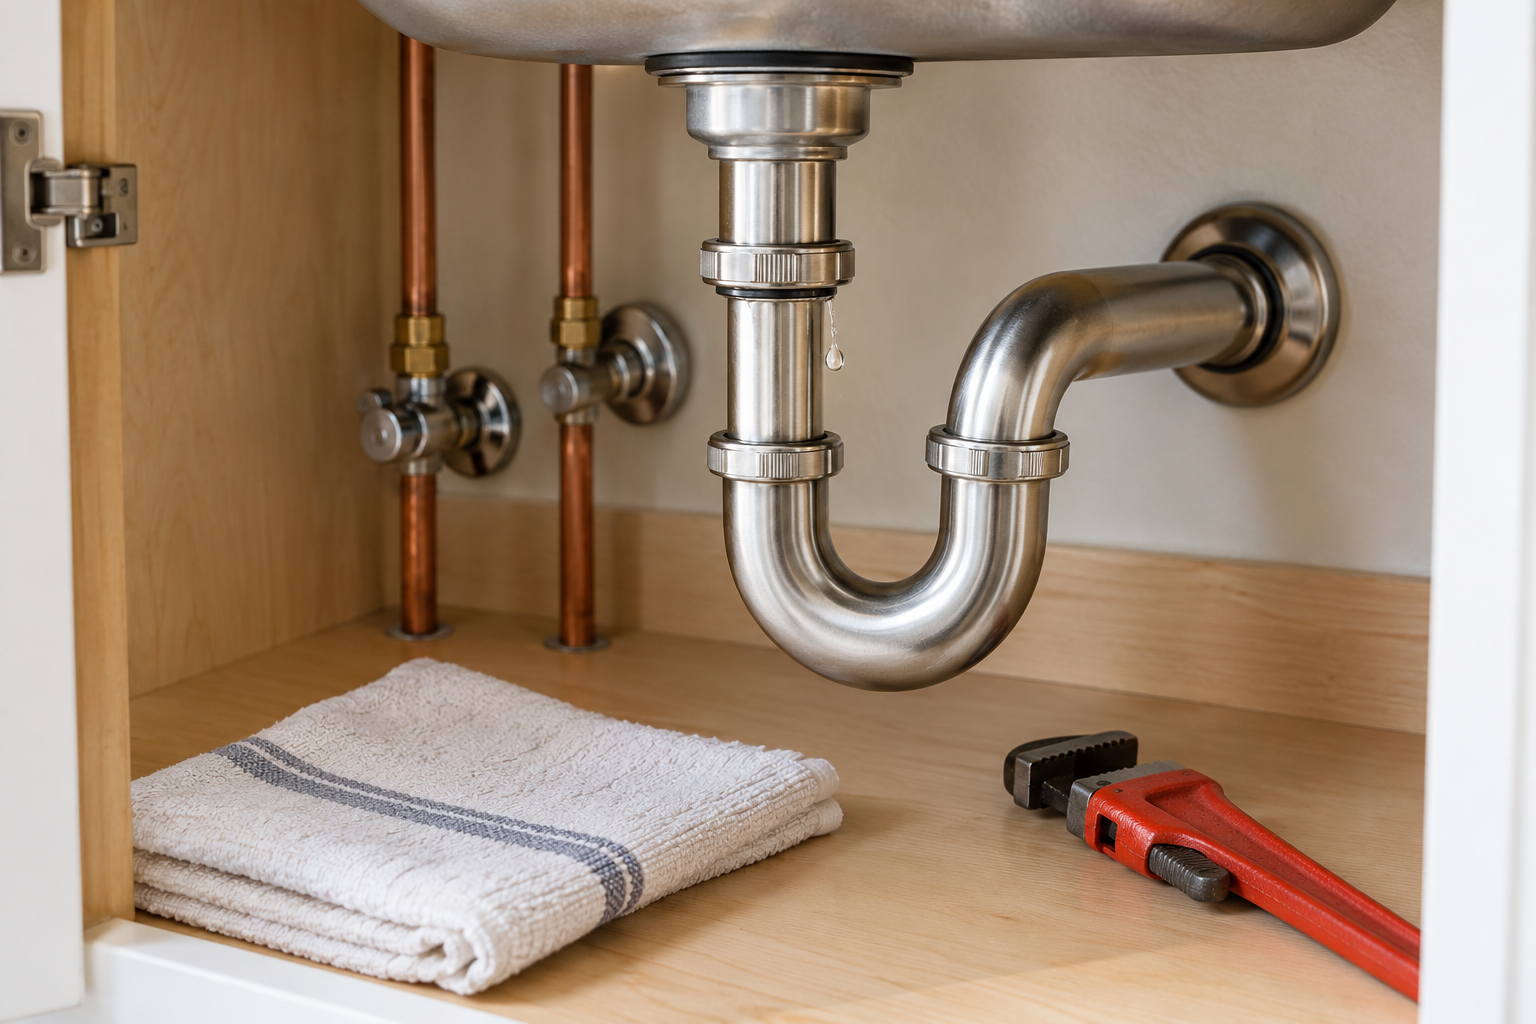
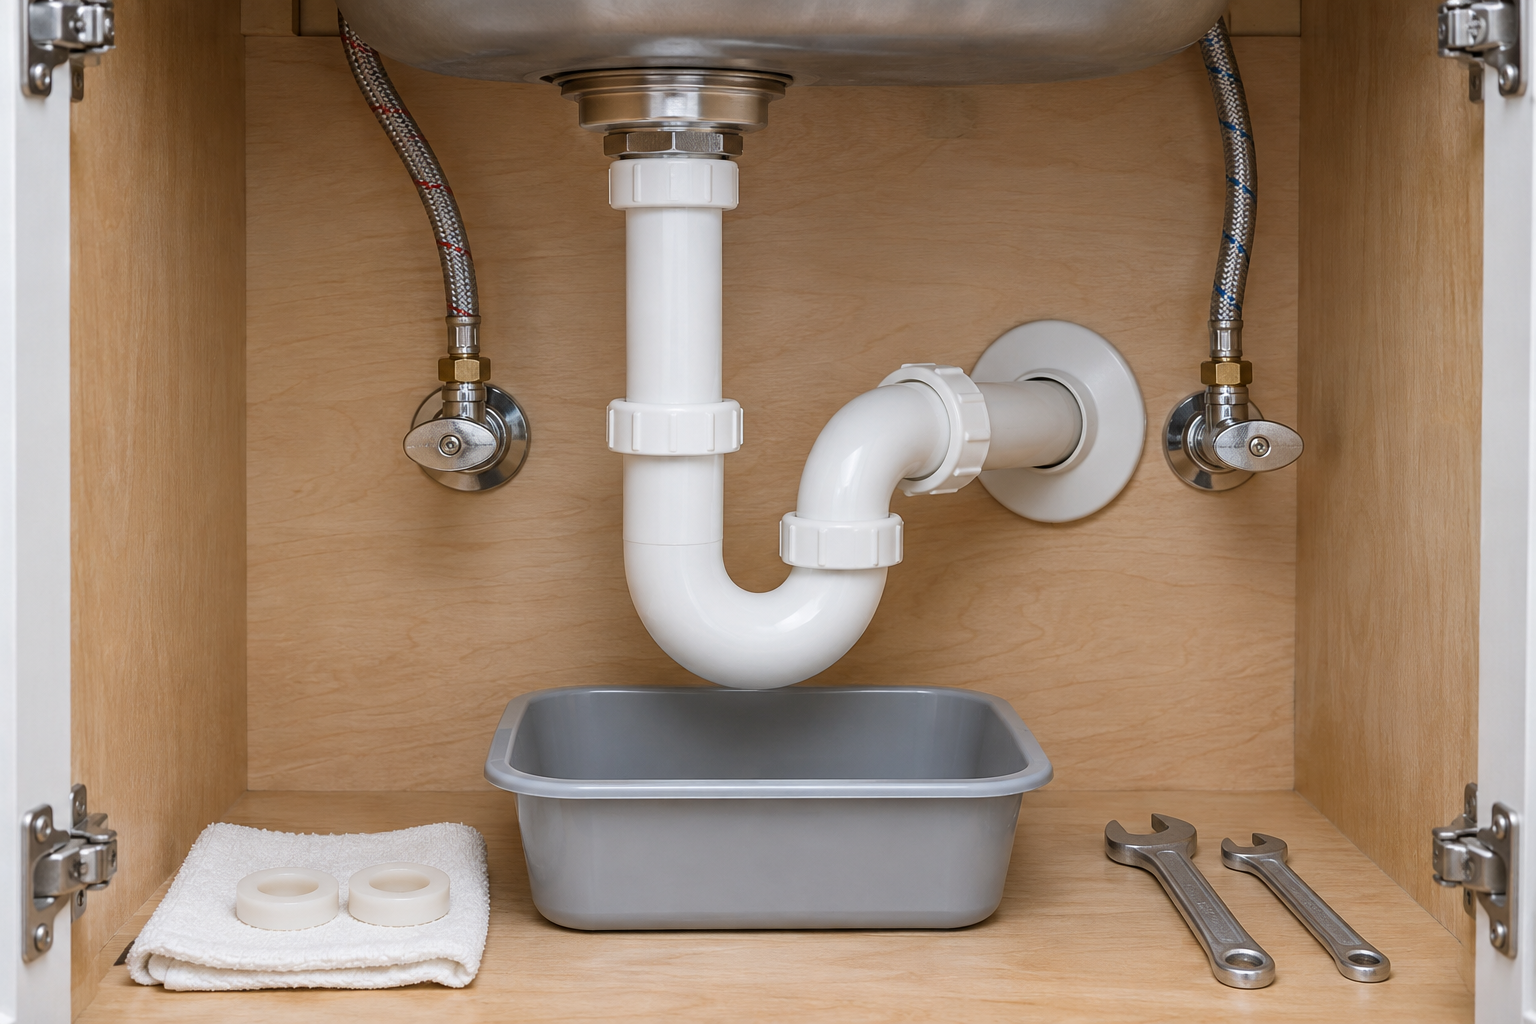
Drain traps operate without supply pressure and are often easier to service. Put a basin beneath the trap, loosen the slip nuts, and remove the trap while keeping it upright because it contains water. Clean debris, inspect washers for cracks or distortion, and confirm that tapered washers face the proper direction. Align the pipework naturally before tightening; a joint held together under sideways strain is likely to leak again.
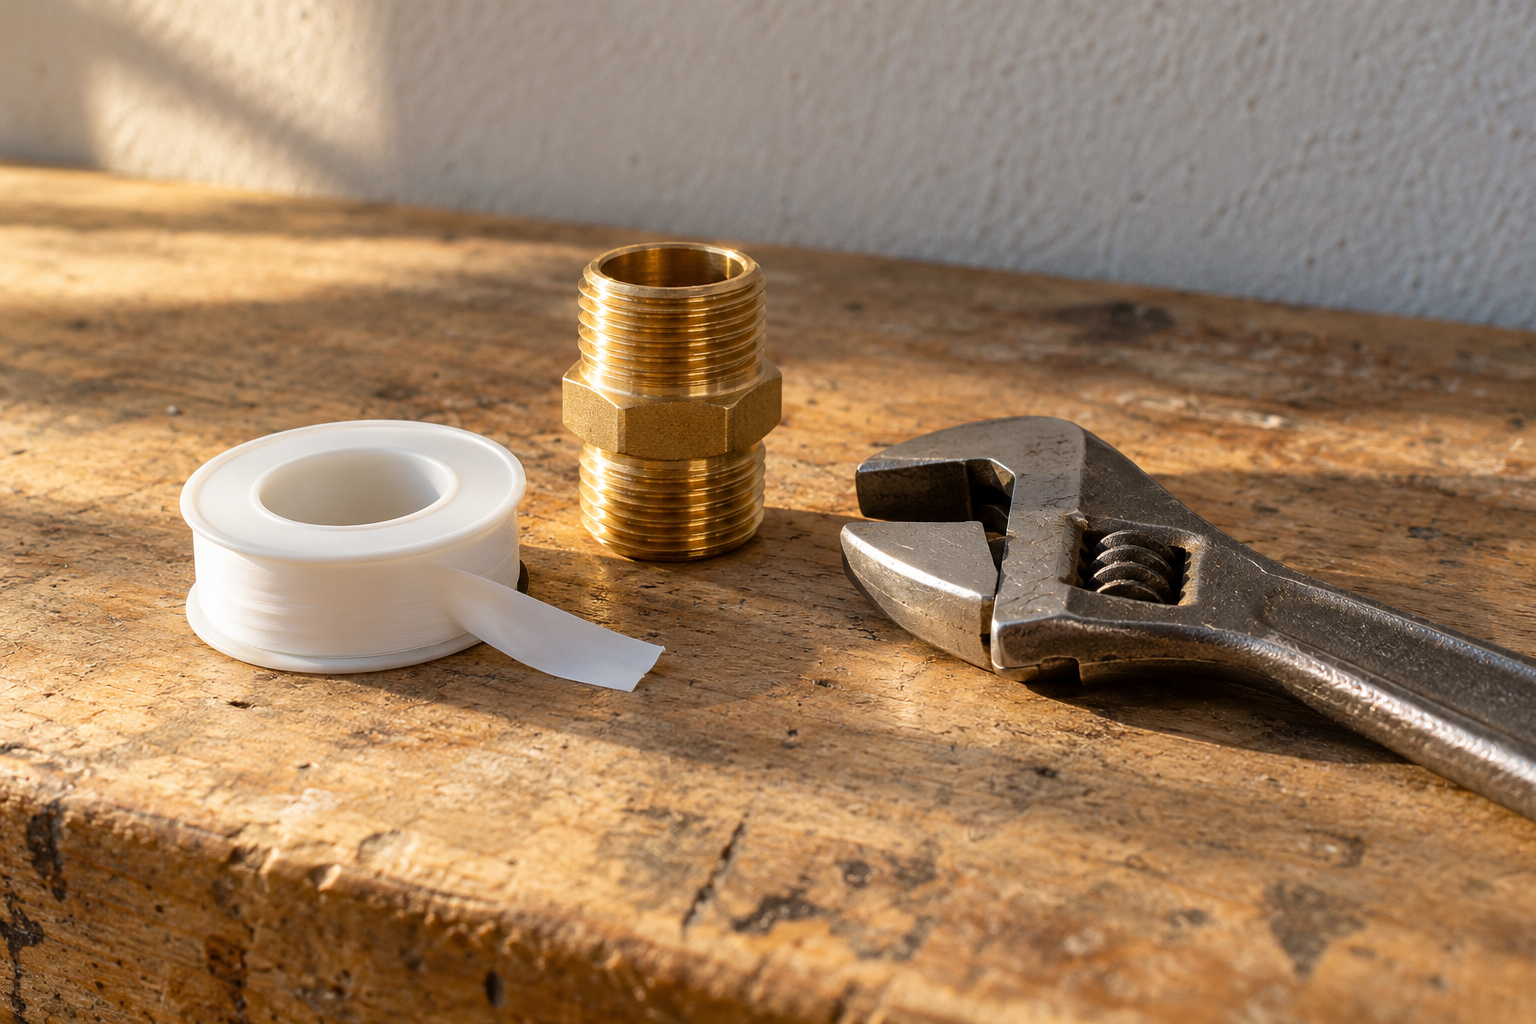
Thread tape is not a cure for every joint. Slip-joint washers create their own seal and usually do not need tape. Compression and proprietary connections must be assembled as designed. After reassembly, fill the basin, release it, and inspect every joint during the high-flow drain test. Repeat once, then check the cabinet later for a slow seep.
Clear a Slow or Blocked Drain Carefully
For a slow basin or bath drain, remove accessible hair and soap residue first. A small plastic drain tool can be effective, but use it carefully so it does not break off in the pipe. A cup plunger can help after the overflow opening is sealed with a damp cloth. Use steady strokes and enough water to cover the plunger rim. Clean and disinfect tools and surrounding surfaces afterward.
Avoid mixing chemical drain cleaners, and never plunge a drain after adding one because corrosive liquid may splash back. Strong products can damage some pipes, seals, and finishes while leaving the deeper blockage intact. If a cleaner has already been used, tell the plumber exactly what and when; this protects the person opening the system.
A blockage affecting several fixtures, wastewater rising in a shower when a toilet flushes, gurgling throughout the house, or sewage odor suggests a main drain or vent problem. Stop using water and arrange professional service. Repeatedly forcing water into a shared blockage can push contamination into lower fixtures and cause costly floor and wall damage.
Address Toilet Problems Methodically
For a running toilet, remove the cistern lid carefully and observe the water level. Water flowing into the overflow tube may indicate a misadjusted or failing fill valve. If the level is normal but water leaks into the bowl, the flush seal or flapper may be worn or obstructed. Replacement parts must suit the cistern design; universal parts work in many but not all assemblies.
Close the toilet isolation valve before replacing internal components. If the valve does not close fully, plan valve repair before proceeding. Follow the part instructions, avoid overtightening plastic nuts, and keep the float free to move. Restore water gradually and test several flushes while checking around the supply connection and cistern bolts.
Water at the toilet base is more serious than a running cistern. It may come from condensation, a supply leak, tank bolts, or a failed pan seal. If water appears during flushing, stop using the toilet. Wastewater can spread beneath flooring even when the visible amount is small. A rocking toilet, cracked ceramic, soft floor, or recurring base leak warrants professional removal and inspection.
Know When Pressure and Hot Water Need a Professional
Low pressure at one tap often comes from a blocked aerator. Unscrew it with the finish protected, note the order of screens and washers, rinse out debris, and soak mineral scale in a manufacturer-compatible descaling solution. If both hot and cold flow improve afterward, the restriction was local. Confirm that nearby isolation valves are fully open but do not force them.
Low pressure throughout the house, sudden pressure changes, banging pipes, or persistent discharge from a pressure-relief line needs broader diagnosis. Causes can include a failed pressure regulator, utility issue, hidden leak, or incorrectly supported pipework. Measuring and altering system pressure is not simply a matter of turning an unknown screw; excessive pressure can damage fixtures and appliances.
Do not modify a water heater’s safety controls or cap a dripping relief pipe. Hot water can scald, stored water can carry substantial energy, and some heaters combine water, electricity, and gas. If there is overheating, rumbling, scorching, gas odor, a leaking tank, or water near electrical connections, isolate only what is safe and call a qualified technician.
Test the Repair and Prevent Hidden Damage
Restore supply slowly while watching the repaired area. Test under realistic conditions: run both temperatures, fill and drain the basin, flush repeatedly, or operate the appliance connected to the line. Wipe joints dry between tests so a new bead of water is obvious. Check again after ten minutes and later the same day. Put dry paper beneath a repaired cabinet joint as a simple seep indicator.
Water-damaged materials also need attention. Remove standing water promptly, ventilate where safe, and document damage for insurance before discarding significant materials. Swollen particleboard, stained drywall, loose flooring, or a musty smell may indicate moisture beyond the visible surface. A moisture-restoration professional may be appropriate after a substantial leak, especially where water entered cavities or involved sewage.
Prevention is straightforward: inspect hoses and valves periodically, keep cabinets clear enough to see leaks, avoid hanging items from pipework, use strainers, and do not flush wipes or hygiene products. In Alamo Heights homes with mixed galvanized and copper work, treat new rust, green staining, or a suddenly stiff stop valve as a reason to inspect the surrounding run rather than replacing one cosmetic part. Know the main shutoff location and keep the correct meter or valve key accessible if one is required. Before drilling into a wall, check for pipes and cables.
When Calling a Plumber Is the Better Repair
Call promptly for a burst or concealed pipe, a main drain backup, recurring blockage, frozen or split pipe, sewage exposure, failed main shutoff, damaged gas appliance connection, or leak near electrical equipment. Also call when local rules require licensed work. Permits and code requirements matter for water heaters, new pipe runs, backflow devices, and changes to drainage or venting.
A clear description can reduce diagnostic time. Tell the plumber which fixture is affected, when the symptom occurs, whether the local and main valves work, and whether chemicals were used. Share photos, model numbers, and any recent renovation or freezing event. Do not conceal a temporary repair; knowing what has been altered helps the professional work safely.
DIY is sensible when the fault is accessible, the water can be fully isolated, the correct part is known, and the consequences of a mistake are limited. Professional work is the economical choice when diagnosis is uncertain or failure could damage the structure. The aim is not to prove that every plumbing problem can be fixed alone—it is to restore a reliable, sanitary system without creating another fault.
Frequently Asked Questions
Can I use thread tape to stop any plumbing leak?
No. Thread tape is appropriate for certain tapered threaded connections, but many plumbing joints seal with washers, O-rings, compression olives, or flat gaskets. Tape on the wrong joint can interfere with alignment and hide the real defect. Identify the connection and follow its specified sealing method.
Is a dripping tap an emergency?
Usually it is not an immediate emergency if water is contained at the spout, but it should still be repaired. A drip can worsen, stain fixtures, and indicate a worn internal part. A tap leaking around its base, beneath the counter, or from a supply hose deserves faster action because it can damage hidden materials.
Why does my drain keep blocking after I clear it?
Recurring blockage may mean debris remains deeper in the branch, the pipe has poor fall, roots or damage affect an exterior line, or inappropriate material keeps entering the drain. Multiple affected fixtures point away from a simple local clog. A plumber can inspect and, where justified, use a camera after clearing access.
How tight should plumbing fittings be?
There is no universal answer. Plastic slip nuts are often hand-tight plus a small adjustment, while other fittings have manufacturer torque guidance. More force is not automatically better; overtightening can split nuts, deform washers, crack ceramic, or damage threads. Tighten according to the fitting design and test for leaks.
Should I shut off the main water when leaving for a trip?
It can reduce the impact of a supply leak if the home and its appliances are suitable for shutdown. Consider heating systems, fire sprinklers, irrigation, water treatment, and manufacturer instructions first. If you do shut it off, ensure the valve operates properly and reopen it slowly on return while checking fixtures.
Why This Is Different in San Antonio
San Antonio's Edwards Aquifer supplies some of the hardest municipal water in the United States: about 357 mg/L, or 21 grains per gallon. That limestone-filtered groundwater carries calcium carbonate and magnesium into our fixtures, valves, drains, heaters, and supply lines. For fix plumbing, that matters because mineral scale changes the maintenance schedule, failure signs, and realistic repair costs for local homeowners.
- Scale buildup makes small restrictions worse, especially at cartridges, aerators, shutoff valves, drains, and heater connections.
- Fixtures, pipes, and appliances in our area can wear out 30-50% faster than in soft-water cities when maintenance is delayed.
- SAWS publishes annual water quality reports, but the practical homeowner takeaway is simple: maintenance intervals here should be shorter than national advice suggests.
Homes in Alamo Heights are particularly affected because older 1920s-40s homes often still have galvanized or mixed-metal plumbing that reacts badly to mineral-heavy water. Unlike cities with naturally soft water, local homeowners should treat hard-water maintenance as normal prevention, not an upsell.
> "In my 20 years working in San Antonio, I would say most surprise plumbing failures I see start with homeowners following soft-water maintenance advice in a hard-water city." — Licensed local plumber
What San Antonio Homeowners Pay (2026)
| Service | Typical Cost in San Antonio |
|---|---|
| Emergency plumber call | $150–$350; after hours $250–$500 |
| Plumber hourly rate | $85–$150/hr |
| Water softener installation | $1,500–$4,000 |
Prices are based on local metro area ranges for 2026. Costs may vary by neighborhood, access, pipe material, after-hours timing, and whether the plumber finds hard-water damage beyond the visible problem.
When to Call a San Antonio Plumber
Call a licensed local plumber if the problem involves active leaking, a shutoff valve that will not close, sewer smell, recurring clogs, water near electrical components, a water heater leak, or any pipe inside a wall, ceiling, or slab. Locally, expect many licensed plumbers to charge roughly $85-$150 per hour, with emergency visits commonly around $150-$350 and after-hours calls closer to $250-$500.
When you call, ask three local questions:
1. Are you licensed and insured for work in Bexar County or the surrounding local metro?
2. Have you dealt with Edwards Aquifer hard-water scale on this type of repair?
3. Should I also check the water heater, shutoff valves, or water softener while you are there?
local plumbers see hard-water issues every week, so a good pro should be able to explain whether the failure is normal wear, mineral damage, freeze damage from a cold snap like Winter Storm Uri, or a sign of a larger plumbing system problem.
San Antonio FAQ
Is San Antonio water hard?
Yes. San Antonio water is very hard at about 357 mg/L, or 21 grains per gallon, because much of it comes from the Edwards Aquifer and passes through limestone. That mineral content is why scale shows up quickly on faucets, showerheads, valves, drains, and water heaters.
Do local homes need a water softener?
A water softener is recommended for many local homes, especially if you see white scale, repeated faucet or valve problems, short water-heater life, or cloudy spots on dishes. A typical whole-home water softener installation in San Antonio runs about $1,500-$4,000.