> San Antonio Local Insight: San Antonio's hard water from the Edwards Aquifer affects every plumbing system in your home. With 357 mg/L mineral content (21 grains per gallon), our water causes faster corrosion, heavier scale buildup, and more frequent repairs than most US cities. Understanding this local factor helps you make better decisions about maintenance, repair, and prevention.
Local San Antonio Field Notes Before You Start
Before following any generic plumbing checklist, adjust it for our Edwards Aquifer water. At roughly 357 mg/L, or 21 grains per gallon, the calcium carbonate and magnesium in the water can turn a small maintenance issue into repeat wear on valves, seals, drains, heaters, and appliance connections. That means national advice needs a local filter before a homeowner decides whether to DIY, maintain, or call a pro.
A homeowner in Stone Oak should be especially careful because 1990s and 2000s copper lines are a common place for pinhole leaks and scale-related fixture wear. If you are comparing advice from national repair guides, shorten the maintenance interval and inspect for white scale, crusted fittings, stiff shutoff valves, and early corrosion before assuming the part simply “got old.”
For budgeting, use local pricing instead of national averages: licensed plumber labor commonly runs $85-$150 per hour, with emergency visits costing more. If the issue appears after a summer high-use period or after a rare freeze like Winter Storm Uri, treat it as a local risk signal and document what you see before calling a licensed plumber in Bexar County.
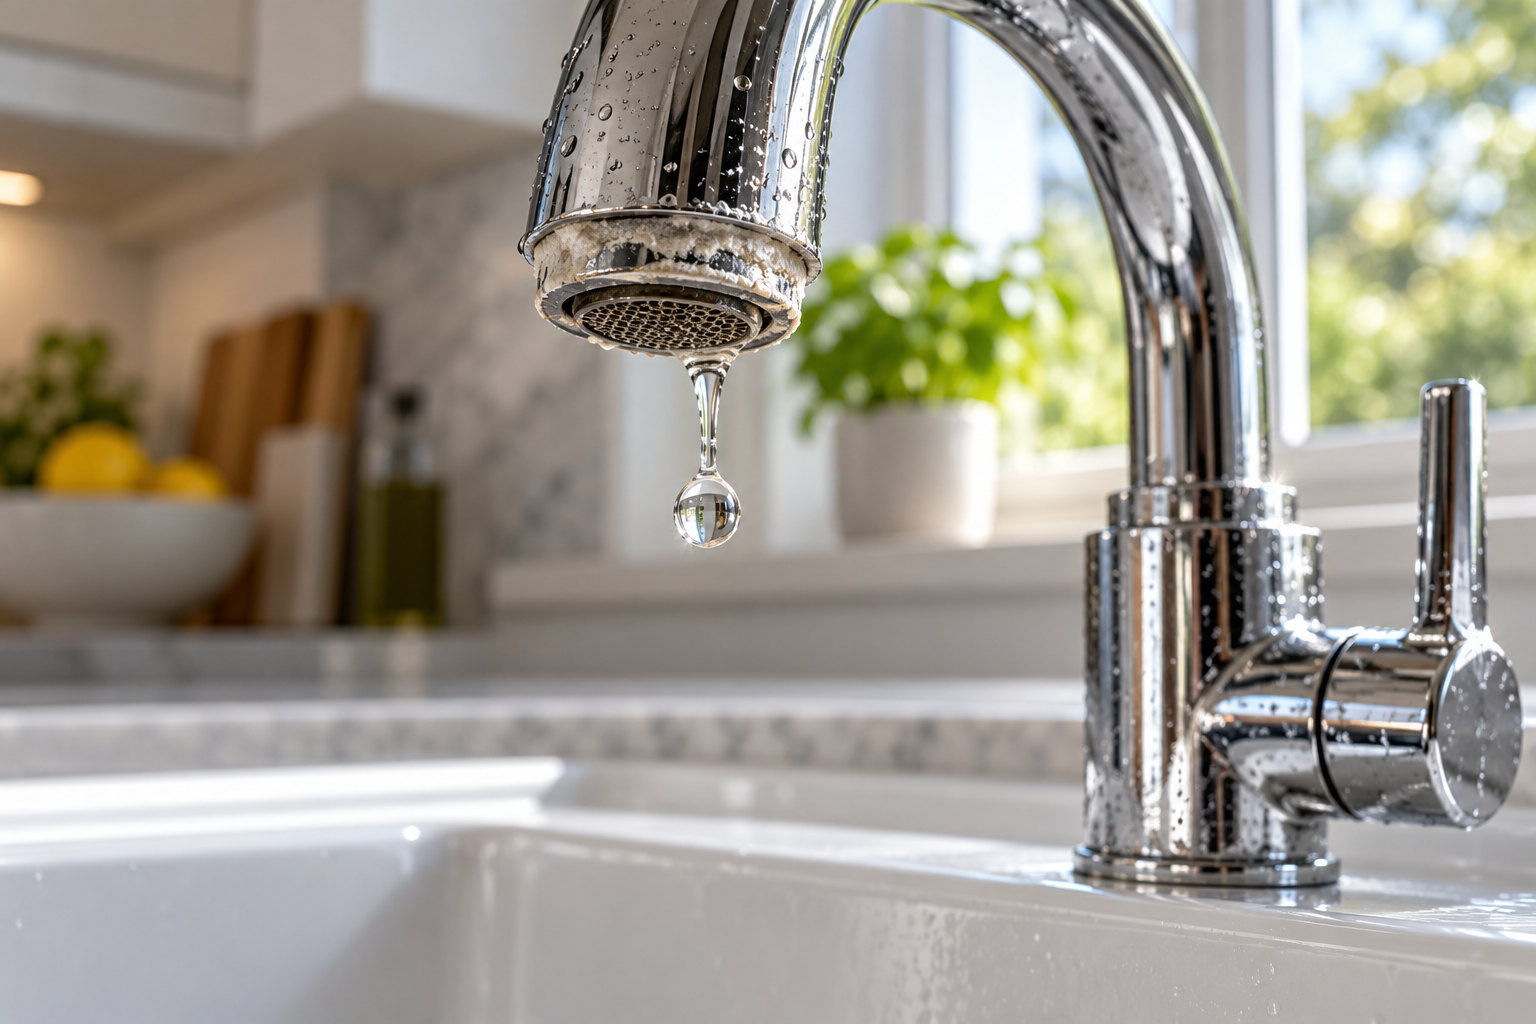
A dripping, stiff, noisy, or weak-flowing tap does not always need complete replacement. Mineral debris in the aerator, a worn washer, a damaged O-ring, or a failing cartridge can often be corrected with a modest part and careful work. The key is to identify the tap type and the exact location of the fault before buying anything.
Tap repair becomes less predictable when isolation valves do not close, corrosion has seized the fittings, the tap body is cracked, or water has reached the cabinet or wall. In those cases, paying a plumber can be cheaper than damaging the sink or creating an uncontrolled leak. Use the checks below to decide what is safe, what part you may need, and when replacement makes more sense than repair.
First Identify What the Tap Is Doing
Observe the tap through a full cycle without dismantling it. Does water drip from the spout after the handle is closed, seep around the handle only while running, pool around the base, or appear beneath the sink? Does the handle feel unusually loose or stiff? Is flow weak on both hot and cold, or on only one side? Each symptom points to a different component.
A spout drip commonly indicates that the internal shutoff component is no longer sealing. Depending on design, that may be a rubber washer in a compression tap, a ceramic disc cartridge, or part of a mixer cartridge. Leakage around a moving spindle can come from an O-ring or packing seal. Water at the base might be a body seal, but it can also be water splashing back from normal use, so dry everything before testing.
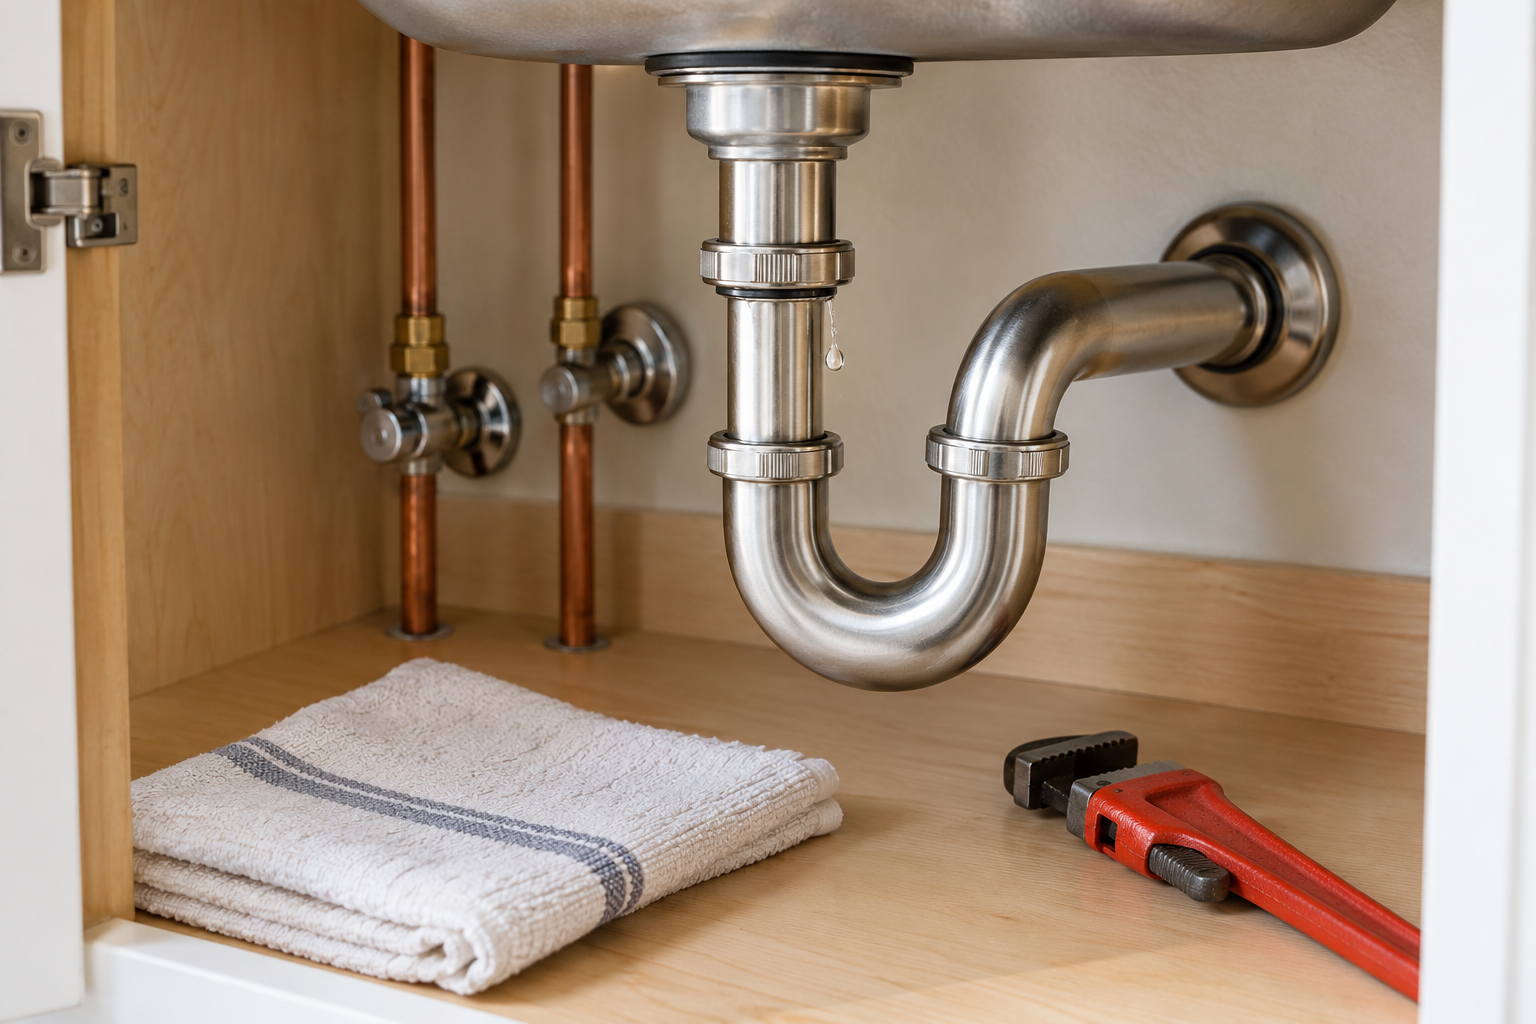
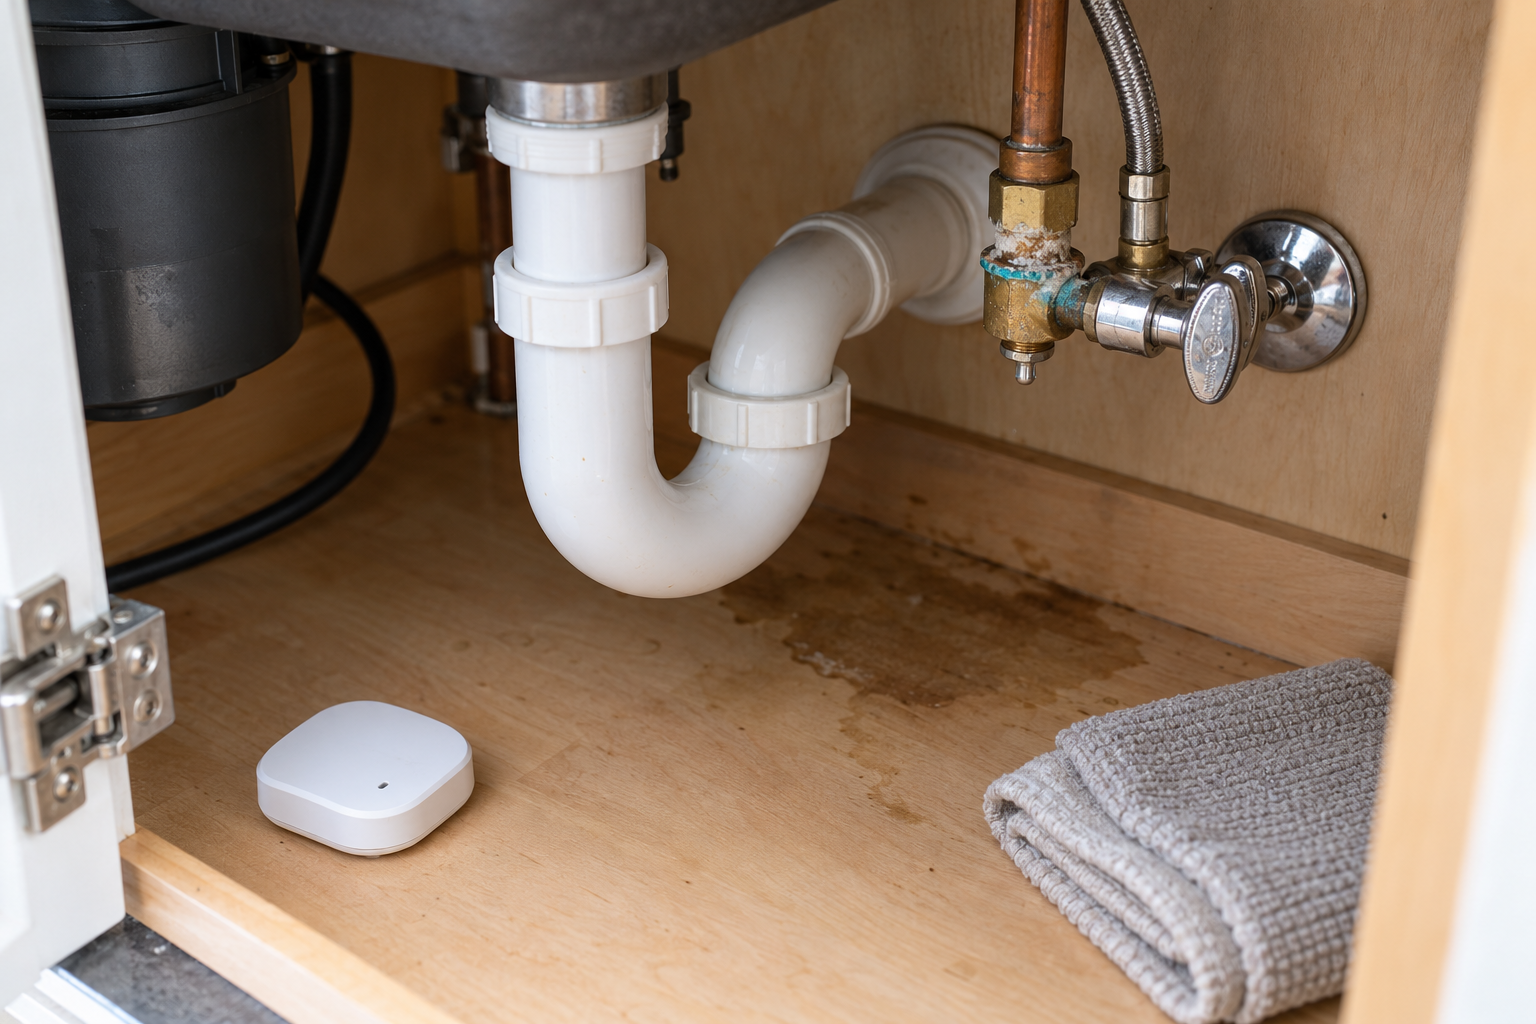
Under the sink, distinguish water coming down the tap’s mounting hole from leakage at a supply hose or shutoff valve. Wrap dry tissue around each connection and operate the tap while watching from a safe angle. A pressurized hose leak needs prompt isolation. Do not assume tightening is always the answer; a split hose, failed crimp, or distorted gasket should be replaced.
Make the Area Safe Before Repair
Locate the hot and cold isolation valves beneath the sink. Turn them clockwise gently, then open the tap to confirm flow stops and pressure is released. If water continues, the valves may not be closing fully. Do not begin disassembly while the tap remains pressurized. Use the home’s main shutoff if you know it works, or call a plumber to replace unreliable local valves.
Keep the workspace dry and protect nearby outlets, garbage disposals, dishwashers, and powered appliances. Water and electricity are a serious combination. If an existing leak has reached wiring or an outlet, avoid touching wet equipment and isolate power only from a dry, safely accessible panel. Seek professional help if the electrical risk cannot be controlled confidently.
Hot supplies can scald even after a tap is closed. Allow hot pipework to cool, wear eye protection when dealing with mineral scale or spring-loaded parts, and plug the drain so small screws cannot disappear. Never use an open flame to loosen a fitting. If the tap serves a special filtered, boiling-water, or pressurized system, follow its manufacturer’s shutdown procedure rather than treating it as an ordinary mixer.
Identify the Tap Type and Find the Correct Part
Compression taps usually have separate hot and cold handles that turn through several rotations. They use a rising spindle and replaceable washer pressed onto a valve seat. Quarter-turn taps generally use ceramic cartridges. Single-lever mixers use a cartridge that controls both flow and temperature, while some specialty taps use proprietary valves or electronic controls.
Look for a manufacturer name, model number, or logo on the body, handle, original paperwork, or underside label. Photograph the tap and measure important dimensions only after isolation. Cartridge height, stem pattern, rotation direction, diameter, and locating tabs can vary even when two parts look similar. Taking the old component to a reputable plumbing supplier is often more reliable than choosing from a photo alone.
Do not remove a cartridge simply to browse for parts unless you can leave the fixture safely isolated. In a one-bathroom home, plan the repair around store hours and availability. Some manufacturers provide exploded diagrams and part numbers online. An exact genuine or approved part can cost more than a generic component, but correct fit matters more than a small initial saving.

Use This Quick Repair-or-Replace Guide
A symptom can have more than one cause, but this table narrows the first inspection and helps prevent random part replacement.
| Symptom | Likely cause | Reasonable homeowner check | Consider a plumber or replacement when |
|---|---|---|---|
| Drip from spout | Washer, valve seat, or cartridge | Identify tap and replace exact wear part | Body or seat is badly damaged |
| Leak around handle | O-ring, gland seal, cartridge | Inspect seals after safe isolation | Stem or housing is corroded |
| Leak at tap base | Base seal, loose mounting, internal path | Dry and trace water source | Water is entering counter or wall |
| Weak flow on both temperatures | Blocked aerator | Remove and clean aerator | Whole-home pressure is low |
| Weak flow on one temperature | Local valve, hose, or cartridge restriction | Confirm valve is fully open | Hose is kinked internally or valve fails |
| Stiff or grinding handle | Scale or worn cartridge | Use approved lubricant or replace cartridge | Handle, stem, or body may break |
| Tap moves on sink | Loose mounting hardware | Stabilize below and tighten appropriately | Access is poor or sink is fragile |
Price the complete job, not just the visible component. A washer or O-ring may cost under $20, while a straightforward local service visit commonly starts around $150 before a proprietary cartridge or new fixture. A cheap washer repair is attractive when the tap body and valves are sound. In Stone Oak, inspect nearby copper and supply stops for blue-green staining or white mineral crust before assuming the cartridge is the only worn part. If access is difficult, supplies are deteriorated, parts are obsolete, and the finish is failing, paying labor to rebuild an old tap may offer less value than fitting a quality replacement.
Clean an Aerator to Restore Weak Flow
If pressure is normal elsewhere but one tap has weak or uneven flow, inspect the aerator at the spout. Close the tap, place a towel in the basin, and unscrew the aerator by hand if possible. For a recessed “cache” aerator, use its matching key. If pliers are necessary, protect the finish with cloth or soft jaws and avoid crushing the housing.
Lay the parts out in removal order. Rinse loose grit from screens and inspect the rubber washer. Mineral deposits can often be softened with a mild descaling solution compatible with the materials. Do not scrape delicate screens aggressively or mix cleaning chemicals. Rinse everything thoroughly before reinstalling because the component contacts potable water.
Briefly running the tap without the aerator can flush loose debris, but control the splash and do not do this if the manufacturer advises otherwise. Reassemble the screens in the original order and tighten only enough to seal. If flow remains poor on one supply, the restriction may be in the cartridge, hose, or isolation valve and deserves more careful diagnosis.
Repair a Compression Tap Drip
After isolating both supplies and verifying no flow, remove the decorative cap, handle screw, and handle. Hold the tap body steady while loosening the valve headwork with the correct spanner. Protect the finish and counter. If the entire tap twists, stop and secure or professionally remove it; movement can stress the supply connections below.
At the bottom of the valve, inspect the rubber washer and retaining screw. Replace the washer with the exact size and a material suitable for the water temperature. Examine O-rings and replace damaged ones with compatible parts. A grooved or pitted valve seat can cause a new washer to fail quickly. Seat work requires the correct tool and judgment; aggressive grinding can permanently damage the tap.
Clean accessible scale without scratching sealing surfaces. Apply only a small amount of potable-water-approved silicone grease where the component instructions allow it. Reassemble in order, avoiding excessive torque. With the tap closed, reopen the isolation valves slowly. Check around the headwork and beneath the sink, then operate the handle and confirm the spout stops without forcing it tightly.
Replace a Ceramic or Mixer Cartridge
Cartridge repair begins with exact identification. Remove the handle screw, which may be behind a cap or beneath the lever, followed by the trim and retaining nut or clip. Take photos at every stage. Note the cartridge orientation because locating pins and hot-cold alignment matter. On quarter-turn pairs, hot and cold cartridges may rotate in opposite directions.
Mineral buildup can hold the cartridge firmly. Use a manufacturer-approved puller if one is specified; do not lever hard against a thin deck or decorative body. If the retaining nut rounds, the housing flexes, or the cartridge breaks apart, stop. Extracting fragments without scoring the bore can require specialized tools and may determine whether the tap remains repairable.
Clean the cartridge chamber gently and check for debris, cracks, and damaged seals. Insert the replacement in the proper orientation without forcing it, reinstall the retainer, and ensure the handle moves through its intended range. Restore water slowly, test temperature control, and inspect under static and running conditions. Incorrect assembly can reverse controls or prevent full shutoff.

Stop Leaks at the Base or Under the Sink
Water around a tap base must be traced rather than guessed at. Dry the sink and tap completely, then run water directly into the drain without splashing the deck. Move the handle through its range and observe the base. If no water appears, controlled splashing around the base can test the external deck seal separately. This distinguishes an internal leak from water entering around a failed mounting gasket.
Under the sink, use a flashlight to inspect mounting hardware, flexible hoses, and valve connections. Never put your face beneath a suspected pressurized leak. A bead forming at a threaded connection may reflect a failed gasket or loose fitting, while moisture traveling down a hose can originate inside the tap. Mark the first wet point and verify it twice.
A loose tap may be stabilized by tightening its mounting nut while someone keeps the body aligned, but countertops and ceramic basins can crack under excessive force. Corroded hardware may need cutting in a restricted space. Replace any bulging, kinked, rusted, or leaking hose with a correctly rated new one; tape is not a safe repair for a damaged pressurized supply line.
Avoid Common Repair Mistakes
Do not buy a part based only on the words “standard cartridge.” Similar-looking cartridges differ in diameter, height, splines, tabs, and port layout. Do not use petroleum grease on seals unless specifically permitted, because it can degrade some rubber. Do not wrap thread tape around joints that seal with flat washers, O-rings, or compression components.
Overtightening is another frequent cause of failure. It can crack plastic nuts, deform seals, strip threads, or fracture a ceramic basin. Conversely, leaving pipework under sideways tension can make a sound joint leak. Components should align naturally, seals should sit flat, and fasteners should follow manufacturer guidance. If more force seems to be the only solution, reconsider the diagnosis.
Avoid chemical shortcuts for mechanical faults. Descaler can help with removable mineral deposits when compatible with the part, but harsh products will not repair a damaged cartridge or cracked body. Never mix chemicals. Keep removed pieces until the repair has passed testing, and do not close the cabinet immediately—leaving it open makes a slow leak easier to spot.
Decide Whether Paying for Repair Makes Sense
A professional repair is especially worthwhile when isolation valves fail, the tap is wall-mounted, pipework is concealed, access requires sink removal, or the fault involves a boiling-water or electronic fixture. It is also appropriate when leakage has entered cabinetry, flooring, or a wall. The visible tap may be only one part of the damage.
Ask for a clear scope: diagnostic labor, replacement part, new supply hoses if needed, and whether a complete tap replacement would cost substantially more. Availability matters. Waiting for a proprietary cartridge while the only sink remains isolated may make replacement more practical. Conversely, a durable, serviceable tap may be worth rebuilding rather than discarding for one worn component.
When comparing replacement taps, consider compatible mounting holes, spout reach, water pressure requirements, available under-sink clearance, warranty, and future part availability. Extremely cheap fixtures can create false economy if cartridges and hoses cannot be sourced. A plumber can also identify deteriorated valves or noncompliant connections that should be addressed during the same visit.
Test the Finished Tap Repair
Before restoring water, confirm that tools are removed, the drain is clear, and every retainer is fitted. Keep the tap closed and open each isolation valve slowly while watching the supply connections. Pause if there is a spray, hiss, or growing bead of water. Once static joints remain dry, open the tap gradually and test hot, cold, mixed flow, and shutoff.
Wipe all components dry, then repeat the inspection with tissue around suspect joints. Fill and drain the basin to make sure nearby waste plumbing was not disturbed during the work. Check that the tap is stable and the handle does not bind. Return after ten minutes and again later that day; slow seepage may not show during the first minute.
Keep the part number and repair date with household records. Periodically clean the aerator, address stiffness before forcing a handle, and exercise accessible isolation valves gently if their manufacturer allows it. Never ignore moisture beneath a sink. Early attention can keep a tap repair small instead of allowing water to damage the cabinet, counter substrate, and floor.
Frequently Asked Questions
Why does my new washer still drip?
The replacement may be the wrong size or material, the washer may be installed unevenly, or the valve seat may be scored. Debris can also prevent closure. Avoid tightening the handle harder, which accelerates damage. Isolate the supply and inspect the assembly again or have the seat and valve professionally assessed.
Can I replace a tap cartridge without turning off the water?
No. A cartridge is part of the pressurized water control. Both supplies must be reliably isolated and the tap opened to confirm pressure is relieved. If local valves do not stop the flow, use a known working main shutoff or call a plumber before disassembly.
Is a dripping mixer tap always a cartridge problem?
Not always. Debris, damaged seals, excessive system pressure, or an internal body defect can produce similar symptoms. The cartridge is a common wear component, but diagnosis should include the tap model, where water appears, and whether pressure problems affect other fixtures.
Can I use ordinary grease on tap O-rings?
Use only lubricant explicitly approved for potable-water plumbing and compatible with the seal material, commonly an appropriate silicone plumbing grease. Petroleum products can damage some elastomers and may not be suitable for drinking-water contact. Apply sparingly according to instructions.
When should I replace the whole tap instead of repairing it?
Replacement is sensible when the body is cracked or badly corroded, repair parts are unavailable, several components are failing, the finish and mounting are deteriorated, or labor to extract a seized part approaches replacement cost. A sound, serviceable tap with an available cartridge is often worth repairing.
Why This Is Different in San Antonio
San Antonio's Edwards Aquifer supplies some of the hardest municipal water in the United States: about 357 mg/L, or 21 grains per gallon. That limestone-filtered groundwater carries calcium carbonate and magnesium into our fixtures, valves, drains, heaters, and supply lines. For tap repair, that matters because mineral scale changes the maintenance schedule, failure signs, and realistic repair costs for local homeowners.
- Scale buildup makes small restrictions worse, especially at cartridges, aerators, shutoff valves, drains, and heater connections.
- Fixtures, pipes, and appliances in our area can wear out 30-50% faster than in soft-water cities when maintenance is delayed.
- SAWS publishes annual water quality reports, but the practical homeowner takeaway is simple: maintenance intervals here should be shorter than national advice suggests.
Homes in Stone Oak are particularly affected because many 1990s-2000s homes have copper lines where hard-water scale and pinhole leaks show up sooner than owners expect. Unlike cities with naturally soft water, local homeowners should treat hard-water maintenance as normal prevention, not an upsell.
> "In my 20 years working in San Antonio, I would say most surprise plumbing failures I see start with homeowners following soft-water maintenance advice in a hard-water city." — Licensed local plumber
What San Antonio Homeowners Pay (2026)
| Service | Typical Cost in San Antonio |
|---|---|
| Emergency plumber call | $150–$350; after hours $250–$500 |
| Plumber hourly rate | $85–$150/hr |
| Water softener installation | $1,500–$4,000 |
Prices are based on local metro area ranges for 2026. Costs may vary by neighborhood, access, pipe material, after-hours timing, and whether the plumber finds hard-water damage beyond the visible problem.
When to Call a San Antonio Plumber
Call a licensed local plumber if the problem involves active leaking, a shutoff valve that will not close, sewer smell, recurring clogs, water near electrical components, a water heater leak, or any pipe inside a wall, ceiling, or slab. Locally, expect many licensed plumbers to charge roughly $85-$150 per hour, with emergency visits commonly around $150-$350 and after-hours calls closer to $250-$500.
When you call, ask three local questions:
1. Are you licensed and insured for work in Bexar County or the surrounding local metro?
2. Have you dealt with Edwards Aquifer hard-water scale on this type of repair?
3. Should I also check the water heater, shutoff valves, or water softener while you are there?
local plumbers see hard-water issues every week, so a good pro should be able to explain whether the failure is normal wear, mineral damage, freeze damage from a cold snap like Winter Storm Uri, or a sign of a larger plumbing system problem.
San Antonio FAQ
Is San Antonio water hard?
Yes. San Antonio water is very hard at about 357 mg/L, or 21 grains per gallon, because much of it comes from the Edwards Aquifer and passes through limestone. That mineral content is why scale shows up quickly on faucets, showerheads, valves, drains, and water heaters.
Do local homes need a water softener?
A water softener is recommended for many local homes, especially if you see white scale, repeated faucet or valve problems, short water-heater life, or cloudy spots on dishes. A typical whole-home water softener installation in San Antonio runs about $1,500-$4,000.