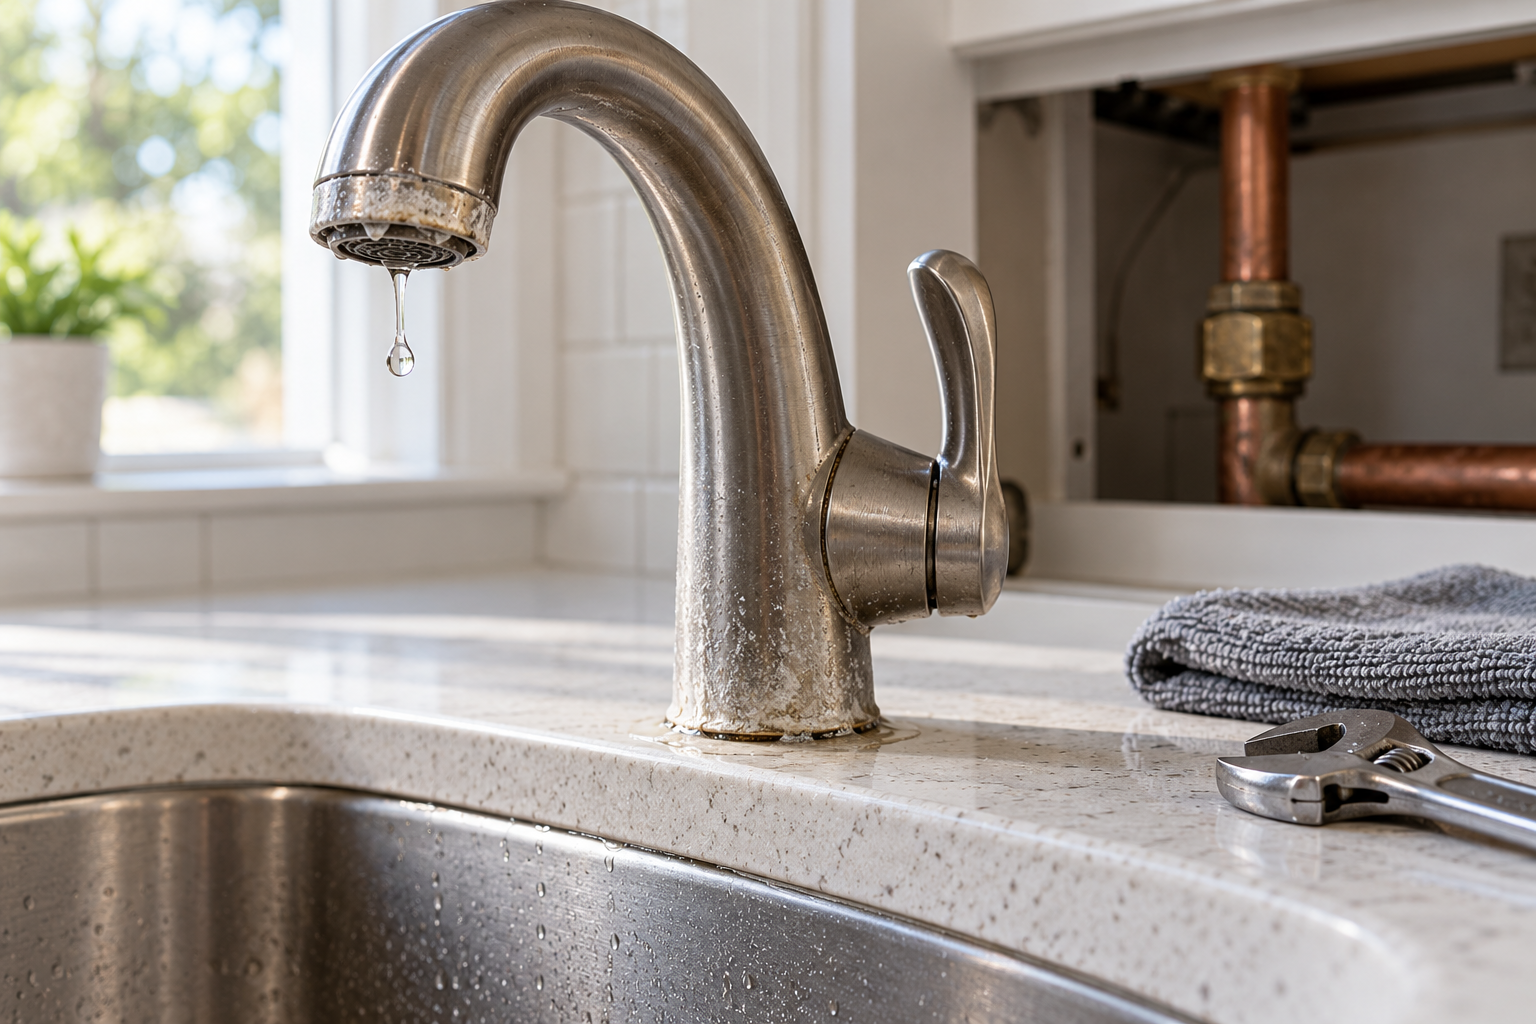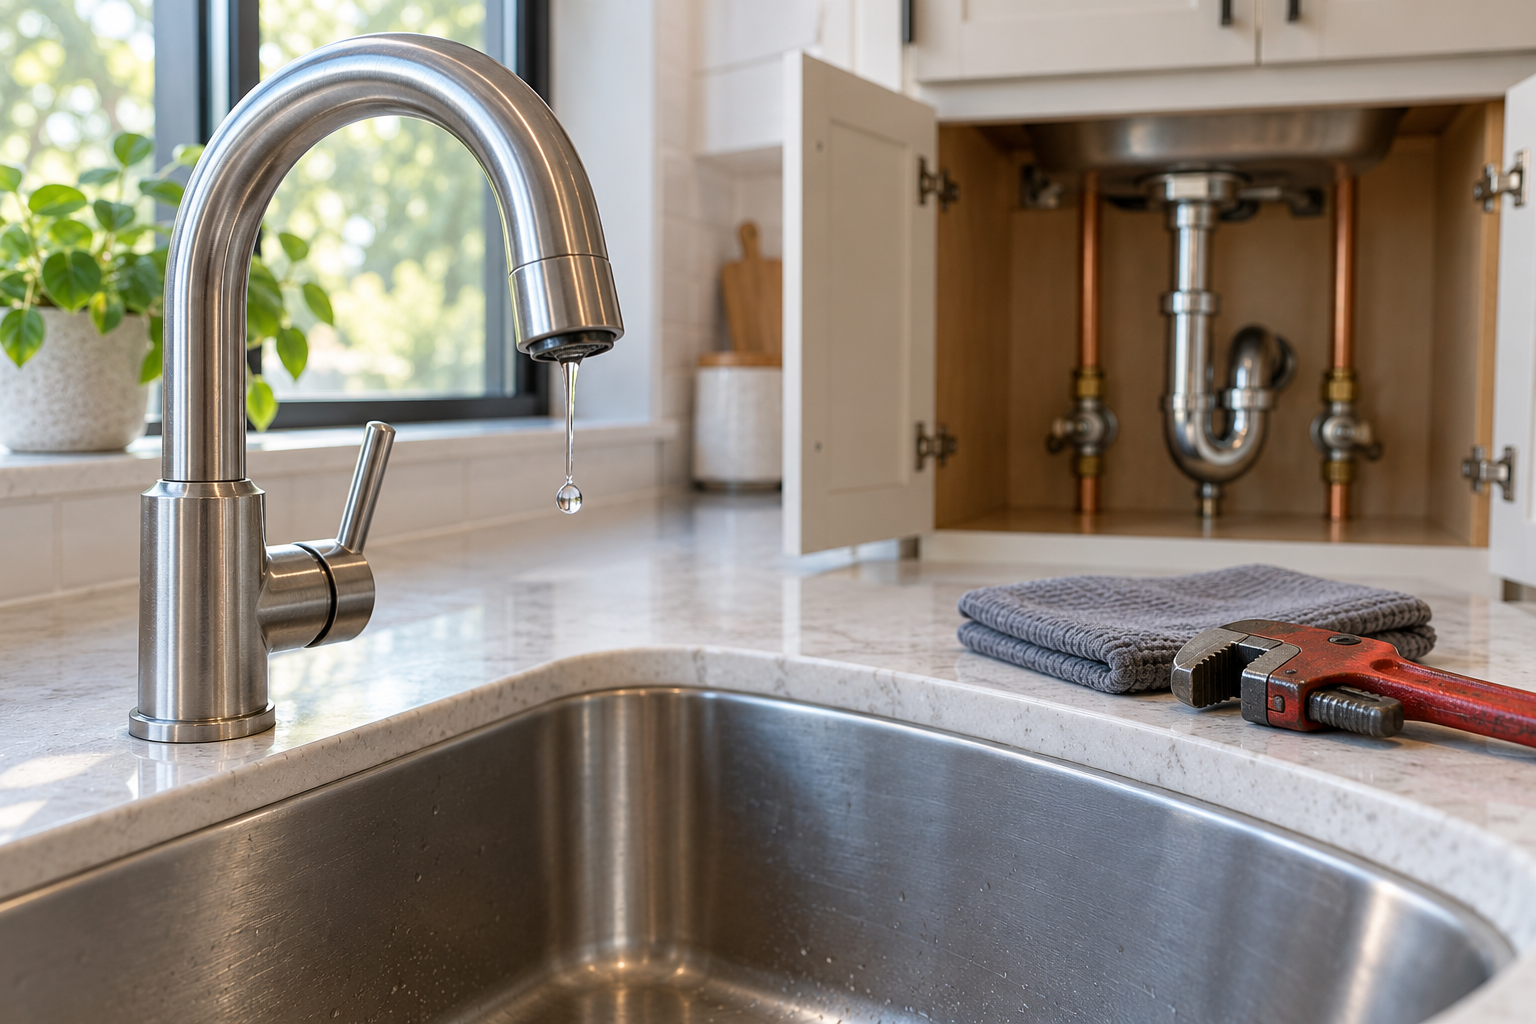
> San Antonio Local Insight: Fixture and faucet leaks in San Antonio happen faster because hard water minerals (21 gpg from Edwards Aquifer) grind down valve seats, corrode cartridges, and prevent proper sealing. A faucet that lasts 15 years in soft-water cities often starts leaking within 5–8 years in San Antonio without a water softener.
Local San Antonio Field Notes Before You Start
Before following any generic plumbing checklist, adjust it for our Edwards Aquifer water. At roughly 357 mg/L, or 21 grains per gallon, the calcium carbonate and magnesium in the water can turn a small maintenance issue into repeat wear on valves, seals, drains, heaters, and appliance connections. That means a visible drip may be the symptom, while the real risk is scale, corrosion, freeze stress, or an older pipe material failing behind the wall or under the slab.
A homeowner in Medical Center area should be especially careful because 1970s and 1980s builds often have aging valves, supply lines, and remodel-era plumbing mixes. If you are comparing advice from national repair guides, shorten the maintenance interval and inspect for white scale, crusted fittings, stiff shutoff valves, and early corrosion before assuming the part simply “got old.”
For budgeting, use local pricing instead of national averages: emergency plumber calls often run $150-$350, after-hours visits $250-$500, and slab leak repair can reach $2,000-$5,000. If the issue appears after a summer high-use period or after a rare freeze like Winter Storm Uri, treat it as a local risk signal and document what you see before calling a licensed plumber in Bexar County.
To repair plumbing leaks successfully, begin by controlling the water rather than reaching immediately for a wrench. Move belongings out of the affected area, catch a manageable drip, and close the fixture's shutoff valve if it operates freely. For a fast leak, an unknown source, or a failed local valve, close the home's main water supply. Open a low cold-water faucet afterward to relieve pressure only if doing so is safe.
The boundary between a practical homeowner repair and a professional job depends on access, pipe condition, and consequences—not merely the size of the drip. Replacing an accessible hose or trap washer is very different from opening a wall, working beside energized equipment, or repairing corroded supply piping. Stop and call for help if water is near electrical equipment, the ceiling is sagging, sewage is present, you smell gas, or you cannot reliably isolate the water.
Determine Whether the Leak Is Supply, Drain, or Surface Water
Dry the area completely, then observe when moisture returns. A pressurized supply leak tends to continue even when the fixture is idle. A drain leak appears while water is leaving a sink, tub, shower, appliance, or toilet. Failed caulk and splash seals leak only during use, while condensation usually forms as widespread droplets on a cold pipe rather than emerging from one connection. Correct classification keeps you from replacing an intact drain when the faucet above it is actually shedding water.
Trace water upward because gravity can carry it away from the source. Place dry paper towels under individual fittings and check each one in sequence. Inspect supply hoses, valve stems, faucet shanks, drain baskets, trap joints, appliance connections, and the surface around the fixture. If a wall or floor is damp but all exposed connections remain dry, avoid destructive exploration. A plumber can use moisture patterns, isolation testing, and other diagnostic methods to narrow the location before finishes are opened.

Recognize Common Failures and Their Symptoms
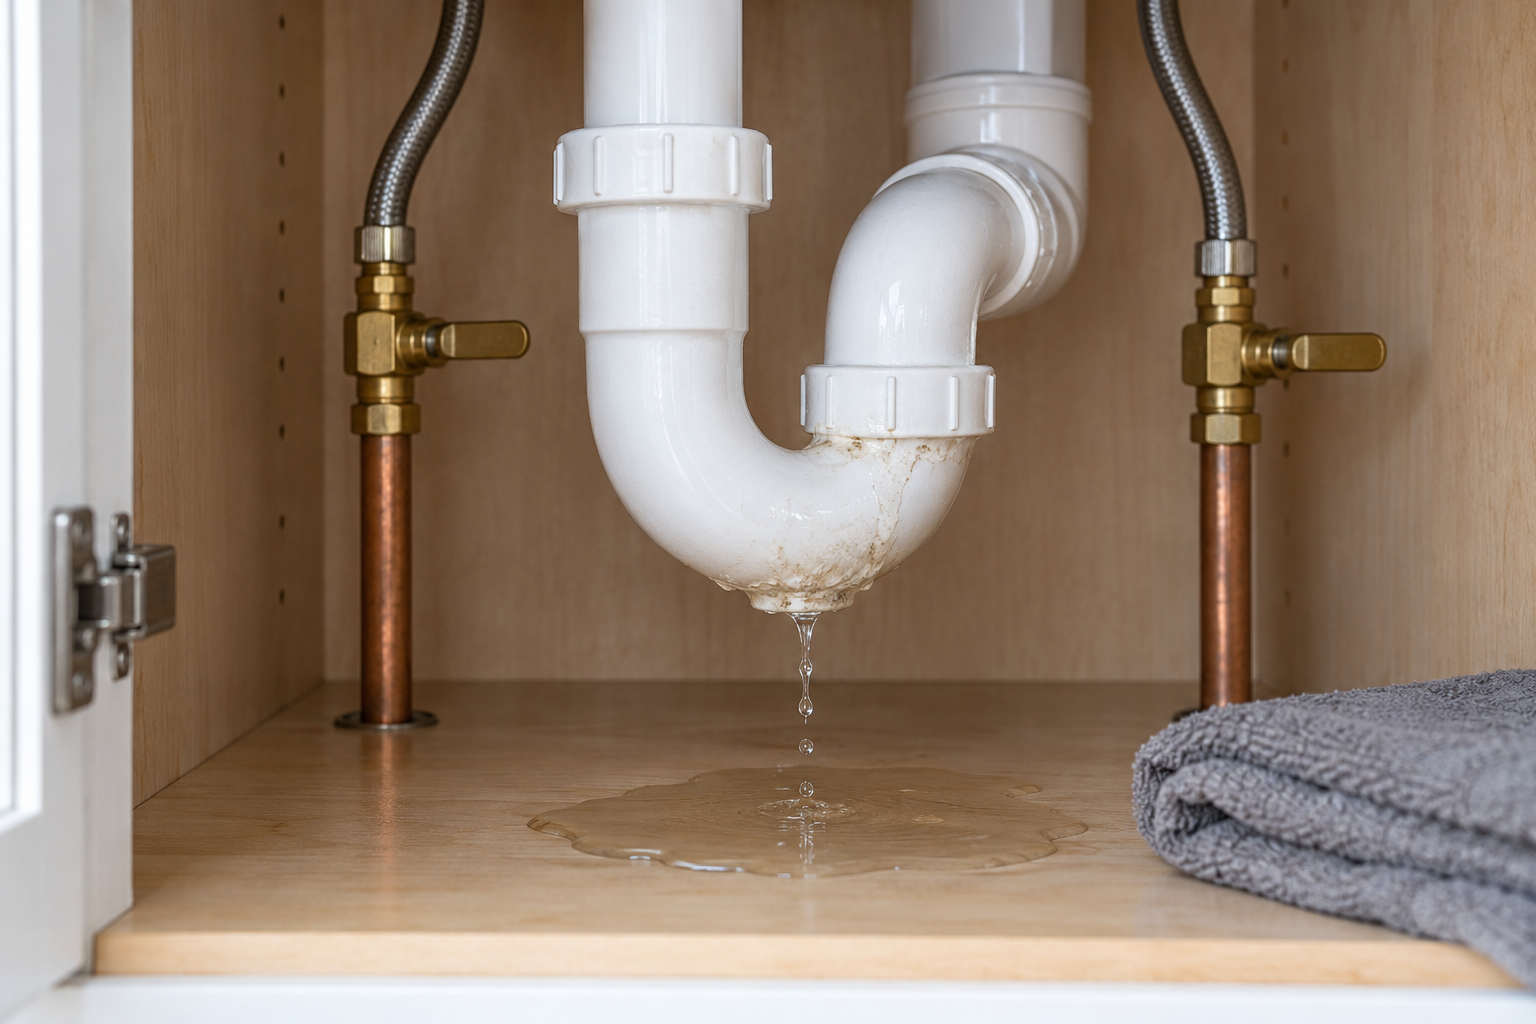
A drip from a faucet spout often points to a worn cartridge, washer, or valve seat. Moisture at the handle or faucet base may come from an O-ring, cartridge seal, or loose mounting point. Under a sink, a bead at a compression nut can indicate a loose or damaged connection, while a trap that leaks only when the basin drains may have a misaligned washer, cross-threaded nut, or cracked tube. If a bathtub faucet is leaking, identify the valve manufacturer before ordering parts because similar trim can conceal different cartridges.
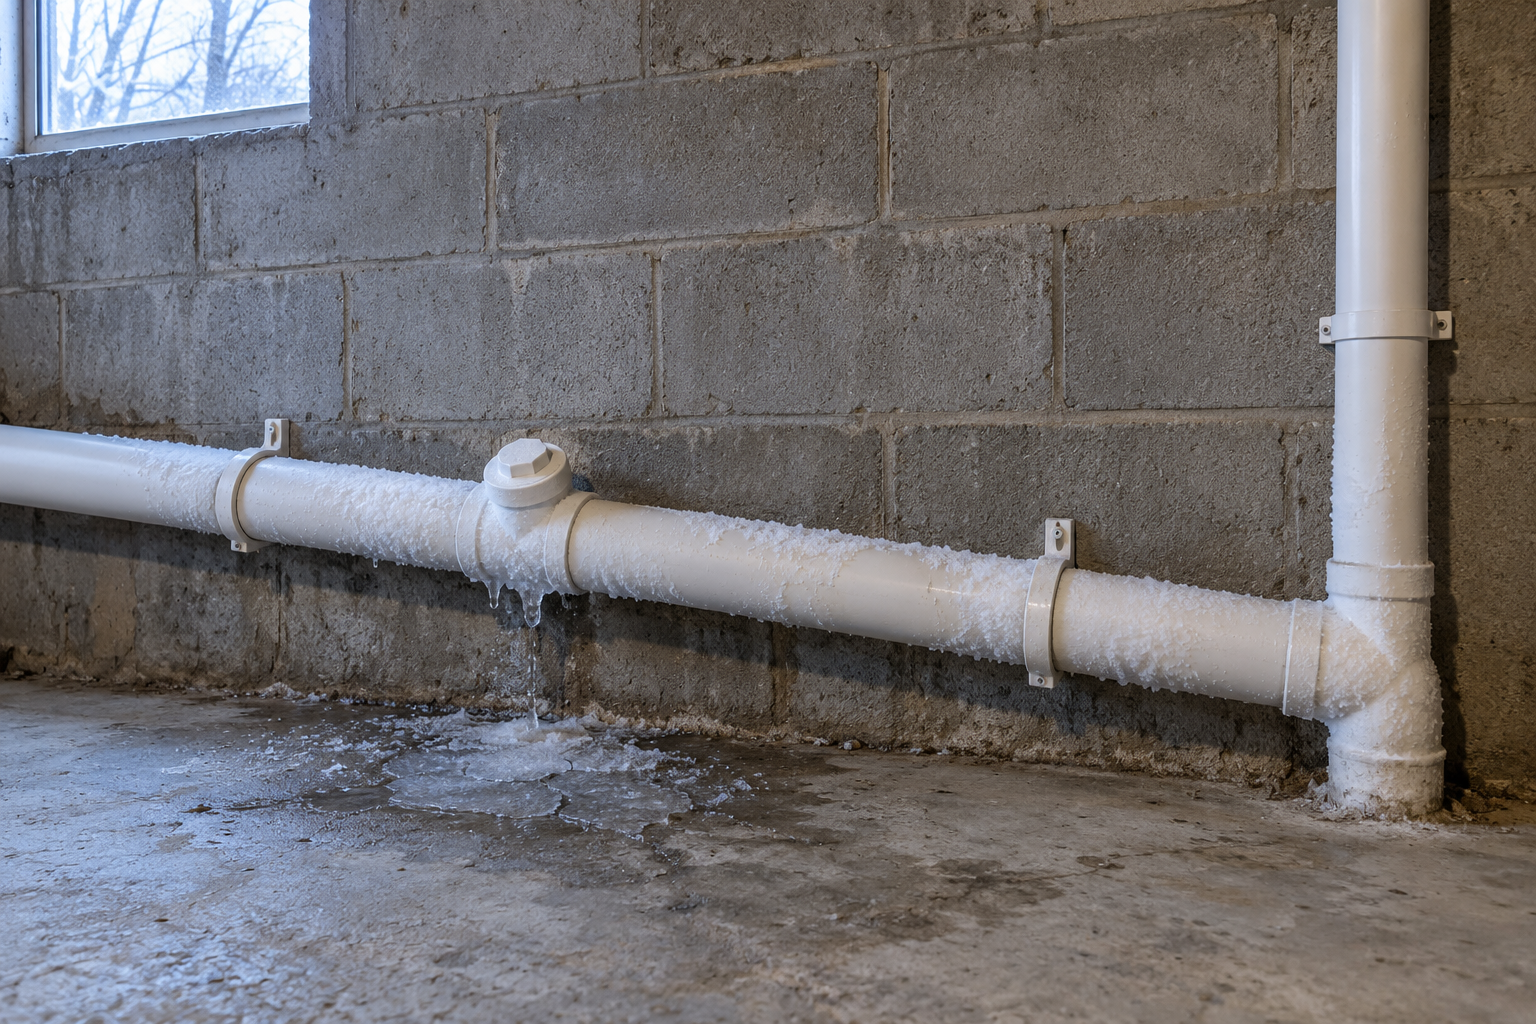
Supply pipes can fail from corrosion, freezing, mechanical damage, or excessive pressure. Rust, green-blue deposits, recurring pinholes, and distorted fittings suggest broader deterioration rather than a single loose joint. Appliance hoses can crack or bulge, and water heaters can leak from connectors, valves, the relief system, or the tank itself. Never cap a temperature-and-pressure relief discharge. Concealed dampness, warm floor areas, or unexplained meter movement may indicate a hidden leak requiring professional diagnosis.
Make the Area Safe Before Starting a Repair
Locate and test shutoffs gently. Do not force a valve that is seized or badly corroded; its stem or connected pipe can break. If you close the main supply in a home with a well, follow the system's safe shutdown procedure and operate the pump disconnect only if it is dry and accessible. Keep a bucket and towels ready, because residual water remains in piping even after pressure is relieved. Photograph the assembly before disassembly so fittings and part orientation can be restored correctly.
Treat water near receptacles, appliances, wiring, or the electrical panel as hazardous. Do not stand in water to unplug equipment or reach a breaker. If the safe route to a shutoff is wet or energized, leave the area and contact emergency help, the utility, or a qualified electrician. Do not work beneath bulging drywall, which can collapse. Sewage requires protective remediation, and a suspected natural-gas odor requires evacuation without operating switches or phones inside the building.
Use a Controlled Inspection Process
Stop all intentional water use and inspect the water meter. Record the reading or leak indicator, wait 30–60 minutes, and check again without flushing toilets, running appliances, or allowing irrigation to operate. Account for automatic ice makers, softeners, boilers, humidifiers, and similar equipment. Meter movement suggests consumption but does not show where it occurs, so use it as confirmation rather than proof that a particular stain is plumbing-related.
Inspect one fixture at a time. Begin with a visual check, then test the cold supply, hot supply, basin or tub drain, and overflow separately using modest amounts of water. Wipe joints after each test. For toilets, look for ongoing tank refill activity and moisture at the supply or base, but do not assume every base stain means the wax seal has failed. Record when water appears and what action triggered it. This evidence helps a plumber and prevents unnecessary parts replacement.
Avoid cutting drywall or loosening questionable pipes simply to “see what happens.” Never use an open flame to inspect or thaw plumbing. If a connection must be moved to diagnose the source, first confirm that the water is isolated, the pipe is structurally sound, and you have the correct replacement components. A non-destructive check should not create a larger repair.
Gather Only the Tools and Parts the Job Requires
For most accessible fixture work, useful items include a flashlight, bucket, absorbent towels, adjustable wrench, tongue-and-groove pliers, screwdriver set, and the exact replacement part. Use two wrenches when a valve or pipe must be held stationary while a nut is turned. A compact plumbing tool kit can cover basic work, but owning a tool does not make a deteriorated connection safe to disturb.
Match replacement hoses, cartridges, washers, and connectors to the fixture and applicable rating. Plumber's tape belongs on compatible tapered threaded joints when the manufacturer calls for it; it does not seal compression fittings, slip-joint washers, cartridges, or the exterior of a leaking pipe. Review where plumbing tape can stop leaks before applying it. Avoid universal chemical sealers and improvised adhesives, which can hide active deterioration without restoring mechanical integrity.
| Leak location | Low-risk first response | Do not proceed if |
|---|---|---|
| Flexible faucet hose | Isolate fixture and replace exact rated hose | Valve leaks, pipe moves, or thread is damaged |
| Sink trap joint | Clean, align, and replace correct washer | Trap is cracked or drain is backing up |
| Faucet spout | Identify and replace correct cartridge | Shutoffs fail or body is badly corroded |
| Exposed threaded fitting | Confirm joint type and manufacturer method | Pipe cannot be securely counter-held |
| Wall, ceiling, or slab | Shut water and document moisture | Opening finishes risks wiring or structure |
Repair Accessible Fixture Leaks Step by Step
For a flexible supply hose, close both fixture valves, open the faucet to relieve pressure, and place a bucket below. Hold the shutoff body steady while disconnecting the hose so torque is not transferred into the wall. Inspect the valve outlet and faucet connection for damaged threads or corrosion. Install an approved hose of the correct length without twisting or sharply bending it. Follow the connector manufacturer's instructions regarding seals and tape; many hoses seal with built-in washers and require no thread tape.
For an accessible sink trap, loosen the slip nuts over a bucket, remove debris, and inspect the tubes and tapered washers. Replace cracked parts rather than trying to glue them. Align the trap without forcing the pipes sideways, orient each washer correctly, and tighten the nuts by hand before making only a modest adjustment if needed. Restore water slowly, wipe all connections dry, fill and drain the basin, and check again after several minutes. Overtightening can distort washers or crack plastic fittings.
A faucet cartridge replacement can be reasonable when the fixture is identifiable and its shutoffs work. Follow manufacturer instructions for retaining clips, cartridge orientation, lubrication, and temperature-limit settings. Keep small parts in order and never pry against fragile tile or plumbing. If the cartridge is seized, the valve body moves, or mineral corrosion obscures the assembly, stop. Damaging an in-wall valve turns a routine repair into an emergency.

Understand Why Temporary Patches Are Not Permanent Repairs
A manufacturer-rated repair clamp may slow an exposed pipe leak long enough to arrange service, provided the pipe material, diameter, temperature, and pressure match the product. Even then, isolate the water first and regard the clamp as temporary. Rubber scraps with improvised hose clamps, external tape wraps, epoxy over wet corrosion, and plugs driven into pinholes can shift pressure to weakened pipe or fail without warning.
Permanent pipe leak repair typically means removing the defective portion and installing compatible, code-compliant materials with appropriate supports and connections. That work may involve soldering, pressing, solvent welding, or listed mechanical fittings, each with specific preparation and safety requirements. Do not use a torch in a concealed cavity, near combustible material, or on a system you cannot fully drain and protect. Gas piping, fire sprinklers, boiler systems, relief lines, and buried service lines belong with qualified professionals.
Recognize When the Risk Outgrows DIY
Call a plumber for active flooding, concealed leakage, recurring pinholes, a leaking main shutoff, widespread low pressure, or water that requires the whole house to remain off. Professional help is also appropriate when old or unfamiliar piping could be brittle, when a fitting turns with the nut, or when the repair changes in-wall plumbing. A licensed professional can assess pressure, material compatibility, supports, and code requirements rather than correcting only the visible symptom.
Additional help may be necessary after the plumbing stops. Wet electrical components should be evaluated before power is restored. Saturated drywall, insulation, subfloor, or cabinetry may need moisture measurement and controlled drying. Wastewater requires contamination-aware cleanup. For major sudden damage, document the scene and contact the insurer promptly; policy coverage varies, particularly between sudden discharge and long-term seepage. Preserve failed parts if requested and keep repair and drying invoices.
Set Realistic Time and Cost Expectations
An accessible washer, cartridge, or hose is inexpensive, and an experienced repair may be completed during a standard service call. Costs rise with emergency scheduling, diagnostic time, difficult access, older materials, San Antonio metro labor rates, and restoration of walls or finishes. A hidden leak can involve separate charges for locating the source, plumbing repair, drying, electrical checks, and finish restoration. It may take days to dry materials even when the actual pipe repair takes only hours.
Request a written scope that identifies the failed component, proposed material, access work, testing, and exclusions. Ask whether the system will be pressure-tested and whether workmanship is warranted. In an emergency, authorize the work needed to stop damage and make the system safe, then obtain a separate restoration scope. Choosing a surface patch solely because it is cheapest can be false economy if corrosion or excessive pressure remains unaddressed.
Prevent Leaks From Returning
Inspect under sinks and around appliances several times each year. Look for mineral deposits, rust, bulging hoses, stains, and damp cabinet floors. Replace damaged or manufacturer-expired appliance hoses with approved parts and keep stored items from pressing against traps or valves. Make sure household members know the location of the main shutoff. Place water leak alarms near water heaters, washers, and seldom-seen fixtures, and test them with other household safety devices.
Have unusually high pressure evaluated rather than repeatedly replacing seals. Protect piping from freezing by maintaining heat, insulating appropriate exposed lines, and sealing drafts in accordance with local practices. Never use a torch to thaw a frozen line. Investigate recurring dampness instead of repainting or recaulking over it, and distinguish roof or exterior-water intrusion from plumbing before authorizing pipe work. Prevention depends on catching changing conditions early, not collecting emergency patch materials.
Frequently Asked Questions
What usually causes plumbing leaks?
Worn seals, loose or misaligned joints, failed hoses, corrosion, freeze damage, and excessive pressure are common causes. A constant leak usually implicates a pressurized supply, while a leak that appears only during draining more often involves a drain, overflow, or fixture seal.
Can I repair plumbing leaks myself?
Many homeowners can replace an accessible hose, trap washer, or clearly identified faucet cartridge when functioning valves fully isolate the fixture. Do not proceed when piping is corroded, a valve is seized, water is near electricity, or the source is hidden. A safe repair includes the ability to test and restore service without creating a larger leak.
How urgent is a small leak?
A controlled drip is less urgent than active flooding but still deserves prompt attention. Repeated moisture damages cabinets and finishes and can indicate a weakening connection. Isolate the fixture when practical, dry the area, and schedule repair. Treat any increased flow, ceiling sag, electrical exposure, or sewage as urgent.
What should I avoid during a repair?
Avoid overtightening, forcing valves, wrapping tape around an assembled leaking fitting, using aggressive drain chemicals, and applying heat in concealed spaces. Do not puncture a wet ceiling or touch electrical equipment from a wet surface. Never cap a relief-valve discharge or improvise repairs on gas piping.
How do I verify that the repair worked?
Wipe every joint dry, restore water slowly, and inspect under static pressure. Operate the fixture through several normal cycles and check again with a dry paper towel. Revisit the area later the same day and the next day. Continued meter movement or returning moisture means the source was not fully corrected.
Why This Is Different in San Antonio
The Edwards Aquifer delivers water at roughly 357 mg/L, or 21 gpg, so mineral scale is part of the diagnosis rather than a cosmetic side issue. Scale can hold a valve partly open, abrade a cartridge, stiffen an old shutoff, and leave white crust that hides a slow seep. SAWS water-quality reporting is useful context, but the practical response is to inspect seals and valves more often and verify a repair after pressure is restored.
In Medical Center area, 1970s–1980s houses often contain remodel-era mixes of copper, CPVC, and newer connectors, so material identification comes before choosing a fitting. Across Bexar County, summer demand also exposes marginal valves and appliance hoses, while a hard freeze—Winter Storm Uri remains the clearest reminder—can split pipe or weaken a fitting that leaks later. Those conditions are why choosing a safe repair requires more than copying a national checklist.
What San Antonio Homeowners Pay (2026)
| Local service scope | Typical 2026 homeowner range |
|---|---|
| Hose, trap, or cartridge repair | $175–$450 |
| Exposed pipe-section replacement | $350–$1,200 |
| Concealed or slab repair | $1,200–$5,000 |
| Standard licensed-plumber labor | $85–$150 per hour |
These San Antonio planning ranges are not quotes. Access, pipe material, permit needs, after-hours timing, drying, and finish restoration can change the total. Ask for a written scope that separates diagnosis, plumbing work, access, and restoration so a low initial fee is not mistaken for the whole project.
When to Call a San Antonio Plumber
Stop DIY and call a licensed plumber when the main shutoff will not close, meter movement continues with every fixture off, water is inside a wall or slab, a ceiling sags, sewage is involved, or moisture is near electrical equipment. Recurring pinholes, widespread corrosion, a hot floor, and a repair that will leave the entire house without water are also clear escalation points.
Before authorizing work, ask how the source will be confirmed, what material will replace the failed section, whether testing is included, and whether the contractor handles permits required for the scope. A plumber serving San Antonio should be prepared to discuss Edwards Aquifer scale, freeze history, and the pipe materials common in the neighborhood—not simply replace the first wet component.
San Antonio FAQ
Does 21 gpg water prove hard water caused the leak?
No. It is a strong wear factor, not a diagnosis. Installation errors, excessive pressure, age, corrosion, movement, and freeze damage can also cause failure. Mineral crust near the source and repeated seal or cartridge problems make hard-water wear more likely.
Should I call SAWS for a suspected leak?
SAWS can help with meter or utility-side questions, but the homeowner is generally responsible for plumbing after the meter. If the meter changes while the house main is closed, report the evidence and ask whether the utility or a licensed plumber should inspect the service-line boundary.
Is a temporary clamp safe overnight?
Only when the product is listed for the exact pipe, pressure, and temperature and the damaged section remains visible. Keep the water isolated whenever practical. Never use a clamp as a permanent concealed repair or on gas, fire-sprinkler, relief, or heavily corroded piping.
What should I document before service?
Photograph the meter, source area, stain boundaries, and damaged finishes. Note which fixture triggers the symptom and whether hot or cold use changes it. Good evidence helps a San Antonio technician target testing and gives an insurer a clearer timeline.