> San Antonio Local Insight: Drain and sink clogs in San Antonio are different from other cities. Edwards Aquifer hard water (357 mg/L) deposits white calcium scale inside pipes that traps hair, grease, and soap more aggressively. Standard drain cleaners may miss mineral buildup, so local homes often need mechanical cleaning plus sensible scale control.
Trace the Kitchen Leak Before Taking Anything Apart
Kitchen sink failures overlap, so begin by separating supply, drain, disposal, and countertop leaks. Run cold water, hot water, a full basin drain, and the disposal as separate tests while watching with a flashlight. Edwards Aquifer water—about 357 mg/L (21 gpg)—often leaves a white trail that helps identify a slow faucet, shutoff, or basket-strainer leak.
Medical Center area homes from the 1970s and 1980s may combine older valves with newer faucets, disposals, and remodel plumbing. Do not twist a stiff shutoff valve or work inside a disposal that remains connected to power. A faucet or supply repair often falls around $150–$350, while disposal or drain work can reach $200–$600 depending on access and damaged parts.
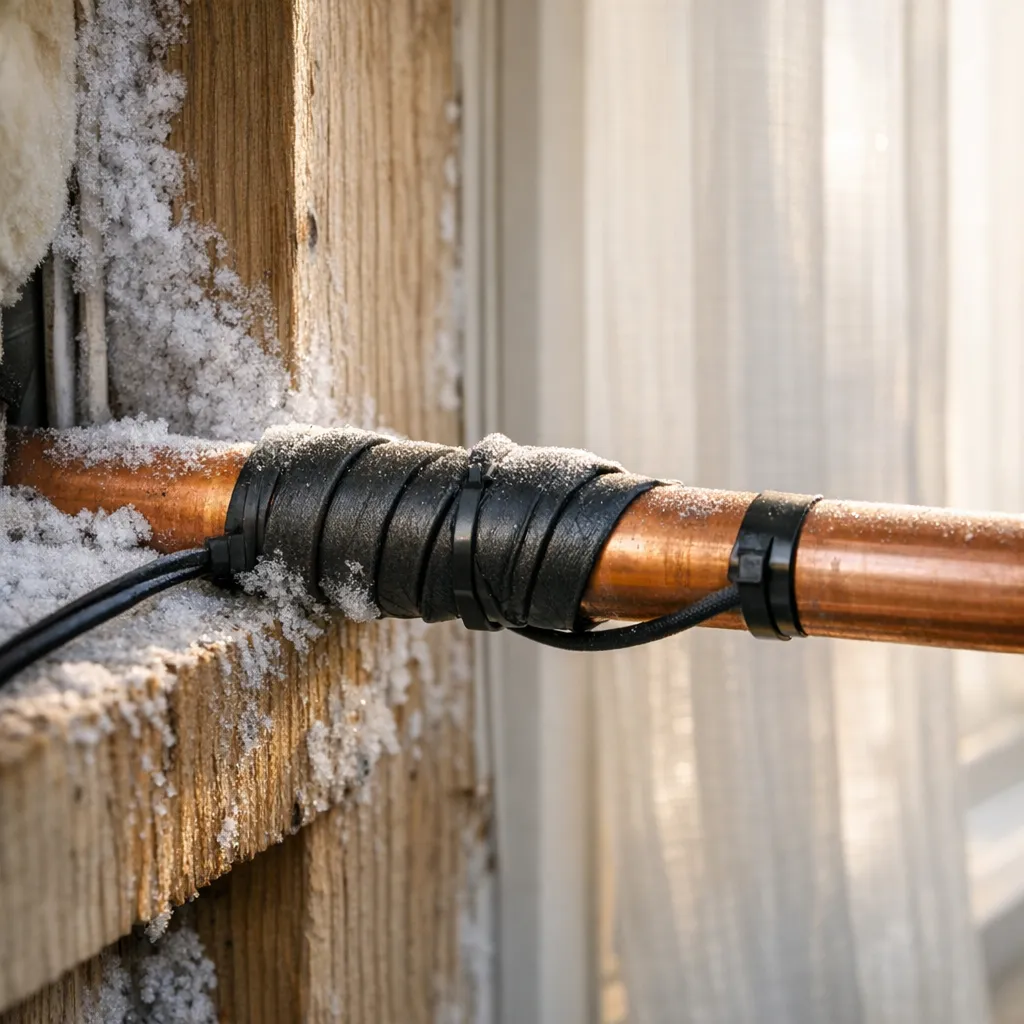
After Winter Storm Uri, hidden supply and exterior-wall damage became a familiar Bexar County concern. If cabinet moisture returns after everything visible is dried, stop testing and check for a wall-side leak rather than repeatedly tightening fittings.
A kitchen sink problem can come from the faucet, supply lines, drain assembly, garbage disposal, trap, or the sink’s seal to the countertop. Before paying for kitchen sink repair, identify whether you have a leak, clog, low-flow problem, loose fixture, or damaged component. A few careful observations can distinguish a simple cleaning or tightening job from a repair that needs a licensed plumber.
Begin by clearing the cabinet and drying everything. Do not dismantle plumbing while water is flowing, and never reach into a garbage disposal. If water is escaping quickly, close the hot and cold fixture shutoff valves; if those fail, use the home’s main water shutoff. Stop using the sink if wastewater backs up, electrical parts are wet, cabinetry is swelling, or a pipe is cracked.
First Determine Whether the Problem Is Supply or Drainage
A supply-side leak usually appears when the faucet runs or may continue even when the sink is idle. Water can form on a shutoff valve, braided connector, faucet body, or spray-hose connection. Drain-side leaks generally appear only when water leaves the basin. They may come from the strainer, disposal flange, P-trap, dishwasher connection, or a joint farther downstream.
Dry each component with paper towels, then test in stages. First watch the cabinet without running water. Next turn on cold water at low flow, followed by hot water. Finally, fill each basin partway and release it. Touch dry tissue to each joint; even a small leak will leave a clear mark. Do not assume the wettest point is the source because water often travels along a hose or pipe before dripping.
Make the Area Safe Before Inspecting It
Remove cleaners, paper products, and stored appliances from the cabinet. Put a bucket and towels below the plumbing. Keep extension cords and plug-in devices away from moisture. If the sink has a garbage disposal, switch it off and disconnect power at its plug or circuit breaker before inspecting anything near it. Confirm it cannot start; the wall switch alone is not sufficient protection.
Wear eye protection and gloves around drain water. If chemical drain cleaner has been used, do not plunge, disconnect the trap, or operate a disposal, because caustic liquid can splash. Ventilate the room and follow the product instructions. A sewage backup, persistent sewer-gas odor, sparking appliance, hot wiring, or soaked electrical outlet is a stop-work condition requiring qualified help.
Use a Simple Diagnostic Checklist
Kitchen sink repair becomes easier when tests isolate one component at a time. Take photos before changing anything, especially where several hoses meet. Mark the location of each drip with removable tape and note which test produced it. This evidence can also help a plumber quote or diagnose the work accurately.
| What you observe | Likely source | Sensible next action |
|---|---|---|
| Drip with sink unused | Supply valve, connector, or faucet | Shut off water and inspect supply side |
| Leak only while faucet runs | Faucet body, hose, or connection | Trace water from highest wet point |
| Leak when basin drains | Strainer, trap, disposal, or drain joint | Bucket below; test each basin separately |
| Slow drainage in both basins | Shared trap or branch drain | Clean accessible trap or call plumber |
| Low flow at one faucet | Aerator, cartridge, or supply issue | Clean aerator and compare hot/cold flow |
| Disposal hums but does not turn | Jam or failed unit | Cut power; use maker-approved procedure |
Do not tighten every fitting indiscriminately. Plastic slip nuts can split, thin metal parts can deform, and faucet connectors can be damaged by twisting. Diagnosis should precede adjustment. If a fitting is visibly cracked, replacement is safer than adding tape or sealant to conceal the failure.
Check the Faucet and Aerator
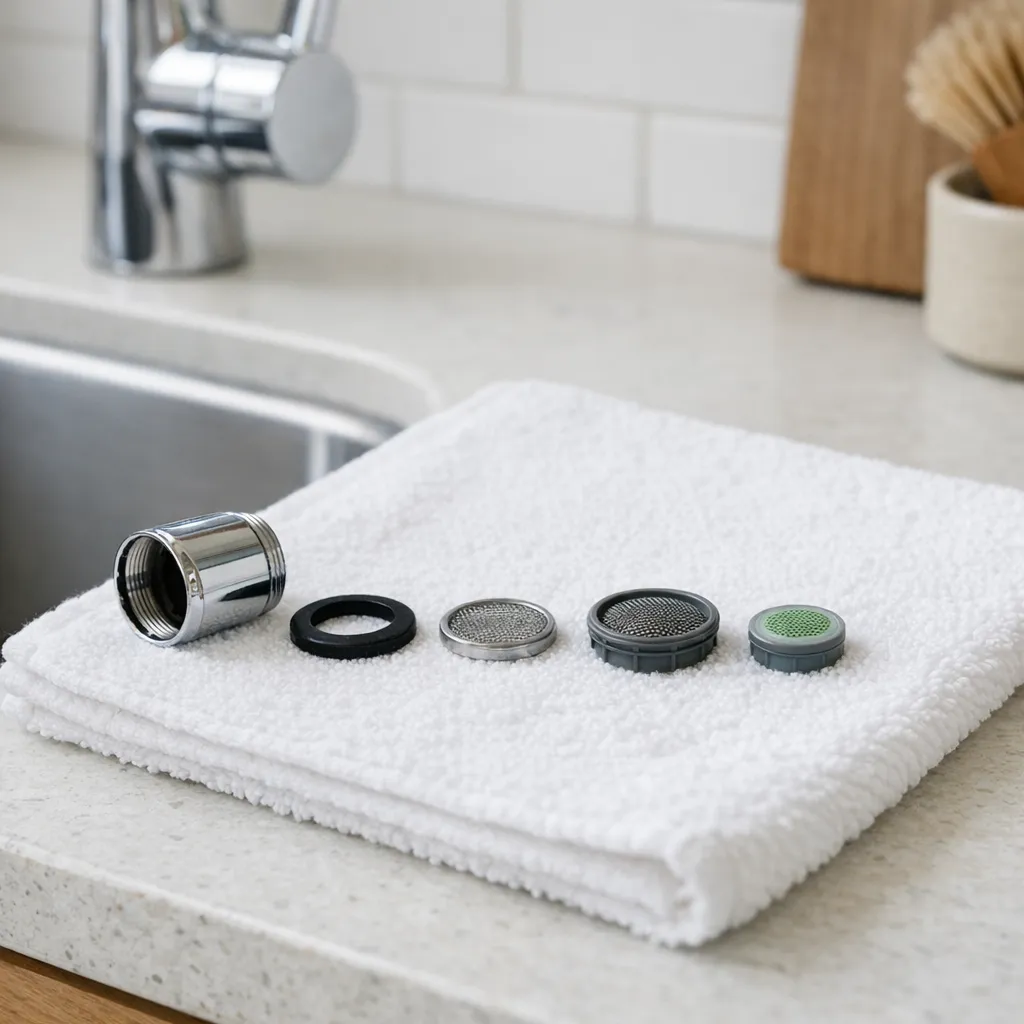
Low or uneven flow often comes from sediment in the aerator at the faucet tip. Close the drain so small pieces cannot fall into it, unscrew the aerator, and note the order of screens and washers. Rinse out debris and soak mineral-coated removable parts in a manufacturer-compatible cleaner. Reassemble by hand to avoid damaging threads. If both hot and cold flow improve, no deeper repair may be needed.
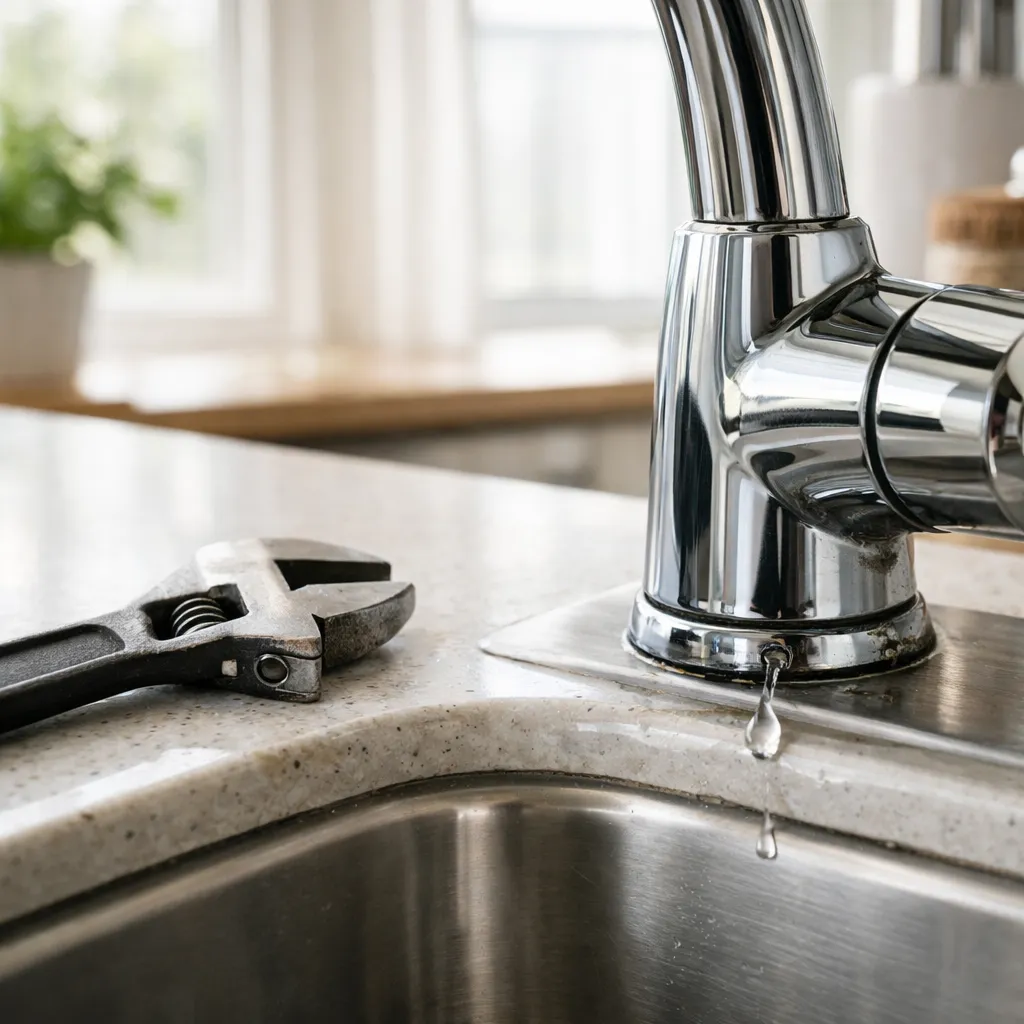
A faucet that drips from the spout when closed may have a worn cartridge, valve seat, or seal. Water around the handle or base can also come from an internal leak. Identify the faucet brand and model before buying parts; cartridges that look similar are not necessarily interchangeable. Close both fixture shutoffs and verify the faucet no longer runs before disassembly. Corroded mounting hardware or an inaccessible design may make professional replacement more practical.
A pull-down sprayer adds possible failure points. Extend the hose and inspect it while water runs gently. Look for droplets near the wand connection, quick-connect fitting, or hose braid. Replace a damaged hose with the correct model-specific part rather than patching it, because the hose moves repeatedly and remains under pressure during use.
Inspect Shutoff Valves and Supply Connectors
Fixture shutoff valves are usually beneath the sink. Look for moisture at the stem, compression connection, and hose outlet. A loose hose nut may need a slight adjustment, but support the valve so it does not twist the pipe in the wall. If the valve body is corroded, will not close, or begins leaking when operated, stop and arrange replacement. Forcing an old valve can turn a small drip into an uncontrolled leak.
Braided supply connectors should not be kinked, stretched, rust-stained, or bulging. They are replaceable components, not permanent piping. Match length and connection type, and never reuse a connector with damaged threads or a deteriorated washer. Installation errors can cause severe water damage, so homeowners uncertain about connector compatibility or valve condition should hire a plumber.
After any supply-side work, restore water slowly while watching the connection. Test first at low pressure, dry it, then check again after several minutes. Leave the cabinet empty until you have inspected it later in the day. A tissue placed below—not wrapped around—the fitting can reveal a continuing drip without concealing it.
Diagnose Drain, Strainer, and P-Trap Leaks
Fill one basin with a few inches of water, then release it while watching below. Repeat for the other basin. If water forms directly beneath the drain opening, the basket strainer seal or disposal flange may have failed. A loose or cracked slip-joint connection will usually drip where two pipes meet. Water emerging from a pipe surface indicates a damaged component that needs replacement.
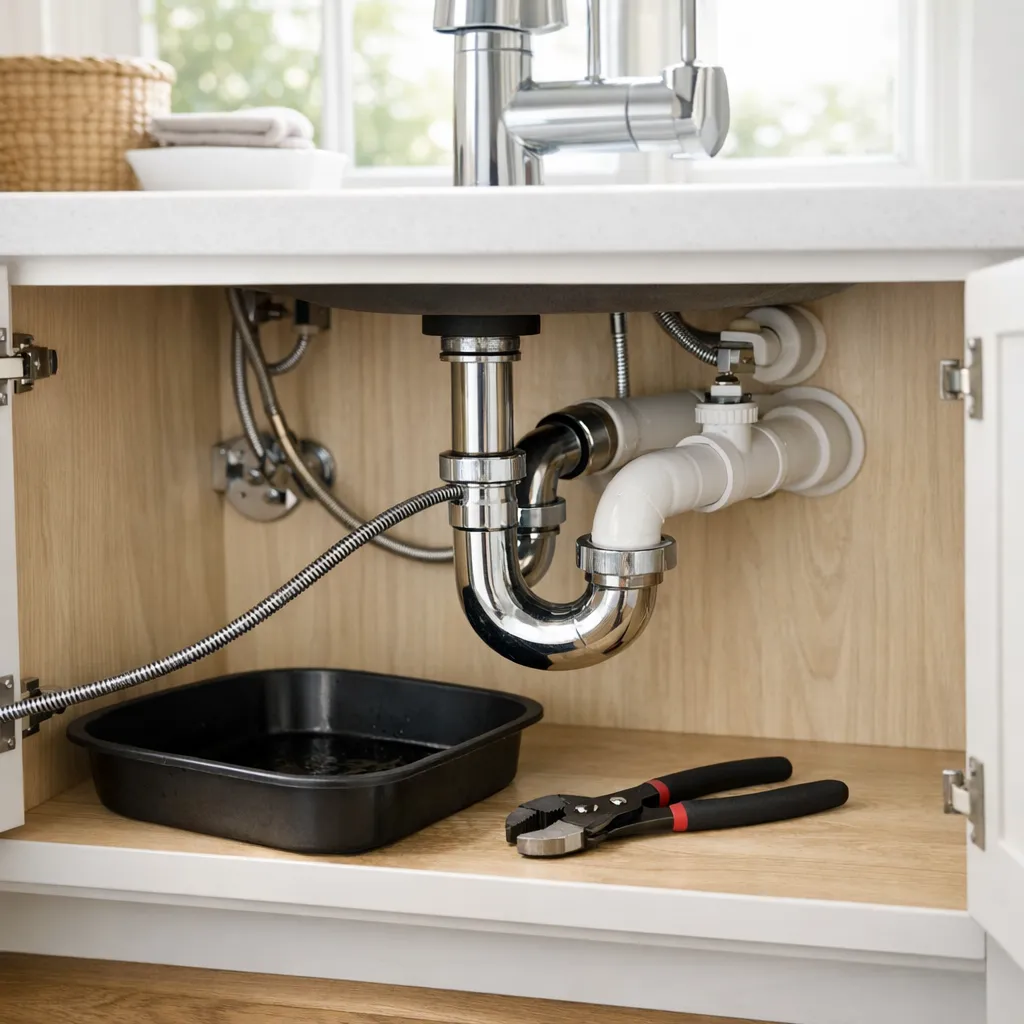
Put a bucket beneath the P-trap before loosening it. Drain water will spill even when the basin is empty. Plastic slip nuts often loosen by hand; use pliers gently and support the pipe. Photograph the arrangement and note the direction of tapered washers. Clean residue from the trap and inspect for cracks. Reassemble squarely, hand-start every nut, and tighten only enough to compress the washers.
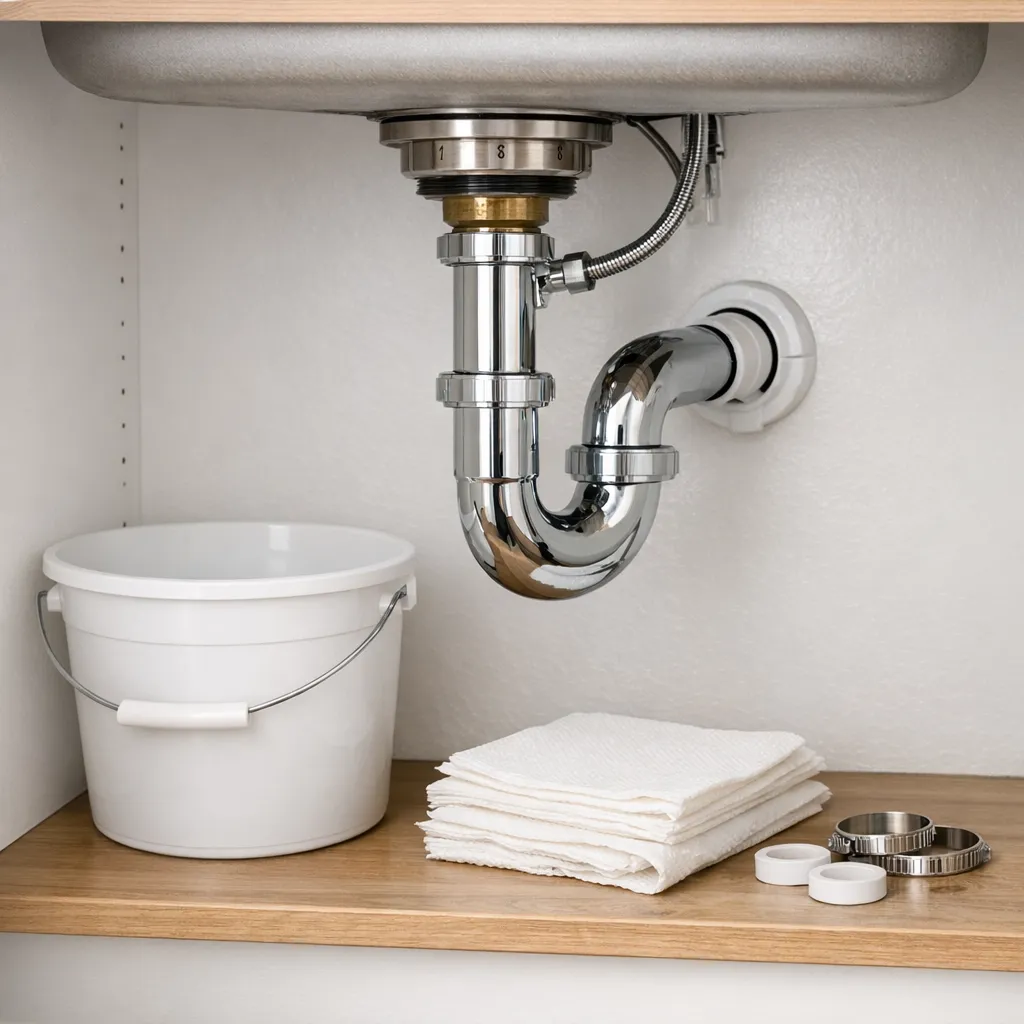
Test the assembly with a thin stream, then a fuller basin release. Use dry tissue at each joint. If reseating a sound washer does not stop a leak, replace the washer or fitting rather than applying exterior caulk. Thread-seal tape is not a cure for slip-joint washers and may interfere with proper seating.
Handle Clogs Without Making Them Worse
A slow kitchen sink often contains grease, food residue, or soap buildup in the strainer, trap, or shared drain. Remove visible debris and clean the strainer first. If both bowls are affected, the restriction is likely beyond their connection. A sink plunger can help if you seal the second drain and any dishwasher opening appropriately, but do not plunge after chemical cleaner has been used.
Avoid pouring cooking grease down the sink, even with hot water. It can cool and adhere inside the pipe. Boiling water is not universally safe for plastic piping, seals, disposal components, or some sink materials. Chemical openers can remain trapped, damage components, and endanger whoever later opens the drain. Physical removal from an accessible trap is generally more controlled.
A hand auger may clear a nearby branch line after the trap is removed, but forcing a cable can damage fittings or lodge it in the pipe. Stop if resistance is severe, several fixtures drain slowly, or wastewater backs up elsewhere. Those symptoms point to a larger branch or main-line problem rather than a routine sink clog.
Evaluate a Garbage Disposal Safely
If a disposal does nothing, first confirm power and check its reset button only after following the manufacturer’s instructions. If it hums but does not rotate, switch off the breaker and unplug it before using the correct manufacturer-approved wrench from below. Never put fingers or tools through the drain opening. If you cannot verify power is disconnected, do not attempt the work.
Leaks can occur at the sink flange, dishwasher inlet, discharge elbow, or housing. A leaking connection may need a gasket or proper reconnection; water from the body housing often means the unit must be replaced. Cracks and internal seal failures should not be patched. Disposal replacement combines plumbing, weight, and electrical considerations, making professional installation a sensible choice for many households.
A dishwasher hose should be secured and routed according to local requirements and appliance instructions to reduce backflow. If the sink fills when the dishwasher drains, stop the cycle and investigate the shared drain or disposal connection. Repeated backups can damage cabinetry and contaminate dishes.
Examine the Sink Rim, Countertop, and Cabinet
Water around the sink is not always a plumbing leak. Splashing can pass through failed caulk at the rim, behind the faucet, or around accessory holes. Dry the area, place tissue below suspected openings, and apply small amounts of water to one surface at a time without running the faucet. This isolates a failed perimeter seal from pressurized and drain leaks.
An undermount sink that has shifted, separated, or dropped requires more than cosmetic caulk. The sink’s clips, brackets, adhesive system, and countertop condition must safely carry a basin full of water. Support a loose sink and avoid filling it until a qualified installer assesses it. Stone countertops can crack if stressed or drilled incorrectly.
Inspect the cabinet base for swelling, softness, staining, odor, or mold-like growth. Hidden moisture may extend behind the cabinet or into flooring. Drying the visible surface does not correct an ongoing source. Substantial or prolonged water damage may require a plumber plus a restoration or cabinetry professional.
Decide Whether Repair or Replacement Makes Sense
A washer, aerator, cartridge, supply hose, or slip-joint component is often economical to replace when the surrounding fixture is sound. Replacement becomes more reasonable when a faucet is heavily corroded, parts are unavailable, a disposal housing leaks, or repeated repairs address different failures on the same aging unit. Compatibility and access matter as much as part price.
Ask a service provider what failed, whether the quote includes parts and labor, how hidden damage would be handled, and whether shutoff valves need replacement. For a new faucet or disposal, confirm electrical, countertop, hole-spacing, and drain compatibility. A low advertised price may not include correcting old valves, altered drain geometry, or cabinet damage.
Do not choose a repair solely because it is cheaper today if it leaves a cracked fitting, unreliable valve, or noncompliant installation in service. Conversely, a dripping connection does not automatically justify replacing every component. A clear diagnosis supports a proportionate solution.
When the Kitchen Sink Problem Is Beyond Safe DIY
Use professional help for a supply valve that will not close, a broken pipe, active flooding, wet electrical equipment, sewage backup, persistent sewer odor, or leaks inside a wall or floor. Also call when multiple drains are affected, an auger repeatedly catches, a disposal’s electrical connection is questionable, or the sink mounting has failed.
Before the appointment, shut off water if safe, disconnect power from wet appliances at the breaker only if you can do so without entering a wet area, and move valuables away. Photograph the source and describe which tests triggered the problem. Tell the plumber about any drain chemicals; that information is essential for safe service.
Frequently Asked Questions
Why is there water under my kitchen sink only sometimes?
Intermittent leaks often occur only during a particular event: using the sprayer, draining a full basin, running the dishwasher, or operating the disposal. Dry everything and test those functions separately to identify the source.
Can I seal a leaking drain joint with caulk?
Exterior caulk is not a reliable repair for a drain joint. Slip joints depend on correctly oriented, undamaged washers and properly aligned piping. A cracked fitting or failed washer should be replaced.
How can I tell whether a faucet or supply line leaks?
A supply connection may drip while the sink is unused. Faucet-body and sprayer leaks usually appear during operation. Trace moisture from the highest wet point with dry tissue rather than following where the final drip lands.
Is a humming garbage disposal safe to keep trying?
No. Repeatedly energizing a jammed disposal can overheat its motor. Disconnect power and follow the manufacturer’s jam-clearing procedure, or call a qualified technician. Never reach inside.
Should I replace old shutoff valves during faucet work?
If valves are corroded, leak when operated, or do not stop flow, replacement is prudent. Because valve work can involve the home’s supply piping and main shutoff, many homeowners should have a plumber perform it.
Careful staged testing can reveal whether the needed kitchen sink repair is a small component replacement, a drainage correction, or urgent professional work. Keep water and electricity separated, avoid improvised patches, and verify every repaired connection under both low and full flow before returning items to the cabinet.
Why This Is Different in San Antonio
San Antonio's Edwards Aquifer supplies some of the hardest municipal water in the United States: about 357 mg/L, or 21 grains per gallon. That limestone-filtered groundwater carries calcium carbonate and magnesium into our fixtures, valves, drains, heaters, and supply lines. For kitchen sink repair, that matters because mineral scale changes the maintenance schedule, failure signs, and realistic repair costs for local homeowners.
- Scale buildup makes small restrictions worse, especially at cartridges, aerators, shutoff valves, drains, and heater connections.
- Fixtures, pipes, and appliances in our area can wear out 30-50% faster than in soft-water cities when maintenance is delayed.
- SAWS publishes annual water quality reports, but the practical homeowner takeaway is simple: maintenance intervals here should be shorter than national advice suggests.
Homes in Medical Center area are particularly affected because 1970s-80s builds can have aging supply lines and occasional polybutylene concerns. Unlike cities with naturally soft water, local homeowners should treat hard-water maintenance as normal prevention, not an upsell.
> "In my 20 years working in San Antonio, I would say most surprise plumbing failures I see start with homeowners following soft-water maintenance advice in a hard-water city." — Licensed local plumber
What San Antonio Homeowners Pay (2026)
| Service | Typical Cost in San Antonio |
|---|---|
| Emergency plumber call | $150–$350; after hours $250–$500 |
| Plumber hourly rate | $85–$150/hr |
| Water softener installation | $1,500–$4,000 |
Prices are based on local metro area ranges for 2026. Costs may vary by neighborhood, access, pipe material, after-hours timing, and whether the plumber finds hard-water damage beyond the visible problem.
When to Call a San Antonio Plumber
Call a licensed local plumber if the problem involves active leaking, a shutoff valve that will not close, sewer smell, recurring clogs, water near electrical components, a water heater leak, or any pipe inside a wall, ceiling, or slab. Locally, expect many licensed plumbers to charge roughly $85-$150 per hour, with emergency visits commonly around $150-$350 and after-hours calls closer to $250-$500.
When you call, ask three local questions:
1. Are you licensed and insured for work in Bexar County or the surrounding local metro?
2. Have you dealt with Edwards Aquifer hard-water scale on this type of repair?
3. Should I also check the water heater, shutoff valves, or water softener while you are there?
local plumbers see hard-water issues every week, so a good pro should be able to explain whether the failure is normal wear, mineral damage, freeze damage from a cold snap like Winter Storm Uri, or a sign of a larger plumbing system problem.
San Antonio FAQ
Is San Antonio water hard?
Yes. San Antonio water is very hard at about 357 mg/L, or 21 grains per gallon, because much of it comes from the Edwards Aquifer and passes through limestone. That mineral content is why scale shows up quickly on faucets, showerheads, valves, drains, and water heaters.
Do local homes need a water softener?
A water softener is recommended for many local homes, especially if you see white scale, repeated faucet or valve problems, short water-heater life, or cloudy spots on dishes. A typical whole-home water softener installation in San Antonio runs about $1,500-$4,000.