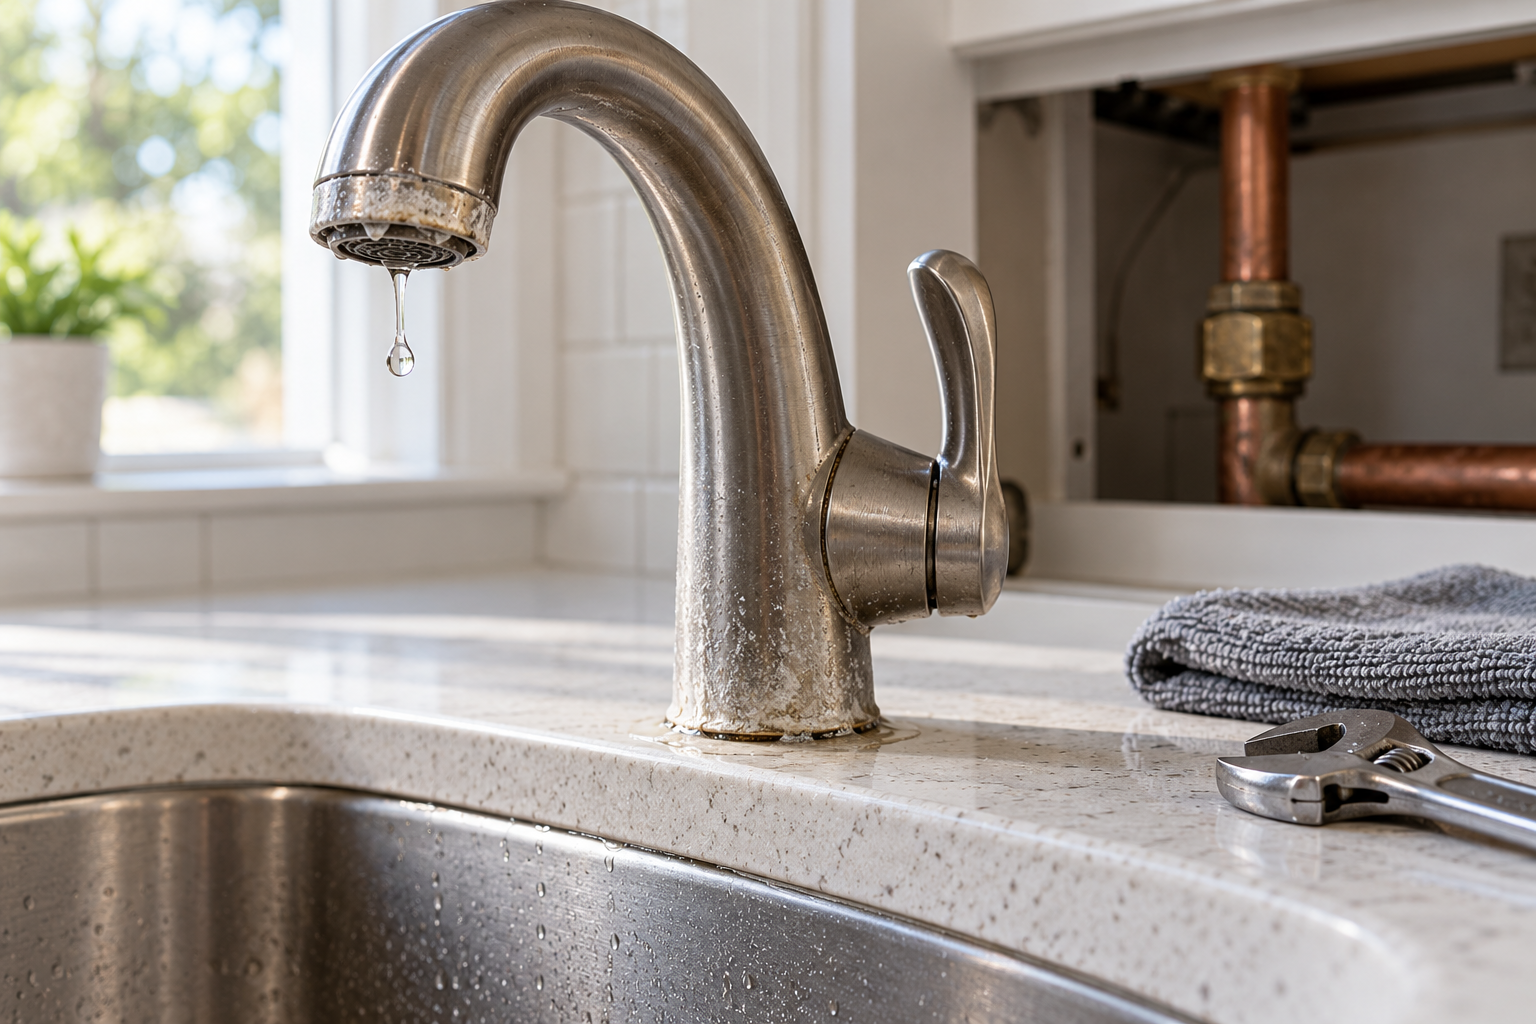
> San Antonio Local Insight: Fixture and faucet leaks in San Antonio happen faster because hard water minerals (21 gpg from Edwards Aquifer) grind down valve seats, corrode cartridges, and prevent proper sealing. A faucet that lasts 15 years in soft-water cities often starts leaking within 5–8 years in San Antonio without a water softener.
Local San Antonio Field Notes Before You Start
Before following any generic plumbing checklist, adjust it for our Edwards Aquifer water. At roughly 357 mg/L, or 21 grains per gallon, the calcium carbonate and magnesium in the water can turn a small maintenance issue into repeat wear on valves, seals, drains, heaters, and appliance connections. That means a visible drip may be the symptom, while the real risk is scale, corrosion, freeze stress, or an older pipe material failing behind the wall or under the slab.
A homeowner in Helotes should be especially careful because well-water and edge-of-system supply can make mineral scale show up even faster. If you are comparing advice from national repair guides, shorten the maintenance interval and inspect for white scale, crusted fittings, stiff shutoff valves, and early corrosion before assuming the part simply “got old.”
For budgeting, use local pricing instead of national averages: emergency plumber calls often run $150-$350, after-hours visits $250-$500, and slab leak repair can reach $2,000-$5,000. If the issue appears after a summer high-use period or after a rare freeze like Winter Storm Uri, treat it as a local risk signal and document what you see before calling a licensed plumber in Bexar County.
A water leak rarely improves on its own. Even a slow drip can stain finishes, swell cabinets, damage flooring, and keep hidden cavities damp. Good water leak repair begins with identifying whether water is escaping from a pressurized supply line, a drain, a fixture seal, an appliance, or an unrelated source such as condensation or rain.
If water is actively spreading, close the nearest working fixture valve or the main household shutoff. Keep clear of wet electrical equipment, outlets, and wiring. Catch residual water only when the area is electrically safe, then document the source and damage. An accessible faucet connection may be a reasonable DIY project; water inside a wall, sewage, a failed water heater, or a leak near electricity requires faster professional help.
Take Immediate Action Before Diagnosing the Leak
Start by controlling flow rather than reaching for tools. Fixture shutoffs are usually beneath sinks, behind toilets, or near appliances. Turn a valve gently clockwise; forcing a corroded valve can make the situation worse. If it does not stop the water, use the main shutoff. After closing it, open a low faucet to relieve pressure and remember that water already in upper pipes may continue draining briefly.
Move furniture and stored items away, place a stable container beneath a drip, and use towels or a wet vacuum if conditions are safe. Photograph the area before removing damaged materials, particularly if insurance may be involved. For an overhead leak, do not stand under bulging drywall. A saturated ceiling can collapse, and puncturing it without knowing the location of wiring or the amount of trapped water is hazardous.
Understand What Kind of Leak You Have
Supply leaks occur in pipes and connections that remain pressurized. They may drip continuously, hiss, or move the water meter even when no fixtures are operating. Drain leaks usually appear only while a sink, shower, tub, toilet, dishwasher, or washing machine discharges. Fixture leaks include worn faucet cartridges, toilet components, failed seals, loose traps, and leaking appliance hoses.
Not all moisture is plumbing-related. Cold-water pipes and toilet tanks can sweat in humid rooms. Roof or window leaks may track along framing and emerge near plumbing. Air-conditioning condensate can also mimic a pipe leak. Note exactly when moisture appears: continuously, after hot water, during draining, after rain, or when an appliance runs. Timing is one of the safest and most useful diagnostic tools.

Protect Yourself From Electrical, Sewage, and Hot-Water Hazards
Never enter standing water that may contact an outlet, appliance, extension cord, light fixture, or electrical panel. Do not touch breakers while standing on a wet floor. Leave the affected zone and call qualified electrical and plumbing help. If a leak is close to a fuel-burning appliance and there is a gas odor, leave the building immediately and contact the gas utility or emergency service from outside.
Wastewater requires different precautions from clean supply water. A leaking toilet drain, sewer backup, or foul-smelling discharge can contain pathogens. Keep people away, avoid splashing or using fans that spread contamination, and arrange appropriate cleanup. Hot-water leaks can scald even when the visible flow looks small. Do not operate water-heater gas controls, electrical connections, or temperature-and-pressure safety devices unless specifically qualified.
Locate the Source With Non-Destructive Checks
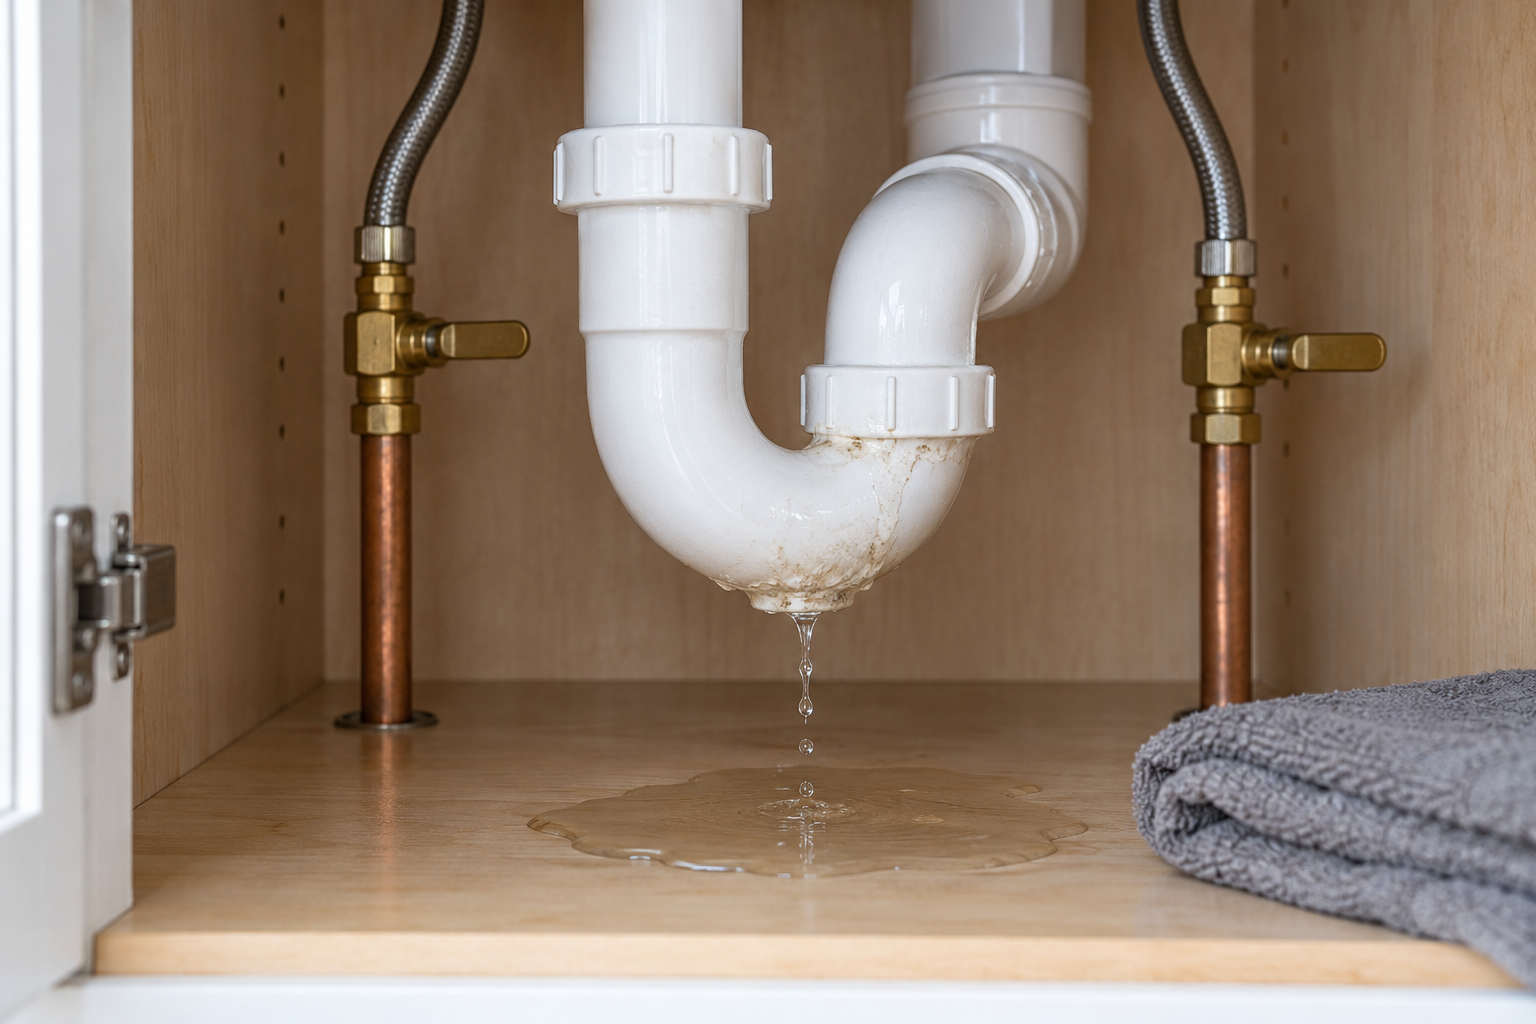
Dry the suspected area completely and inspect from high to low with a flashlight. Under a sink, wrap clean paper towel around the valve stem, hose ends, faucet shanks, drain basket, trap joints, and disposal connection. Run cold water, hot water, and a full-basin drain as separate tests. A new wet mark shows where moisture first emerges instead of where it eventually collects.
For a whole-house check, stop all water use and ensure toilets and appliances are idle. Photograph the meter, wait 30 to 60 minutes, and compare it without using water. Any movement deserves investigation. A toilet dye test can identify a silent tank leak: add a small amount of food coloring to the tank, do not flush, and check whether color enters the bowl after about 15 minutes.
| Symptom | Likely category | First response |
|---|---|---|
| Continuous drip at a braided hose end | Supply connection | Close valve and inspect washer/connection |
| Moisture appears only while basin drains | Drain or trap | Stop using fixture and inspect joints |
| Toilet refills between uses | Tank component | Dye-test flapper and check overflow level |
| Meter moves during a no-use period | Hidden supply loss | Isolate fixtures or call a leak specialist |
| Broad dampness on a cold pipe | Condensation | Dry, ventilate, and reassess humidity |
| Ceiling stain grows after an upstairs shower | Drain, enclosure, or valve | Stop shower use and test components separately |
Make Simple Fixture Repairs Correctly
Some visible repairs are suitable for careful homeowners. A matching toilet flapper, worn faucet aerator washer, or accessible slip-joint washer can often be replaced after shutting off water and confirming the component. Follow the fixture manufacturer’s instructions, use parts intended for that model and material, and take a photo before disassembly. Keep a tray below the work because traps and hoses retain water.
Avoid the common mistake of tightening everything harder. Excess force can crack plastic nuts, distort rubber washers, strip threads, or break an old valve. Compression fittings, tapered pipe threads, and straight-thread hose connections seal in different ways; thread tape is not appropriate for every joint. After reassembly, restore water slowly while watching the repair, wipe it dry, and recheck with paper towel after several minutes and again the next day.
Respond to Pipe Leaks Without Creating a Bigger Failure
If an exposed pipe is cracked or punctured, shut off the water and relieve pressure. A manufacturer-approved repair clamp may provide temporary control on compatible, sound pipe, but it is not a universal permanent fix. Tape wrapped around the exterior of a wet, pressurized pipe is unreliable. Corroded metal can crumble beyond the visible pinhole, and damaged plastic may extend past a single crack.
Pipe material determines the proper repair. Copper may require cutting and approved fittings; PEX uses compatible fittings and calibrated tools; CPVC needs material-specific procedures and cure times; galvanized pipe can be fragile and difficult to disassemble. Concealed work may be subject to plumbing codes and permits. If you cannot positively identify the material, isolate the water and hire a plumber rather than experimenting with incompatible products.

Handle Toilet, Shower, and Tub Leaks Carefully
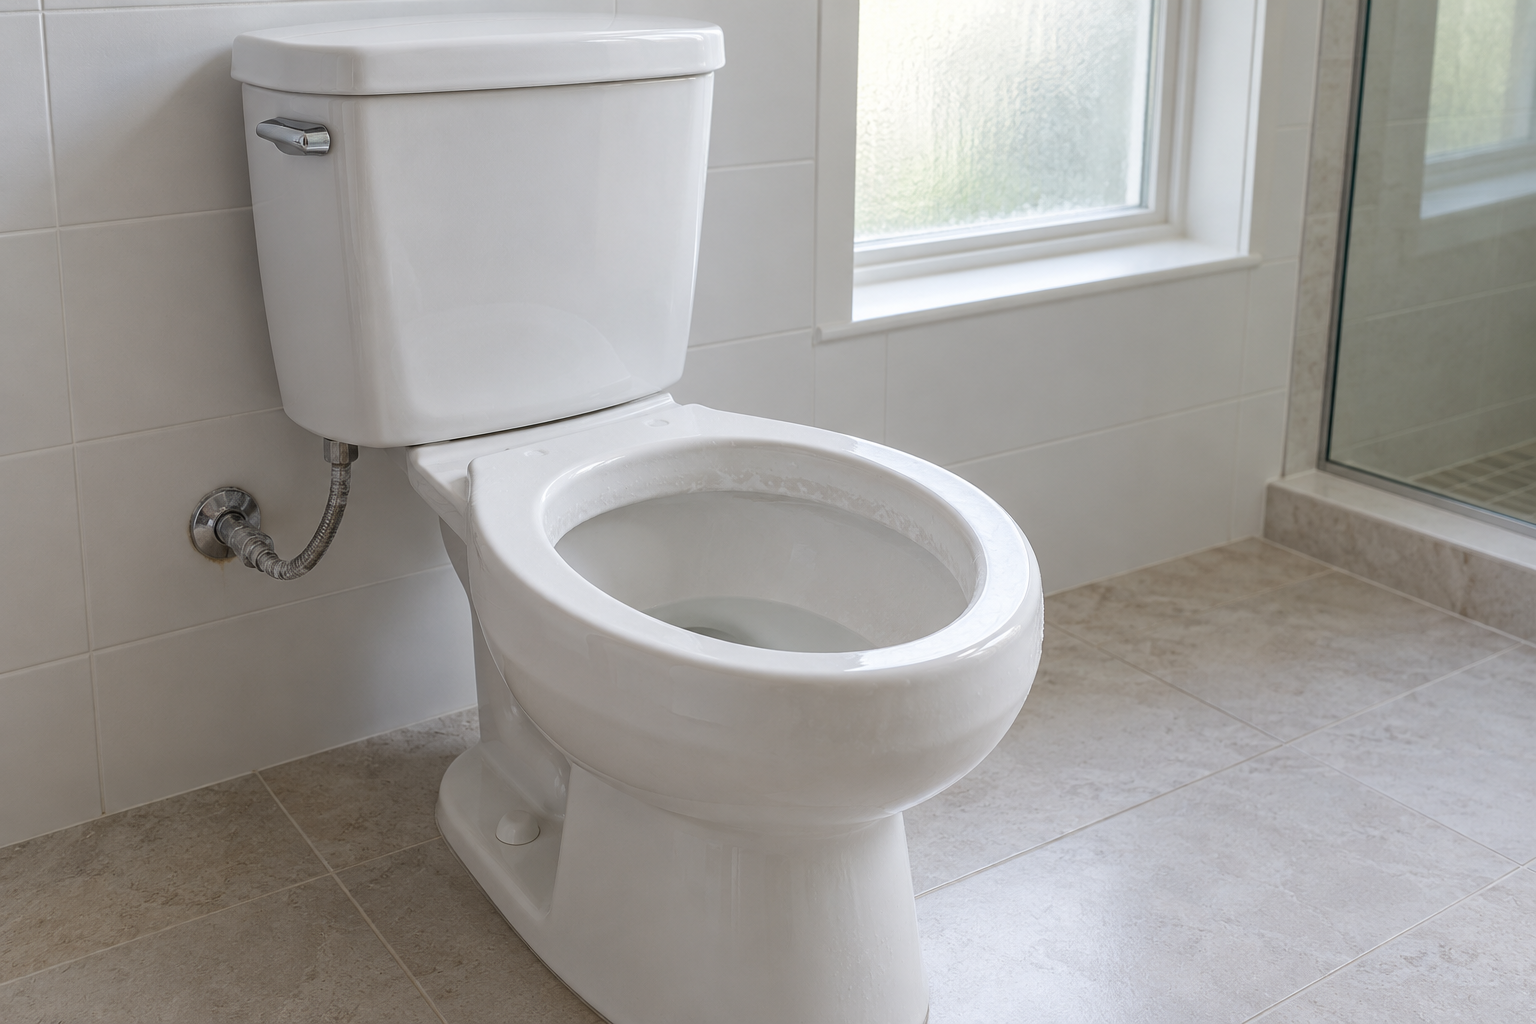
A toilet that leaks into the bowl often needs a flapper or fill-valve adjustment. Water around the base is different: it may come from condensation, a supply connection, a tank bolt, a cracked fixture, or a failed floor seal. Dry the toilet, test one area at a time, and stop using it if water appears at the floor during flushing. Replacing a floor seal requires lifting the toilet and verifying the flange condition; improper resetting can leak into the subfloor.
For a tub or shower, distinguish splash leakage from drain leakage. Run water directly into the drain without wetting walls, then test the enclosure in small sections while someone observes below. Failed caulk can permit splash water to escape, but caulk should never be applied over an active drain or valve leak as camouflage. A loose drain, inaccessible mixing valve, cracked pan, or repeated ceiling stain calls for professional diagnosis.
Know the Limits of Temporary Repairs
Temporary control has a legitimate purpose: it can reduce damage until the correct part or contractor arrives. Closing a fixture valve, using a sound catch pan, or installing an approved clamp according to its instructions may be appropriate. The temporary measure must remain visible, stable, and frequently checked. Do not restore full pressure if the damaged material may split further.
Avoid pour-in sealers, improvised adhesives, and products not approved for potable-water systems or the pipe material. They may contaminate water, obstruct valves, void warranties, and make permanent repair harder. A bucket is not an acceptable unattended solution where overflow can damage the building. If the household must leave, shut off the affected supply whenever doing so will not disable essential fire-protection or heating equipment.
Decide Escalation Triggers That Change the Job
Professional service is warranted when a leak is concealed, the water meter confirms unexplained flow, the main valve fails, or the pipe lies below a slab or underground. Call promptly for sagging ceilings, recurring moisture, low pressure throughout the house, frozen-pipe damage, sewage, extensive corrosion, or leaks involving water heaters. Multi-unit buildings require rapid reporting because water can affect neighboring homes.
Provide the plumber with meter readings, photos, a timeline, the fixture tests performed, and whether hot or cold water changes the symptom. Ask how the source will be confirmed before finishes are opened and whether restoration is included. Repair cost depends on access, pipe material, location, emergency timing, permits, and finish replacement. Comparing written scopes is more useful than relying on a universal online price.
Dry, Restore, and Verify the Repair
A repair is not complete merely because dripping stops. Dry the surface, restore pressure gradually, operate the fixture through several cycles, and check every disturbed joint. Use a dry paper towel to detect small seepage. Repeat the whole-house meter test if the original symptom involved unexplained consumption. Keep access open long enough to confirm that the repair remains dry.
Address wet materials quickly. Open cabinet doors, remove soaked contents, and use dehumidification where safe. Saturated insulation, swollen particleboard, damaged drywall, and flooring assemblies may need selective removal. Do not blow fans over sewage contamination. Photograph hidden damage and contact an insurer before major demolition when practical. Persistent odor, extensive mold growth, or moisture affecting vulnerable occupants is a reason to involve qualified remediation professionals.
Prevent the Next Water Leak
Inspect visible valves, appliance hoses, traps, and water-heater connections regularly. Replace kinked, bulging, corroded, or abraded hoses with approved products, and follow appliance guidance. Do not store cleaners or heavy objects where they strike piping. Label the main shutoff and ensure responsible household members know where it is, but avoid forcing an old valve during a casual test.
Leak sensors beneath sinks, toilets, water heaters, washing machines, and refrigerators can provide early warning. Whole-house monitoring and automatic shutoff systems add protection but require correct installation, power, maintenance, and periodic testing. Protect pipes from freezing, disconnect outdoor hoses where climate requires, and ask a plumber to assess excessive water pressure. Prevention is less disruptive than emergency repairs behind finished walls.
Frequently Asked Questions
Can I repair a leaking pipe without shutting off the water?
Usually not safely or reliably. Pressurized water prevents proper drying and can turn a small defect into a larger break. Close the fixture or main valve and relieve pressure before attempting any approved repair.
Why is the cabinet wet when no connection is dripping?
Water may travel along a hose or pipe before falling, or condensation may form on cold components. Dry everything, wrap individual joints with paper towel, and test cold flow, hot flow, and draining separately.
Is plumber’s tape the right fix for every threaded leak?
No. Some tapered pipe threads use an approved thread sealant, while hose connections and many straight threads seal with washers. Tape on the wrong connection can interfere with seating. Follow the manufacturer’s instructions for the exact fitting.
How long should I monitor a repair?
Watch during pressure restoration and fixture operation, then recheck after several hours and the next day. Concealed or previously severe leaks deserve longer moisture monitoring. Any renewed dampness means the source or repair needs reassessment.
Will homeowners insurance cover water damage?
Coverage varies by policy and cause. Sudden accidental discharge may be treated differently from long-term seepage or neglected maintenance. Document the event, prevent further damage, and contact the insurer promptly for policy-specific guidance.
Effective water leak repair combines a safe shutdown, source confirmation, a material-appropriate fix, thorough drying, and follow-up testing. When the source is hidden or the consequences are serious, stopping early and calling a qualified professional is the most practical DIY decision.
Why This Is Different in San Antonio
The Edwards Aquifer delivers water at roughly 357 mg/L, or 21 gpg, so mineral scale is part of the diagnosis rather than a cosmetic side issue. Scale can hold a valve partly open, abrade a cartridge, stiffen an old shutoff, and leave white crust that hides a slow seep. SAWS water-quality reporting is useful context, but the practical response is to inspect seals and valves more often and verify a repair after pressure is restored.
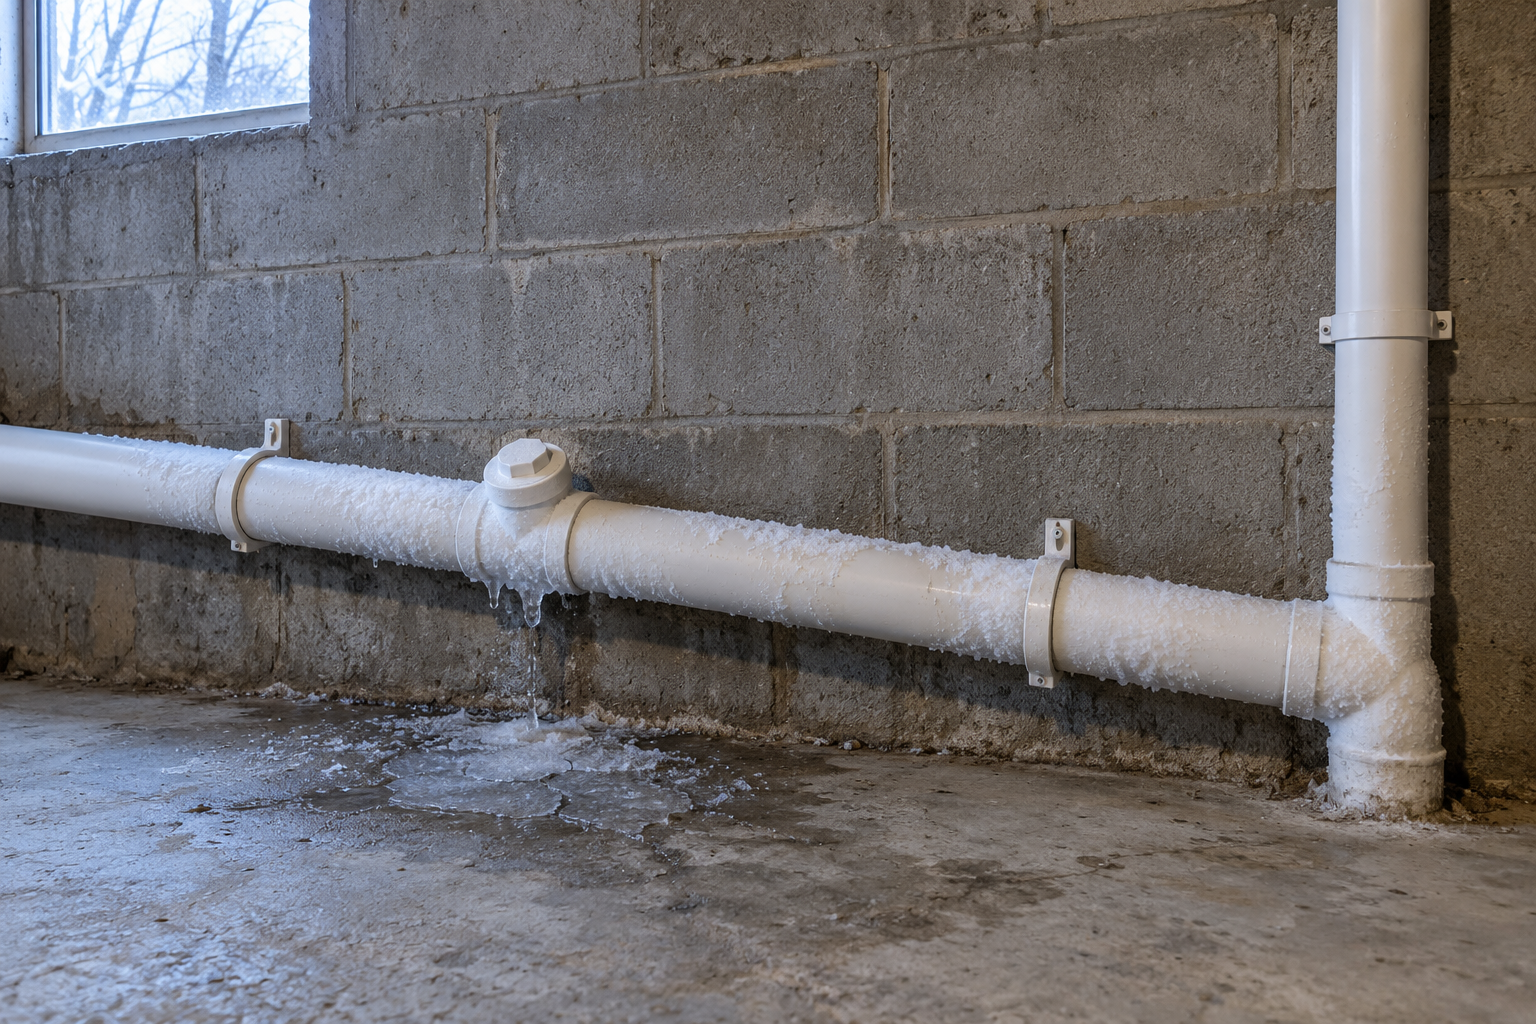
In Helotes, edge-of-system homes and private-well properties can show heavier mineral deposits, so the failed seal and the upstream water condition both deserve attention. Across Bexar County, summer demand also exposes marginal valves and appliance hoses, while a hard freeze—Winter Storm Uri remains the clearest reminder—can split pipe or weaken a fitting that leaks later. Those conditions are why making a lasting leak repair requires more than copying a national checklist.
What San Antonio Homeowners Pay (2026)
| Local service scope | Typical 2026 homeowner range |
|---|---|
| Accessible fixture or supply repair | $175–$450 |
| Concealed pipe repair with access | $500–$1,800 |
| Emergency or after-hours response | $250–$500 call-out, plus repair |
| Standard licensed-plumber labor | $85–$150 per hour |
These San Antonio planning ranges are not quotes. Access, pipe material, permit needs, after-hours timing, drying, and finish restoration can change the total. Ask for a written scope that separates diagnosis, plumbing work, access, and restoration so a low initial fee is not mistaken for the whole project.
When to Call a San Antonio Plumber
Stop DIY and call a licensed plumber when the main shutoff will not close, meter movement continues with every fixture off, water is inside a wall or slab, a ceiling sags, sewage is involved, or moisture is near electrical equipment. Recurring pinholes, widespread corrosion, a hot floor, and a repair that will leave the entire house without water are also clear escalation points.
Before authorizing work, ask how the source will be confirmed, what material will replace the failed section, whether testing is included, and whether the contractor handles permits required for the scope. A plumber serving San Antonio should be prepared to discuss Edwards Aquifer scale, freeze history, and the pipe materials common in the neighborhood—not simply replace the first wet component.
San Antonio FAQ
Does 21 gpg water prove hard water caused the leak?
No. It is a strong wear factor, not a diagnosis. Installation errors, excessive pressure, age, corrosion, movement, and freeze damage can also cause failure. Mineral crust near the source and repeated seal or cartridge problems make hard-water wear more likely.
Should I call SAWS for a suspected leak?
SAWS can help with meter or utility-side questions, but the homeowner is generally responsible for plumbing after the meter. If the meter changes while the house main is closed, report the evidence and ask whether the utility or a licensed plumber should inspect the service-line boundary.
Is a temporary clamp safe overnight?
Only when the product is listed for the exact pipe, pressure, and temperature and the damaged section remains visible. Keep the water isolated whenever practical. Never use a clamp as a permanent concealed repair or on gas, fire-sprinkler, relief, or heavily corroded piping.
What should I document before service?
Photograph the meter, source area, stain boundaries, and damaged finishes. Note which fixture triggers the symptom and whether hot or cold use changes it. Good evidence helps a San Antonio technician target testing and gives an insurer a clearer timeline.