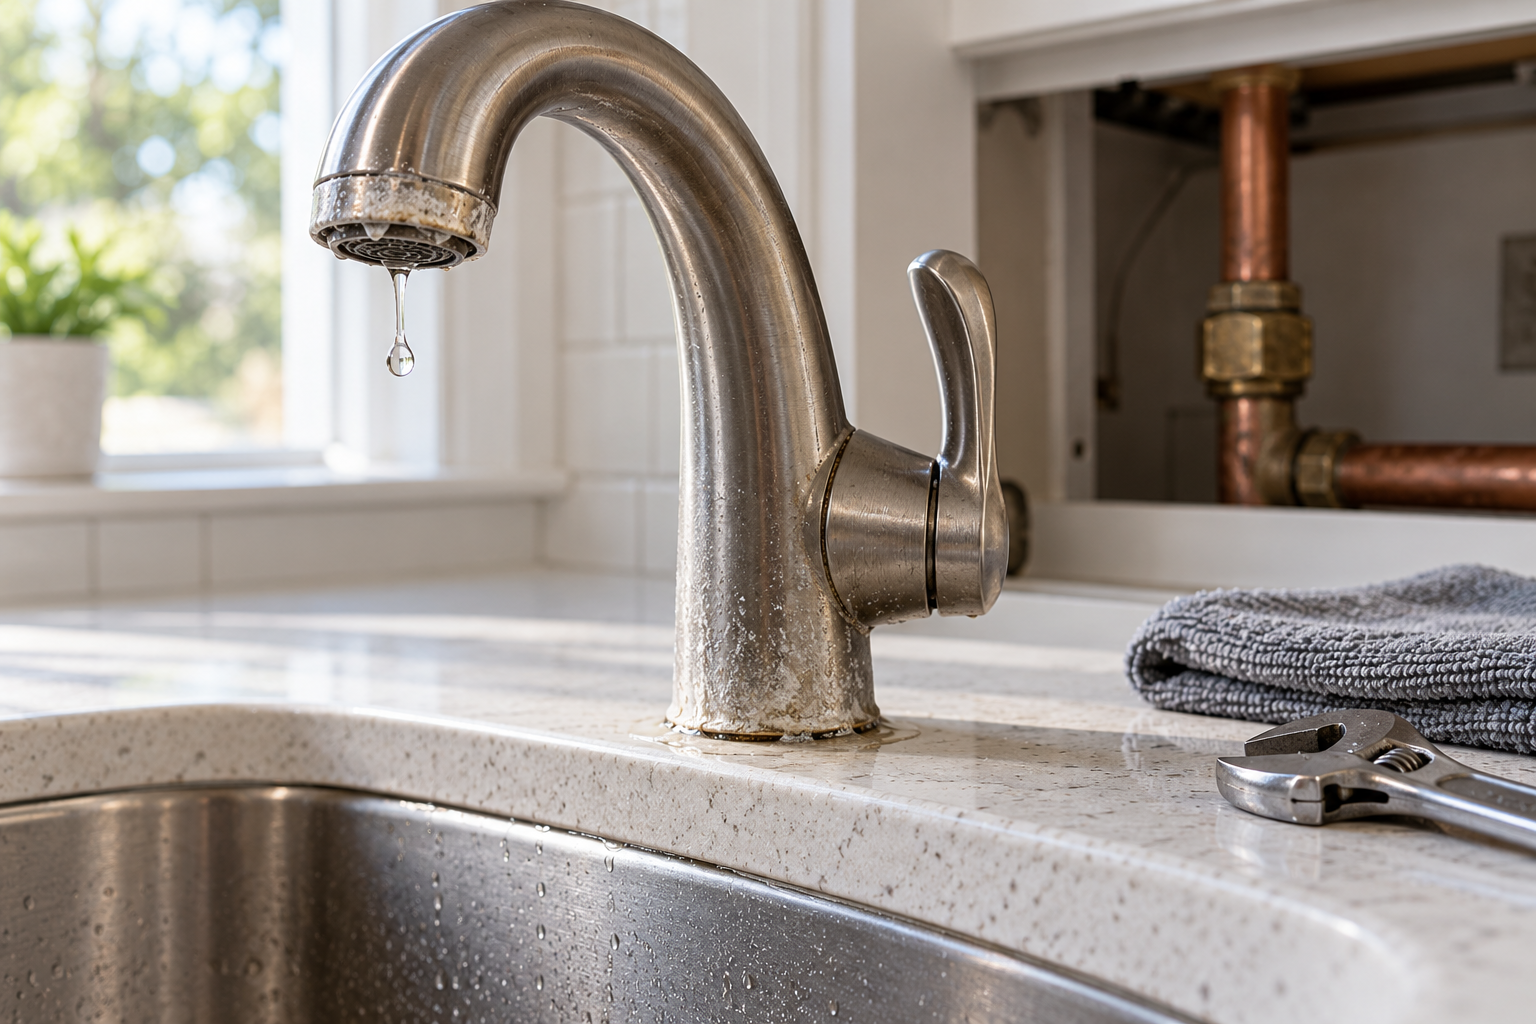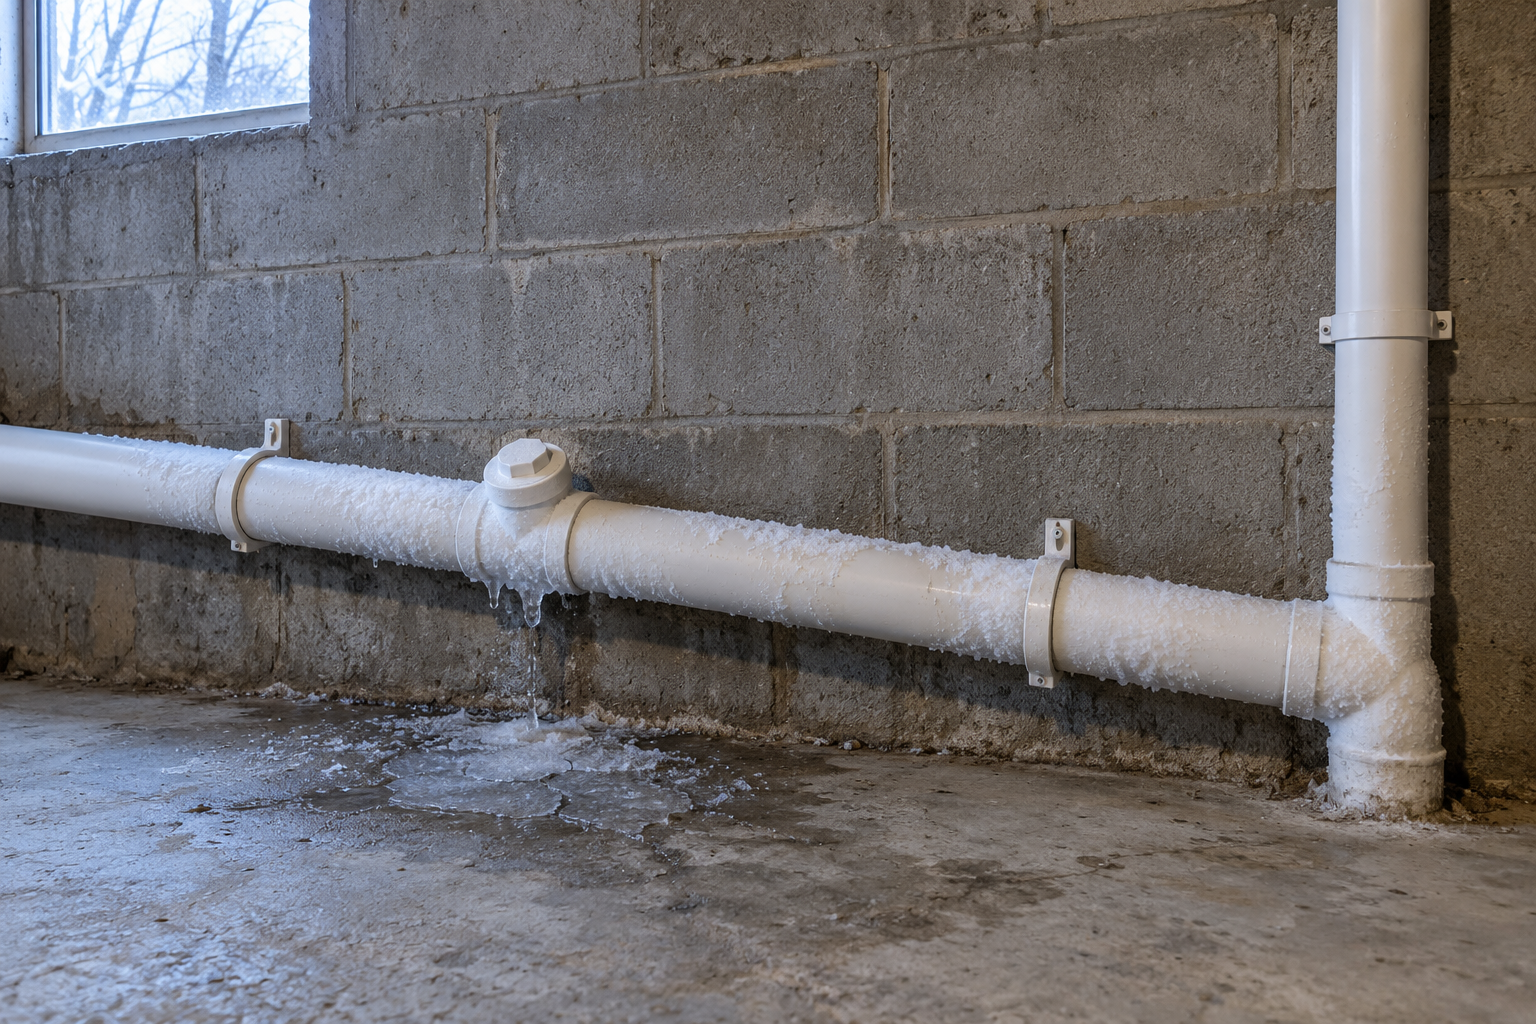
> San Antonio Local Insight: Fixture and faucet leaks in San Antonio happen faster because hard water minerals (21 gpg from Edwards Aquifer) grind down valve seats, corrode cartridges, and prevent proper sealing. A faucet that lasts 15 years in soft-water cities often starts leaking within 5–8 years in San Antonio without a water softener.
Local San Antonio Field Notes Before You Start
Before following any generic plumbing checklist, adjust it for our Edwards Aquifer water. At roughly 357 mg/L, or 21 grains per gallon, the calcium carbonate and magnesium in the water can turn a small maintenance issue into repeat wear on valves, seals, drains, heaters, and appliance connections. That means a visible drip may be the symptom, while the real risk is scale, corrosion, freeze stress, or an older pipe material failing behind the wall or under the slab.
A homeowner in Stone Oak should be especially careful because 1990s and 2000s copper lines are a common place for pinhole leaks and scale-related fixture wear. If you are comparing advice from national repair guides, shorten the maintenance interval and inspect for white scale, crusted fittings, stiff shutoff valves, and early corrosion before assuming the part simply “got old.”
For budgeting, use local pricing instead of national averages: emergency plumber calls often run $150-$350, after-hours visits $250-$500, and slab leak repair can reach $2,000-$5,000. If the issue appears after a summer high-use period or after a rare freeze like Winter Storm Uri, treat it as a local risk signal and document what you see before calling a licensed plumber in Bexar County.
A hidden plumbing leak can waste water, damage finishes, encourage mold, and weaken wood long before a puddle becomes obvious. Effective plumbing leak detection starts with a calm response: stop active water if necessary, protect electrical safety, and determine whether the moisture comes from a supply pipe, drain, fixture, appliance, roof, or condensation.
If water is spreading quickly, close the nearest fixture shutoff or the home’s main water valve. Do not enter standing water near outlets, appliances, a service panel, or exposed wiring. A small, accessible leak at a faucet connection may be manageable, but water inside a wall, sewage, a suspected gas-appliance issue, or recurring unexplained moisture deserves professional attention.
Recognize the Signs of a Hidden Plumbing Leak
Visible dripping is only one warning. Look for a water bill that rises without a change in household use, a water meter that moves while every fixture is off, musty odors, peeling paint, swollen baseboards, loose flooring, or a ceiling stain that grows after someone uses an upstairs bathroom. Cabinets beneath sinks may feel damp at the back even when the front looks dry. Toilets may refill briefly between uses when a flapper leaks.
Sound and timing help narrow the source. A hiss that continues when fixtures are closed can suggest pressurized water escaping. A stain that appears only after a shower points toward the shower drain, enclosure, supply valve, or failed seal rather than a continuously leaking supply line. Moisture after rain may be a building-envelope problem instead. Record when each symptom appears rather than opening a wall immediately.
Put Safety and Damage Control First
For a fast supply leak, turn the fixture valve clockwise gently; if that does not stop the flow, use the main shutoff. Know its location before an emergency, and never force a seized valve with excessive leverage. Open a low faucet after shutdown to relieve pressure, then catch residual water with a tray. Move belongings away and use towels or a wet vacuum only where electrical conditions are safe.
Treat brown or foul-smelling water as potentially contaminated. Avoid skin contact with sewage, keep the area isolated, and arrange professional cleanup. If water has reached outlets, lights, appliances, or the electrical panel, remain out of the wet area and call qualified help. Never touch a breaker while standing on a damp floor. If moisture is near a fuel-burning water heater and you smell gas, leave the building and contact the gas utility or emergency service from outside.

Use the Water Meter as a Whole-House Test
A water meter can reveal continuous loss without identifying its exact location. Turn off faucets, irrigation, ice makers, washing machines, dishwashers, and other water-using equipment. Confirm that no toilet is refilling. Photograph the meter reading and note any low-flow indicator, then wait 30 to 60 minutes without using water. Movement suggests consumption or leakage somewhere after the meter.
Repeat the test after closing the home’s main shutoff, if that valve works reliably and the meter remains visible. If meter movement stops, the issue is probably on the house side. If it continues, the service line between meter and shutoff may need investigation, although meter arrangements vary by utility. A private well behaves differently; rapid pump cycling while no water is used can be a clue, but pressure-tank and well diagnosis belongs to a qualified technician.
Inspect Fixtures and Exposed Connections
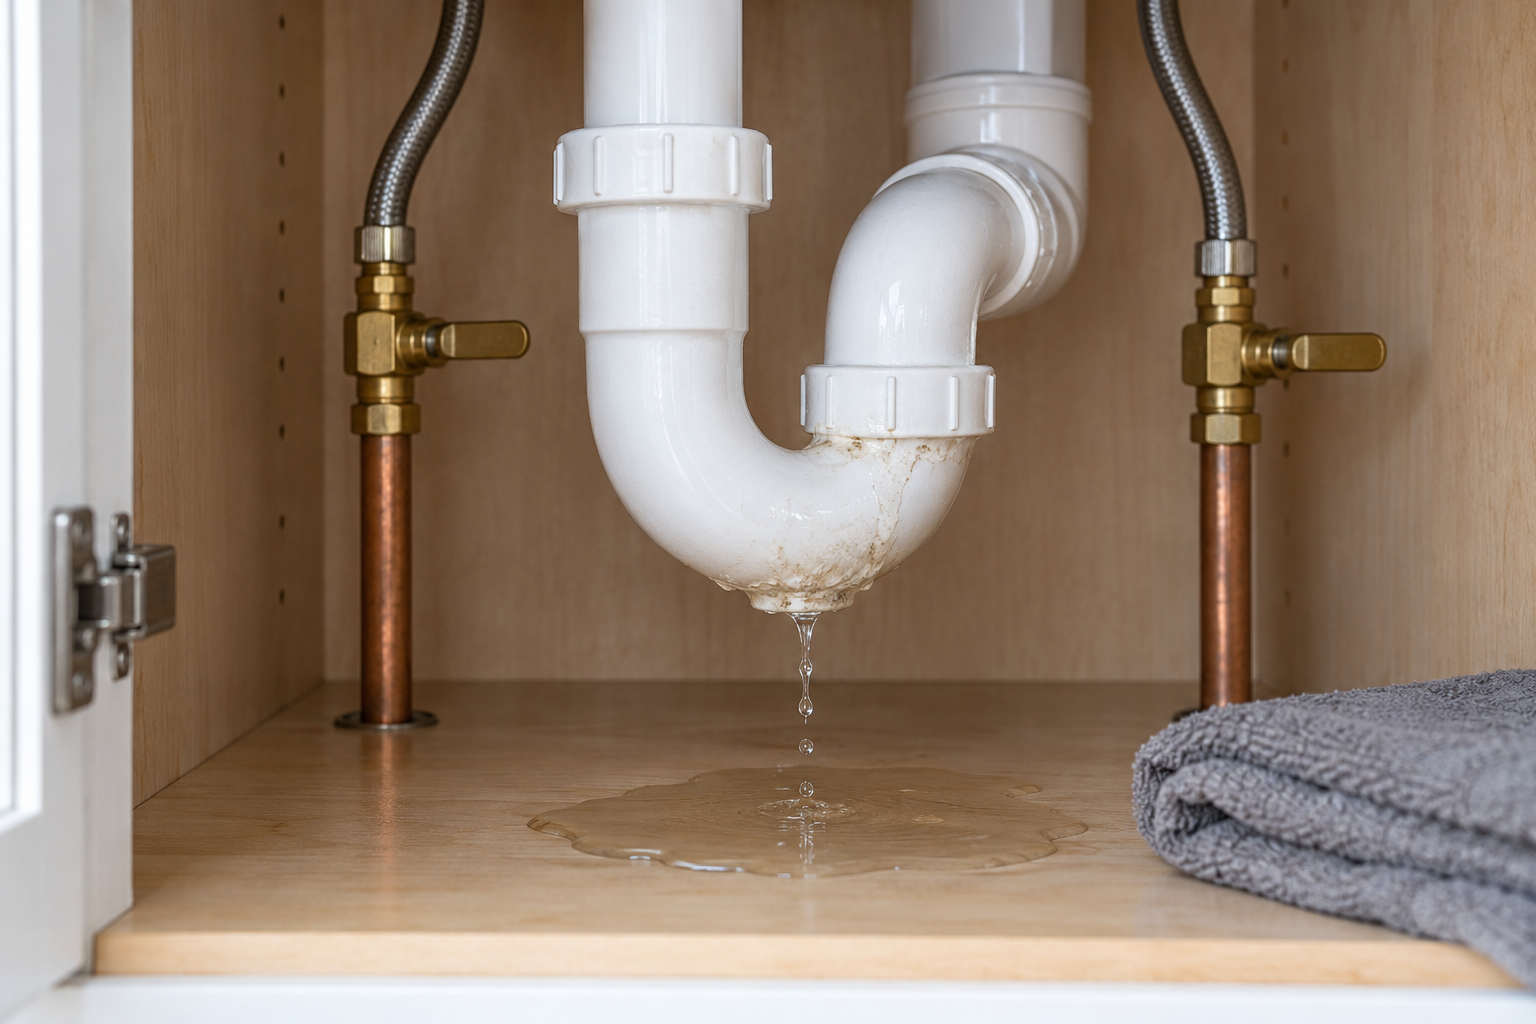
Start where inspection is easy and non-destructive. Dry the cabinet under each sink, then press a clean paper towel around supply-valve stems, braided hose ends, faucet shanks, trap joints, and the disposal connection. Run cold water, hot water, and then a full basin drain separately. A fresh damp mark can identify a connection that looked dry. Check refrigerator and dishwasher lines, washing-machine hoses, water-heater fittings, and accessible basement piping.
Do not assume every bead of water is a pipe failure. Cold pipes can sweat in humid rooms, and condensation can form on toilet tanks. Condensation is usually widespread over a cold surface; a leak tends to begin at a joint, crack, or valve. Dry the area, ventilate it, and observe where moisture first returns. Corrosion, mineral crust, green staining, or rust around a fitting indicates chronic seepage even if it is temporarily dry.
| Observation | Likely area to check | Sensible next step |
|---|---|---|
| Meter moves with all fixtures off | Pressurized supply system | Isolate fixtures and call a plumber if unresolved |
| Stain grows only when a tub drains | Drain, overflow, or trap | Stop using the tub and inspect accessible parts |
| Toilet refills by itself | Flapper, fill valve, or overflow | Perform a dye test and replace the faulty part |
| Dampness covers an entire cold pipe | Condensation | Improve ventilation and insulate correctly |
| Yard stays wet in dry weather | Service or irrigation line | Shut off irrigation and request leak locating |
Test Toilets, Tubs, and Showers Methodically
Toilets are common silent water users. Add a few drops of food coloring to the tank without flushing and wait about 15 minutes. Color appearing in the bowl indicates water is passing the flapper or flush-valve seal. Also verify that the tank water is below the overflow tube and that the fill valve shuts off cleanly. Replacing a matching flapper is often a reasonable homeowner repair; cracked porcelain or a leak at the floor requires a different response.
For showers and tubs, separate supply, enclosure, and drain tests. First run water directly into the drain without wetting walls; then wet one wall or door section at a time. Have someone observe the ceiling or access panel below. Do not continue if damage expands. Failed caulk can let splash water escape, but caulk must not be used to conceal a leaking drain joint. A loose drain, failed shower pan, or inaccessible valve should be evaluated professionally.
Trace Wall and Ceiling Moisture Without Destructive Guessing
Begin with the floor plan. Identify bathrooms, kitchens, laundry equipment, exterior walls, and mechanical spaces above or beside the stain. The wettest visible point is not always directly below the leak because water follows pipes, framing, and drywall seams. Mark the stain edge lightly with painter’s tape and note the time. Growth during a controlled fixture test provides better evidence than a single moisture reading.
A pinless moisture meter or infrared camera can help compare areas, but neither proves that plumbing is the source. Reflective surfaces, insulation gaps, sunlight, and temperature differences can mislead infrared scans. Use tools to form a hypothesis, then confirm it through timing and isolation. Avoid drilling exploratory holes where wiring or pipes may be present. A plumber can use acoustic equipment, pressure testing, thermal imaging, or inspection cameras when the route remains unclear.

Decide Which Repairs Are Reasonable to DIY
Low-risk repairs usually involve visible, accessible components: a correctly identified toilet flapper, a faucet aerator, or a compression connection that only needs a slight manufacturer-approved adjustment. Shut off water, confirm the line is depressurized, use the correct replacement, and keep the area open for observation after restoring pressure. Place a dry paper towel beneath the repair and recheck it after several minutes, several hours, and the next day.
Avoid improvised clamps, excessive tightening, incompatible thread sealants, and “miracle” chemicals. Over-tightening can crack plastic nuts, deform washers, or damage valves. Tape wrapped around the outside of a pressurized fitting is not a durable repair. PEX, copper, CPVC, and galvanized pipe require different tools and methods. Work inside walls, below slabs, on service lines, or near water heaters often needs permits and a licensed plumber.
Know When Professional Leak Detection Is Worth It
Call promptly when the meter confirms unexplained flow, the main valve will not close, pressure drops throughout the home, hot flooring suggests a slab leak, or moisture repeatedly returns after drying. Other reasons include water behind tile, a sagging ceiling, widespread mold odor, frozen-pipe damage, contaminated drain water, or a leak affecting another dwelling. Early diagnosis can reduce demolition because a specialist can target the likely area.
When requesting service, provide useful evidence: meter photos, dates, affected fixtures, whether hot or cold water changes the symptom, and any recent renovations or freezes. Ask how the contractor will confirm the source before opening finishes, whether repair and restoration are separate, and what documentation you will receive. Prices vary with access, location, pipe material, emergency timing, and the amount of finish removal, so a sight-unseen universal cost estimate is unreliable.
Dry the Area and Check for Secondary Damage
Stopping the leak is only the first half of the job. Remove standing water safely, expose wet cabinet interiors, and increase ventilation if outdoor humidity allows. Dehumidifiers and air movers can help, but do not aim fans across sewage-contaminated materials. Porous insulation, swollen particleboard, saturated drywall, and wet flooring assemblies may need selective removal. Hidden cavities dry more slowly than surfaces.
Document conditions with photos before cleanup if an insurance claim may be appropriate, and contact the insurer before major demolition unless immediate work is necessary to prevent further harm. Watch for soft drywall, delaminated flooring, staining, odor, and corrosion. Mold can develop when materials remain damp; extensive contamination, vulnerable occupants, or sewage exposure calls for trained remediation rather than casual surface spraying.
Prevent Future Leaks and Make Detection Easier
Inspect exposed hoses and valves a few times a year. Replace damaged appliance hoses with products approved for the application, follow manufacturer service-life guidance, and avoid storing sharp or heavy objects against supply lines. Exercise accessible shutoff valves gently if their manufacturer permits it, and label the main valve. Keep water-heater drain pans and discharge routes unobstructed, but never cap a temperature-and-pressure relief line.
Consider point sensors beneath sinks and appliances, or a whole-house monitor with automatic shutoff. Smart devices are supplements, not substitutes for maintained plumbing; they need power, connectivity, testing, and a valve suitable for the piping. Maintain reasonable indoor heat during freezing weather, disconnect outdoor hoses where appropriate, and address unusually high water pressure with a plumber. Save a baseline photo of the water meter so future changes are easier to recognize.
Frequently Asked Questions
Can I find a plumbing leak without opening the wall?
Often, yes. Meter testing, controlled fixture use, visual inspection, moisture comparisons, and professional acoustic or thermal tools can narrow the location. Confirmation may still require a small access opening, but evidence-based inspection usually causes less damage than random demolition.
Does a high water bill always mean a hidden leak?
No. Irrigation changes, guests, seasonal use, rate changes, and estimated meter readings can raise a bill. Compare actual usage, test toilets, and perform a no-use meter test. Contact the utility if the reading or billing period appears incorrect.
How can I tell condensation from a leaking pipe?
Condensation usually coats a broad cold surface during humid conditions. A leak tends to reform at one fitting, valve, crack, or joint. Dry everything completely, control humidity, and watch the first point where water returns.
Should I use leak-sealing additives in home plumbing?
Generally, avoid adding unapproved sealers to potable-water or heating systems. They may obstruct components, complicate later repairs, and fail to address damaged pipe. Follow equipment-manufacturer instructions and seek professional advice.
Is a tiny leak really urgent?
A slow drip at an accessible fixture may allow time for a planned repair, but hidden moisture can cause disproportionate damage. Treat leaks near electricity, sewage, ceilings, structural materials, or hot-water equipment as urgent, and shut down any leak whose flow is increasing.
Reliable plumbing leak detection is a process of isolation: protect people, stop active flow, observe timing, test the meter, inspect accessible components, and escalate before hidden damage spreads. The goal is not merely to find water—it is to identify the actual source and complete a durable, verified repair.
Why This Is Different in San Antonio
The Edwards Aquifer delivers water at roughly 357 mg/L, or 21 gpg, so mineral scale is part of the diagnosis rather than a cosmetic side issue. Scale can hold a valve partly open, abrade a cartridge, stiffen an old shutoff, and leave white crust that hides a slow seep. SAWS water-quality reporting is useful context, but the practical response is to inspect seals and valves more often and verify a repair after pressure is restored.
In Stone Oak, 1990s–2000s copper runs can develop pinholes while scale masks slow seepage at fixture stops. Across Bexar County, summer demand also exposes marginal valves and appliance hoses, while a hard freeze—Winter Storm Uri remains the clearest reminder—can split pipe or weaken a fitting that leaks later. Those conditions are why finding a hidden leak requires more than copying a national checklist.
What San Antonio Homeowners Pay (2026)
| Local service scope | Typical 2026 homeowner range |
|---|---|
| Leak-detection visit | $250–$600 |
| Targeted wall or ceiling access and pipe repair | $450–$1,500 |
| Slab leak location and repair | $2,000–$5,000 |
| Standard licensed-plumber labor | $85–$150 per hour |
These San Antonio planning ranges are not quotes. Access, pipe material, permit needs, after-hours timing, drying, and finish restoration can change the total. Ask for a written scope that separates diagnosis, plumbing work, access, and restoration so a low initial fee is not mistaken for the whole project.
When to Call a San Antonio Plumber
Stop DIY and call a licensed plumber when the main shutoff will not close, meter movement continues with every fixture off, water is inside a wall or slab, a ceiling sags, sewage is involved, or moisture is near electrical equipment. Recurring pinholes, widespread corrosion, a hot floor, and a repair that will leave the entire house without water are also clear escalation points.
Before authorizing work, ask how the source will be confirmed, what material will replace the failed section, whether testing is included, and whether the contractor handles permits required for the scope. A plumber serving San Antonio should be prepared to discuss Edwards Aquifer scale, freeze history, and the pipe materials common in the neighborhood—not simply replace the first wet component.
San Antonio FAQ
Does 21 gpg water prove hard water caused the leak?
No. It is a strong wear factor, not a diagnosis. Installation errors, excessive pressure, age, corrosion, movement, and freeze damage can also cause failure. Mineral crust near the source and repeated seal or cartridge problems make hard-water wear more likely.
Should I call SAWS for a suspected leak?
SAWS can help with meter or utility-side questions, but the homeowner is generally responsible for plumbing after the meter. If the meter changes while the house main is closed, report the evidence and ask whether the utility or a licensed plumber should inspect the service-line boundary.
Is a temporary clamp safe overnight?
Only when the product is listed for the exact pipe, pressure, and temperature and the damaged section remains visible. Keep the water isolated whenever practical. Never use a clamp as a permanent concealed repair or on gas, fire-sprinkler, relief, or heavily corroded piping.
What should I document before service?
Photograph the meter, source area, stain boundaries, and damaged finishes. Note which fixture triggers the symptom and whether hot or cold use changes it. Good evidence helps a San Antonio technician target testing and gives an insurer a clearer timeline.