> San Antonio Local Insight: Hard water mineral deposits (21 gpg from Edwards Aquifer) affect toilet components, garbage disposals, and fixtures throughout local homes. Scale buildup causes premature wear, reduces performance, and creates problems that soft-water cities rarely see. Regular descaling maintenance is essential for San Antonio plumbing.
A Local First Look Before You Buy Kohler Parts
In San Antonio, a running Kohler toilet is often a small mechanical fault made worse by Edwards Aquifer water. At about 357 mg/L (21 gpg), scale can hold a fill-valve seal slightly open, stiffen the flush-valve movement, or build a crust around the rim jets. Watch one complete flush before buying parts: note the tank waterline, whether the flapper settles flat, and whether water continues entering the overflow tube.
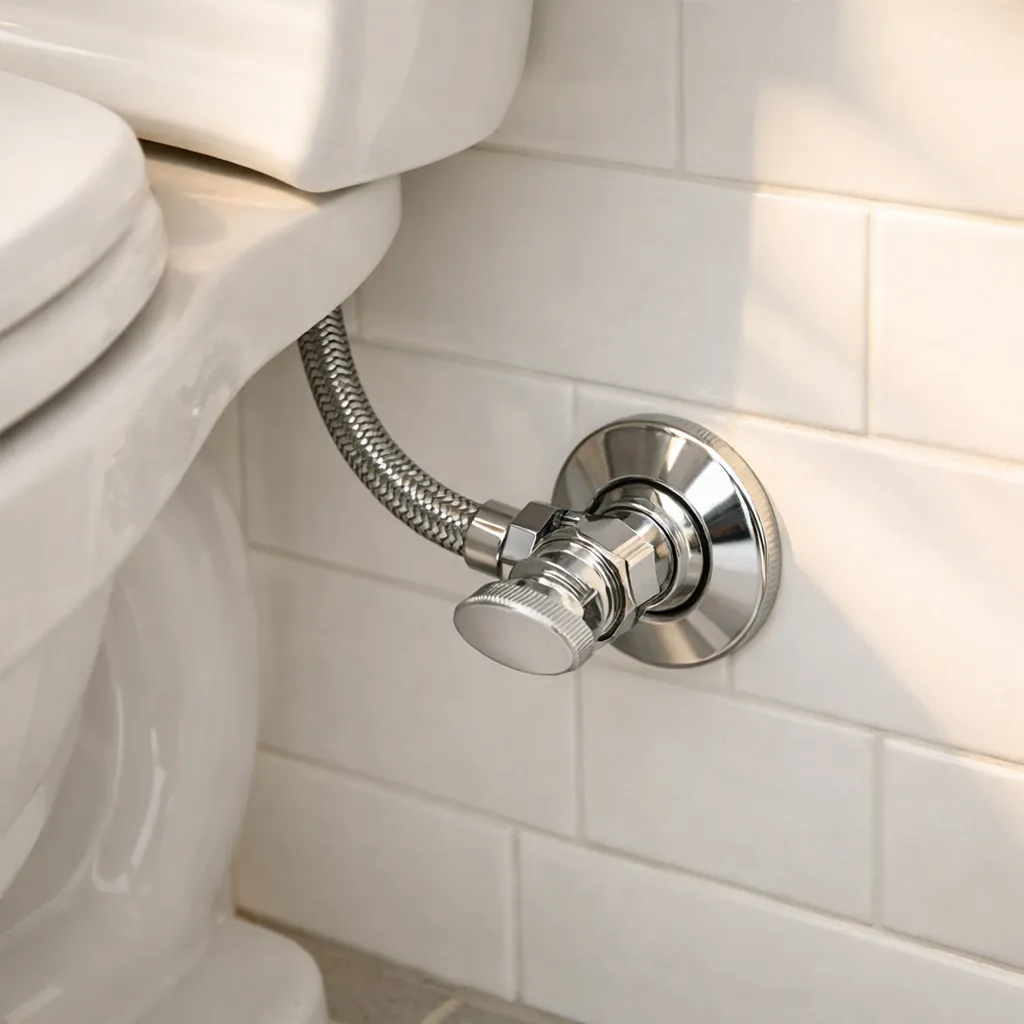
Homes around Helotes can show heavy mineral deposits at the supply stop and tank hardware. Do not force a crusted shutoff valve; if it will not turn with light hand pressure, close the house supply or have a plumber replace it. A routine internal repair may cost about $150–$300 locally, while a toilet replacement commonly reaches $300–$800 depending on the model, flange, and access.
Winter Storm Uri also taught Bexar County homeowners not to dismiss a hairline tank crack or a damp supply connector after a freeze. Dry every surface, place paper towels beneath the tank and stop, and identify fresh water before deciding this is only a worn flapper.
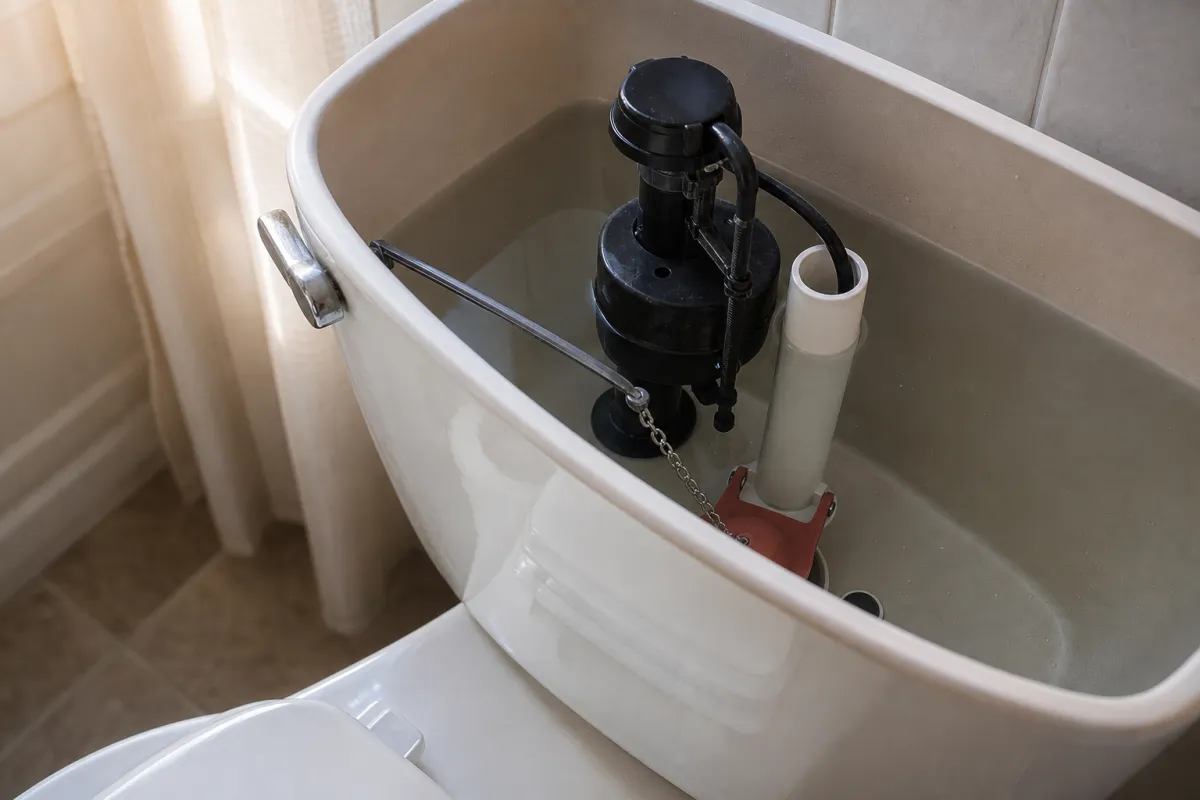
A Kohler toilet that runs, leaks, flushes weakly, or refuses to refill often needs a small, identifiable correction rather than complete replacement. Start by removing the tank lid carefully, setting it on a towel, and watching one flush. A tangled chain, incorrect water level, worn seal, dirty fill valve, or partially closed supply valve explains many common complaints.
Before reaching into the tank, close the fixture’s shutoff valve if water is overflowing or leaking outside the bowl or tank. Stop using the toilet if wastewater backs up, the porcelain is cracked, the floor feels soft, or water appears around electrical wiring. Brand-specific parts matter on some Kohler models, so identify the model before buying a generic repair kit.
Identify the Symptom Before Replacing Parts
Listen and observe. A toilet that periodically refills without being used is usually losing water from the tank into the bowl. Continuous hissing may come from a fill valve that cannot shut off or a flush seal that never seats. A weak flush can result from low tank level, clogged rim holes, an obstructed trapway, or a mismatched replacement component. Water on the floor requires a separate question: is it clean supply water, condensation, tank water, or wastewater escaping at the base?
Perform one simple dye test for silent leakage. Add several drops of food coloring to tank water, wait about 15 minutes without flushing, and check the bowl. Color in the bowl indicates a leaking flapper or canister seal. This test does not identify exterior leaks, and it should not delay shutting off water when active leakage is visible. Record the symptom and photograph the tank parts before disassembly so reassembly is easier.
Find Your Kohler Model and Correct Part
Look inside the tank for a stamped or molded model number, often beginning with “K-.” It may be on the back wall or underside of the lid. The tank number is especially useful because toilets that look alike can use different canister seals, fill valves, trip levers, and flush-valve heights. Mineral deposits can obscure the marking, so wipe gently rather than scraping glazed porcelain with metal.
Use the model number with Kohler’s official parts diagrams or support resources. Compare dimensions and connection style, not just color or general appearance. Some older two-piece toilets pair a bowl and tank with separate numbers. If the marking is unreadable, photograph the full toilet, tank interior, flush mechanism, and mounting points, then measure the existing seal and valve height. A Kohler toilet repair parts search is useful only after compatibility is confirmed.
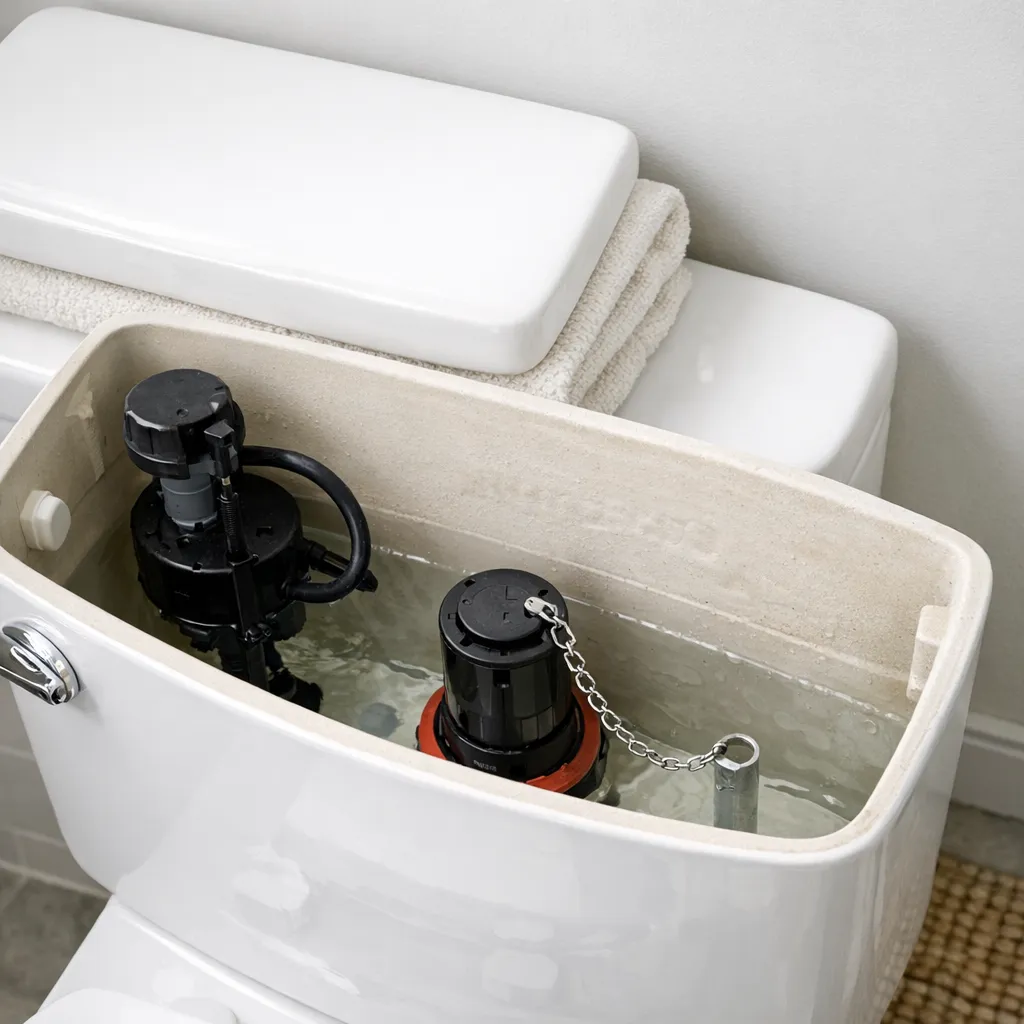
Make the Area Safe Before Repairing
Turn the local shutoff valve clockwise gently until closed, then flush and hold the lever to drain most tank water. Sponge the remainder into a bucket if removing a component. Do not force a corroded multi-turn valve; it can break or begin leaking behind the handle. If it will not close reliably, use the home’s main shutoff or call a plumber before disconnecting the supply line.
Porcelain is strong under normal use but brittle under concentrated force. Never overtighten tank bolts, use the tank lid as a work surface, or try to repair a structural crack with adhesive. Wear eye protection when working beneath the tank, and clean spills promptly to prevent slips. If water has reached a nearby outlet or powered bidet seat, disconnect power only when doing so is safe and keep the circuit off until the area is dry and inspected as needed.
Diagnose a Toilet That Keeps Running
First check whether the chain has enough slack to let the flapper or canister close fully. A chain wedged under a seal creates a constant leak; one that is too loose may prevent a full flush. Next, inspect the sealing surface for grit, deformation, blisters, or hardened rubber. On canister-style mechanisms, a replaceable round gasket at the base commonly wears while the larger assembly remains usable.
Observe the water level. It should stop at the tank’s marked waterline and below the top of the overflow tube. If water continuously spills into that tube, adjust the float according to the valve design. If adjustment does not stop filling, debris or wear inside the fill valve may require cleaning or replacement. Do not bend plastic arms aggressively or lengthen the overflow tube; those shortcuts can undermine the toilet’s designed flood protection.
A brief refill hours after use usually points to a slow seal leak rather than the fill valve itself. Confirm with the dye test before replacing multiple parts. Clean the seat with a soft cloth, install the model-compatible seal, and test several flushes. If the new seal leaks, check canister alignment and the flush-valve body for damage rather than stacking seals or applying grease not approved by the manufacturer.
Fix Slow Filling or No Refill
Confirm that the wall shutoff is fully open and that the flexible supply line is not kinked. If other fixtures also have poor pressure, the issue may not be the toilet. When only the toilet is affected, close the valve, disconnect the supply at the tank with a bucket beneath it, and follow the fill-valve manufacturer’s safe cleaning procedure. Mineral debris often collects at the inlet or cap, but disassembly differs by valve.
Replace a fill valve that sticks, leaks from its body, or will not shut off after cleaning. Match height and bowl-refill requirements. The small refill tube should be clipped above the overflow opening, not pushed deeply down the tube, because submerging it can create siphoning. Hand-tighten the mounting nut and make only the modest additional adjustment specified by the part instructions; overtightening can crack the tank or distort the gasket.
After reconnecting the supply, open the shutoff slowly and dry every connection. Watch for several minutes and run a tissue around the coupling to reveal a slow bead. If the shutoff begins leaking at the wall or stem, do not keep tightening blindly. That valve may require a plumber, particularly where old piping could be damaged by torque.
Address Weak, Incomplete, or Double Flushing
Check tank water level and verify that the flush mechanism rises completely. A chain with excessive slack can close the flapper too early. Conversely, an incorrect universal flapper may stay open too long and cause double flushing. Kohler canister systems use different adjustments, so follow the diagram for the identified model rather than copying settings from another toilet.
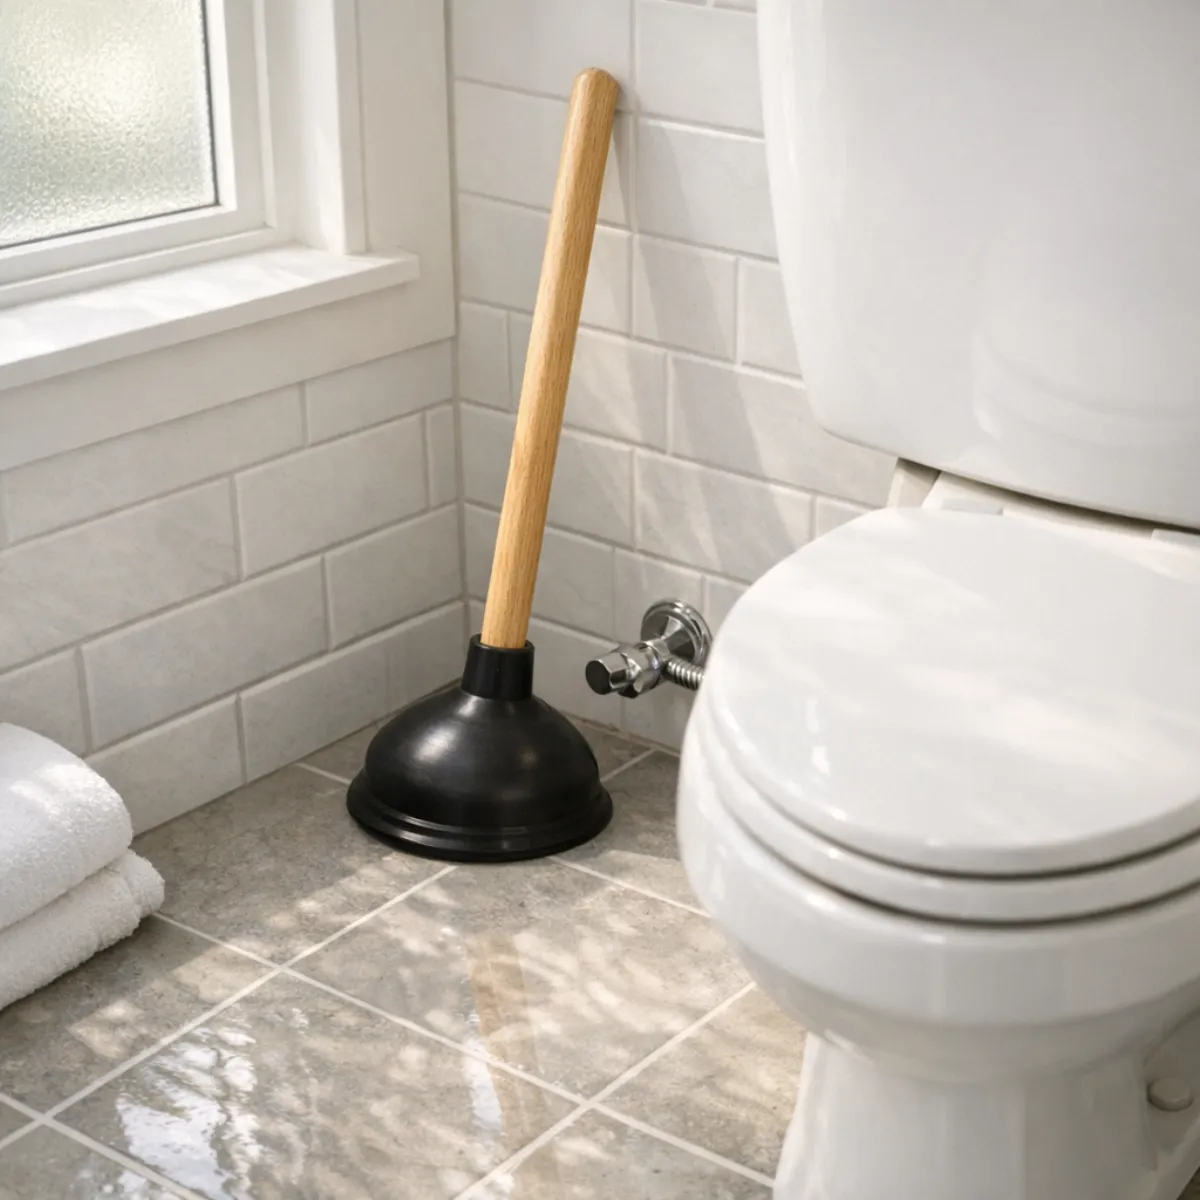
If tank action is normal, pour a bucket of water into the bowl at a controlled rate. A strong flush from the bucket suggests a tank-delivery or rim-jet issue; a sluggish rise and drain suggests a partial trap or drain obstruction. Use a flange-style toilet plunger for a simple clog. Avoid chemical drain openers, which can remain in the bowl, splash during later work, harm components, and expose a plumber to corrosive liquid.
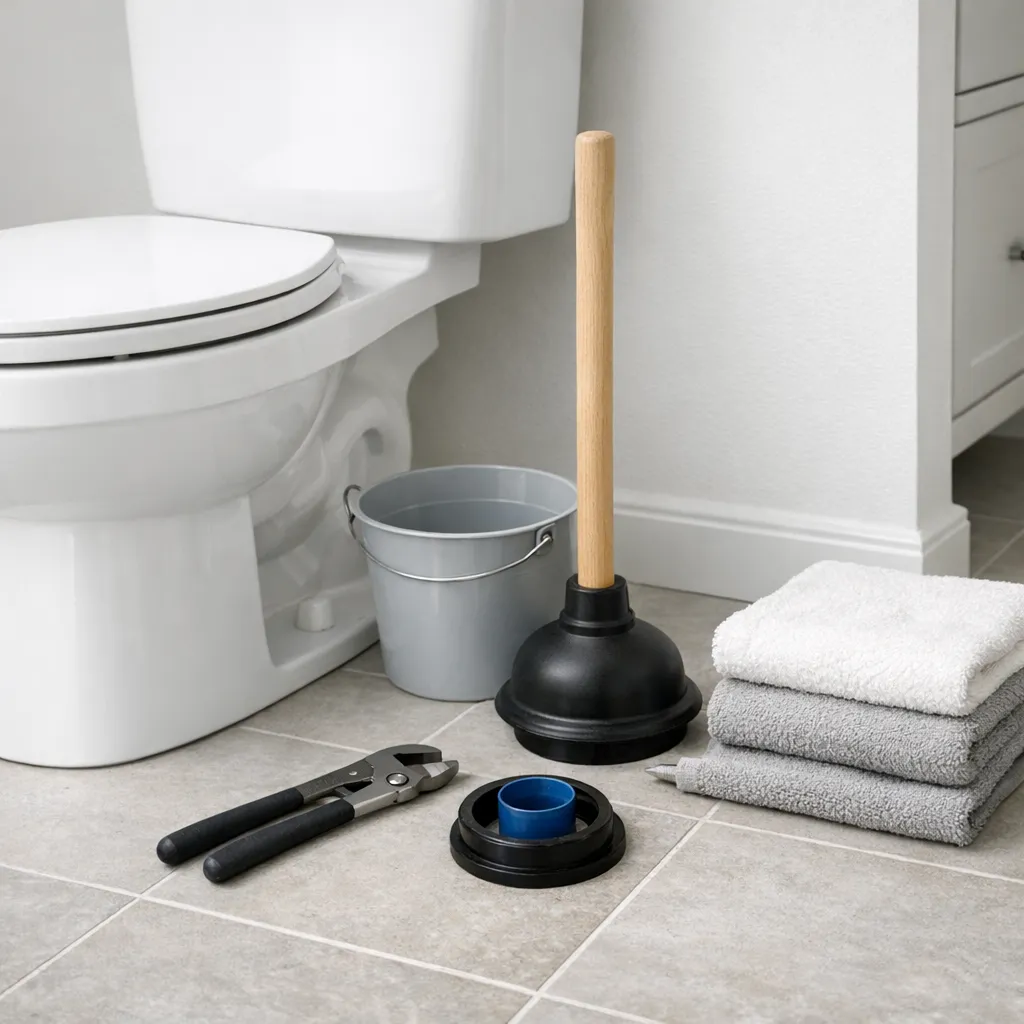
Mineral deposits can restrict rim holes or the siphon jet. Clean only with non-damaging methods approved for the toilet finish. Never use hard metal tools that chip glaze; damaged glaze collects debris and cannot be restored by routine cleaning. A recurring clog, gurgling nearby drain, or wastewater rise indicates a drain-system problem rather than a tank repair.
Track Down Water Around the Toilet
Dry the toilet and floor completely, then use separate pieces of tissue around the supply coupling, shutoff, tank bolts, tank-to-bowl joint, and base. Flush several times while watching each location. A supply leak may appear without flushing; a tank-bolt or tank-to-bowl leak often appears only during or after a flush. Condensation usually forms broadly on a cold tank during humid weather rather than from one fitting.
Water emerging at the base, rocking porcelain, sewer odor, or a soft floor can indicate failure of the bowl seal or mounting surface. Stop using the fixture because every flush can send wastewater beneath the flooring. Resetting a toilet requires lifting heavy, awkward porcelain, inspecting the flange, replacing the seal, and leveling without cracking the bowl. That is a reasonable advanced DIY project for some homeowners, but concealed rot, a broken flange, or an uneven floor deserves professional evaluation.
A crack in the tank or bowl means replacement, not patching. Shut off water and avoid sitting on cracked porcelain; sudden failure can cause severe cuts and flooding. When a supply or wall pipe is the true source, consult a qualified professional for pipe leak repair instead of repeatedly replacing toilet gaskets.
Choose Tools and Parts Without Overbuying
For basic work, gather an adjustable wrench, slip-joint pliers, flat and Phillips screwdrivers, sponge, bucket, towels, flashlight, food coloring, and gloves. Use pliers to hold or turn only the components designed for them, and protect finished surfaces. A toilet tank repair tool kit can be convenient, but ordinary household tools are often sufficient.
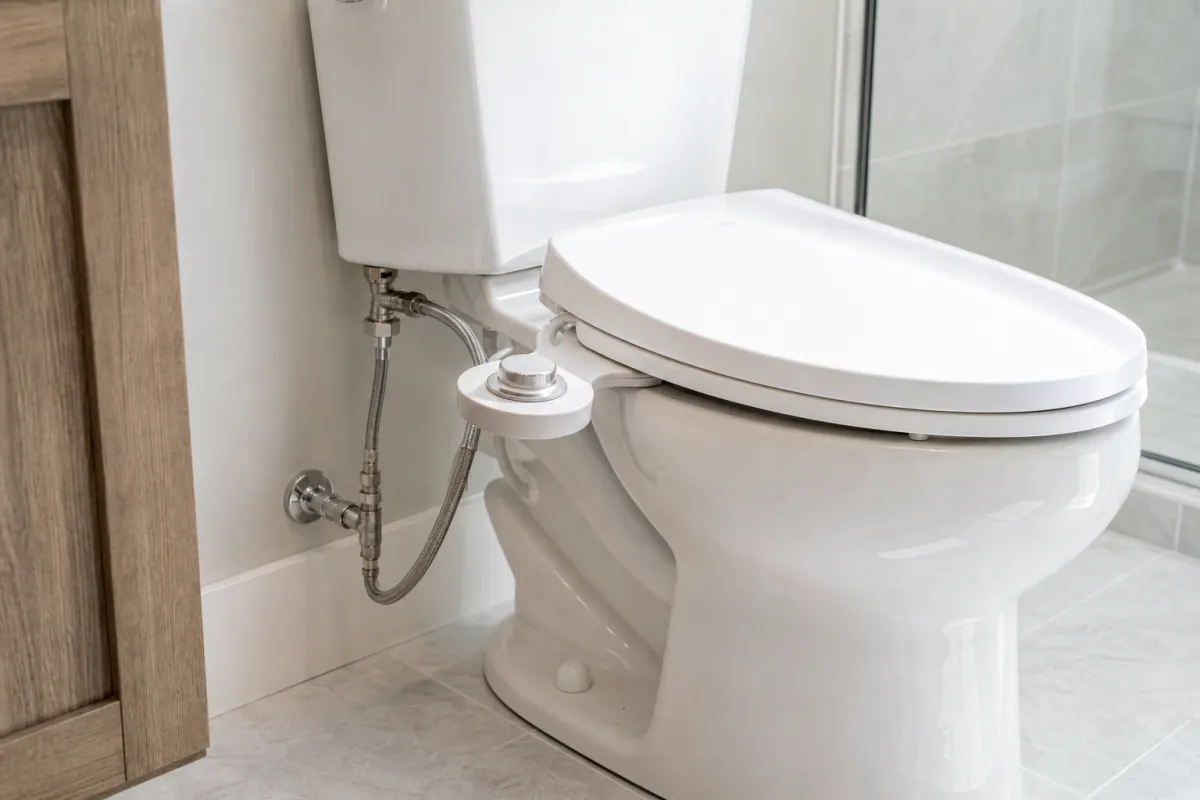
Buy only the diagnosed part: a canister seal, flapper, fill valve, trip lever, supply line, or approved bolt-and-gasket kit. Replace a braided supply line if it is corroded, kinked, damaged, or past the manufacturer’s recommended service life. Do not reuse a compressed supply-line gasket after disconnection if its instructions call for replacement. If adding accessories later, confirm clearance and compatibility using guidance such as our overview of the best bidet attachment for toilet; accessory installation should not strain the valve or create cross-threaded connections.
| Symptom | First check | Likely next step |
|---|---|---|
| Periodic refill | Dye test and seal surface | Replace compatible seal |
| Water into overflow | Float level and fill valve | Adjust or replace valve |
| Weak flush | Tank level and chain/canister travel | Correct setting; assess obstruction |
| Water at tank bolts | Dry and tissue-test each bolt | Replace approved gasket kit |
| Water at base | Rocking, odor, flush-only leak | Stop use; inspect bowl seal/flange |
| Cracked porcelain | Visible hairline or active leak | Shut off and replace toilet |
Complete Reasonable DIY Repairs Correctly
A seal or flapper replacement is often low risk: shut off water, drain the tank, remove the worn part, clean the mating surface, and install the exact replacement without stretching it unnecessarily. For a fill valve, follow its height-setting and refill-tube instructions before tightening. Photograph hose routing and chain attachment first, and keep small hardware out of the bowl.
Restore water slowly after every repair. Check with dry tissue immediately, after several flushes, and again later. Confirm that the tank stops at its waterline, the bowl refills to its normal level, the handle moves freely, and no component rubs another. Never solve a rocking toilet by cinching floor bolts harder; shimming and flange correction must protect the porcelain and preserve a reliable seal.
DIY should stop when the shutoff is defective, bolts are seized, the flange or floor is damaged, wastewater is involved, or the repair requires opening a wall. Also stop if the cause remains uncertain after basic tests. Replacing several unrelated parts can cost more and create new leak points without fixing the original problem.
Know When to Call a Plumber
Call urgently for active flooding, a cracked tank or bowl, sewage backup, water near electricity, or a shutoff that will not stop flow. Arrange prompt service for a base leak, persistent rocking, repeated clogs, a soft floor, or unexplained water below the bathroom. These conditions can involve sanitation, structural damage, or concealed piping beyond ordinary tank maintenance.
Professional help also makes sense when an older model has unavailable parts, tank hardware is heavily corroded, or prior repairs altered the mechanism. A plumber can distinguish a toilet defect from a blocked branch drain, venting issue, pressure problem, or damaged flange. Ask for a diagnosis and itemized options before authorizing complete replacement; a small model-specific component may still be the economical answer.
Prevent Repeat Problems
Inspect the supply connection, shutoff, tank bolts, and floor around the toilet a few times each year. Address a periodic refill instead of ignoring it; slow leakage wastes water and can worsen. Clean with products compatible with the manufacturer’s materials and avoid in-tank drop-in tablets unless explicitly approved, because concentrated chemicals can degrade seals and metal parts.
Teach household members not to use the toilet as a disposal. Keep a flange plunger nearby, avoid leaning on the tank, and do not hang weight from the handle. After any repair, retain the model number and part receipt with home-maintenance records. If the toilet repeatedly clogs despite proper use, schedule a drain evaluation rather than relying on forceful plunging that can stress the seal.
Cost and Time Expectations
A chain adjustment, dye test, or seal replacement can often be completed in under an hour once the correct part is available. Fill-valve replacement may take a similar amount of hands-on time, while corroded hardware or uncertain model identification adds delay. A bowl reset or flange repair is more involved because the toilet must be removed and the floor condition assessed.
Parts for ordinary tank repairs are generally modest compared with a service visit or full replacement, but price varies by model and availability. Professional cost depends on local labor, urgency, access, and whether hidden floor or drain work is required. Compare the full scope: a cheaper quick reset is poor value if a broken flange or wet subfloor is left untreated. Avoid exact online estimates that do not account for your model and site conditions.
Frequently Asked Questions
What causes most Kohler toilet problems?
Worn flush seals, misadjusted chains or floats, debris in the fill valve, mineral buildup, supply-connection leaks, and partial clogs are common. Model identification and symptom testing prevent unnecessary part replacement.
Can I repair a Kohler toilet myself?
Many homeowners can replace a compatible seal or fill valve and adjust a chain safely. Stop for cracked porcelain, wastewater, damaged flooring, faulty shutoffs, electrical exposure, or repairs beyond the tank.
How urgent is a running toilet?
A quiet internal leak is not usually an immediate flood, but it wastes water and should be corrected promptly. Water outside the toilet, rising bowl water, or cracked porcelain is urgent—shut off the supply and stop use.
What should I avoid doing?
Avoid chemical drain cleaners, overtightening porcelain hardware, forcing corroded valves, installing an unverified universal part, and patching structural cracks. Do not ignore a base leak or rocking bowl.
Why does the toilet still run after replacing the seal?
The new seal may be incompatible, the sealing surface may be dirty or damaged, the chain may hold the mechanism open, or the fill valve may be sending water into the overflow. Observe the cycle and test each cause separately.
Why This Is Different in San Antonio
San Antonio's Edwards Aquifer supplies some of the hardest municipal water in the United States: about 357 mg/L, or 21 grains per gallon. That limestone-filtered groundwater carries calcium carbonate and magnesium into our fixtures, valves, drains, heaters, and supply lines. For kohler toilet repair, that matters because mineral deposits grind down seals, cartridges, fill valves, supply stops, spray arms, and small water passages faster than many generic guides assume.
- Scale buildup makes small restrictions worse, especially at cartridges, aerators, shutoff valves, drains, and heater connections.
- Fixtures, pipes, and appliances in our area can wear out 30-50% faster than in soft-water cities when maintenance is delayed.
- SAWS publishes annual water quality reports, but the practical homeowner takeaway is simple: maintenance intervals here should be shorter than national advice suggests.
Homes in Helotes are particularly affected because well-water and edge-of-metro systems can be even harder than SAWS city supply. Unlike cities with naturally soft water, local homeowners should treat hard-water maintenance as normal prevention, not an upsell.
> "In my 20 years working in San Antonio, I would say most surprise plumbing failures I see start with homeowners following soft-water maintenance advice in a hard-water city." — Licensed local plumber
What San Antonio Homeowners Pay (2026)
| Service | Typical Cost in San Antonio |
|---|---|
| Toilet replacement (labor + unit) | $300–$800 |
| Drain cleaning | $150–$350 |
| Plumber hourly rate | $85–$150/hr |
Prices are based on local metro area ranges for 2026. Costs may vary by neighborhood, access, pipe material, after-hours timing, and whether the plumber finds hard-water damage beyond the visible problem.
When to Call a San Antonio Plumber
Call a licensed local plumber if the problem involves active leaking, a shutoff valve that will not close, sewer smell, recurring clogs, water near electrical components, a water heater leak, or any pipe inside a wall, ceiling, or slab. Locally, expect many licensed plumbers to charge roughly $85-$150 per hour, with emergency visits commonly around $150-$350 and after-hours calls closer to $250-$500.
When you call, ask three local questions:
1. Are you licensed and insured for work in Bexar County or the surrounding local metro?
2. Have you dealt with Edwards Aquifer hard-water scale on this type of repair?
3. Should I also check the water heater, shutoff valves, or water softener while you are there?
local plumbers see hard-water issues every week, so a good pro should be able to explain whether the failure is normal wear, mineral damage, freeze damage from a cold snap like Winter Storm Uri, or a sign of a larger plumbing system problem.
San Antonio FAQ
Is San Antonio water hard?
Yes. San Antonio water is very hard at about 357 mg/L, or 21 grains per gallon, because much of it comes from the Edwards Aquifer and passes through limestone. That mineral content is why scale shows up quickly on faucets, showerheads, valves, drains, and water heaters.
Do local homes need a water softener?
A water softener is recommended for many local homes, especially if you see white scale, repeated faucet or valve problems, short water-heater life, or cloudy spots on dishes. A typical whole-home water softener installation in San Antonio runs about $1,500-$4,000.