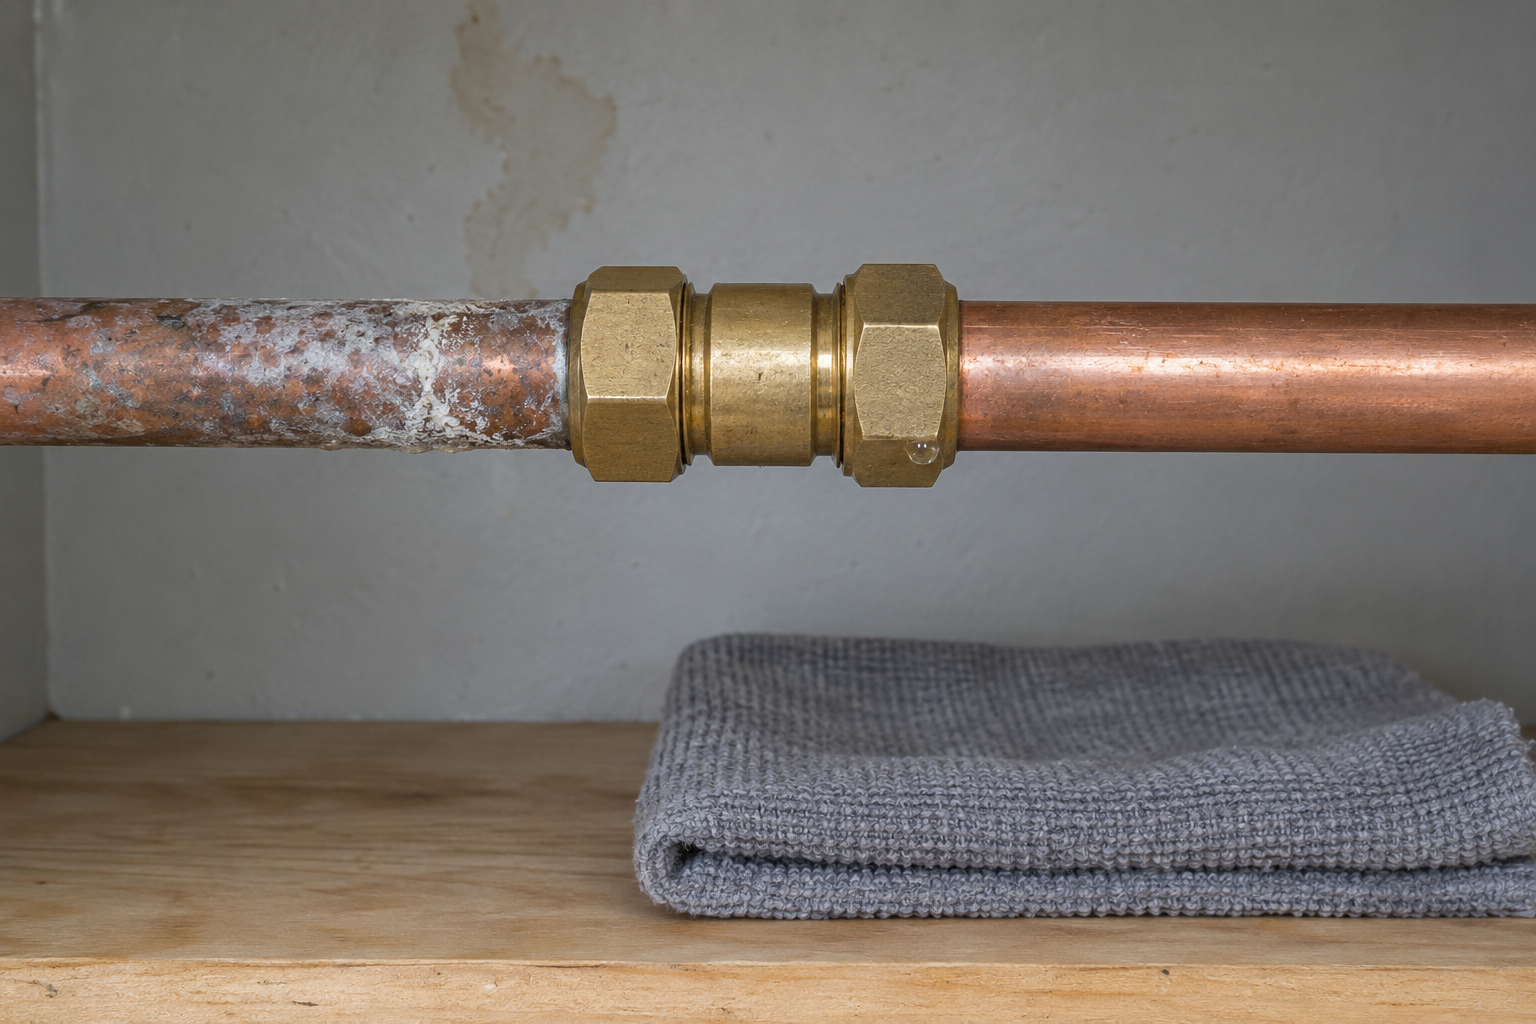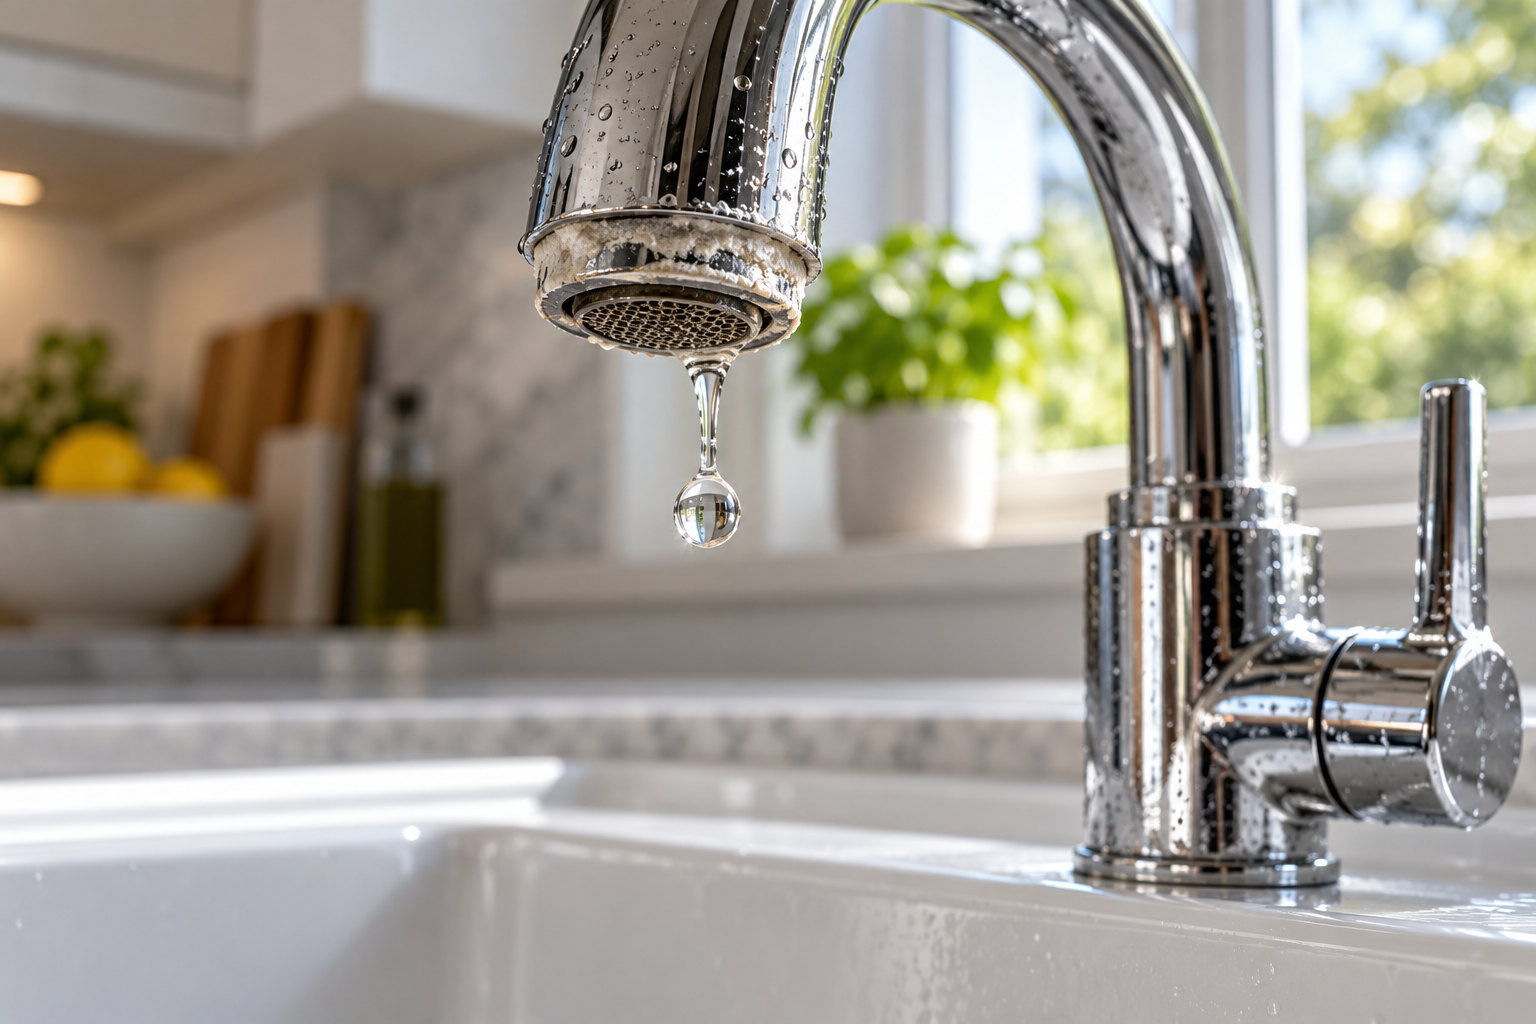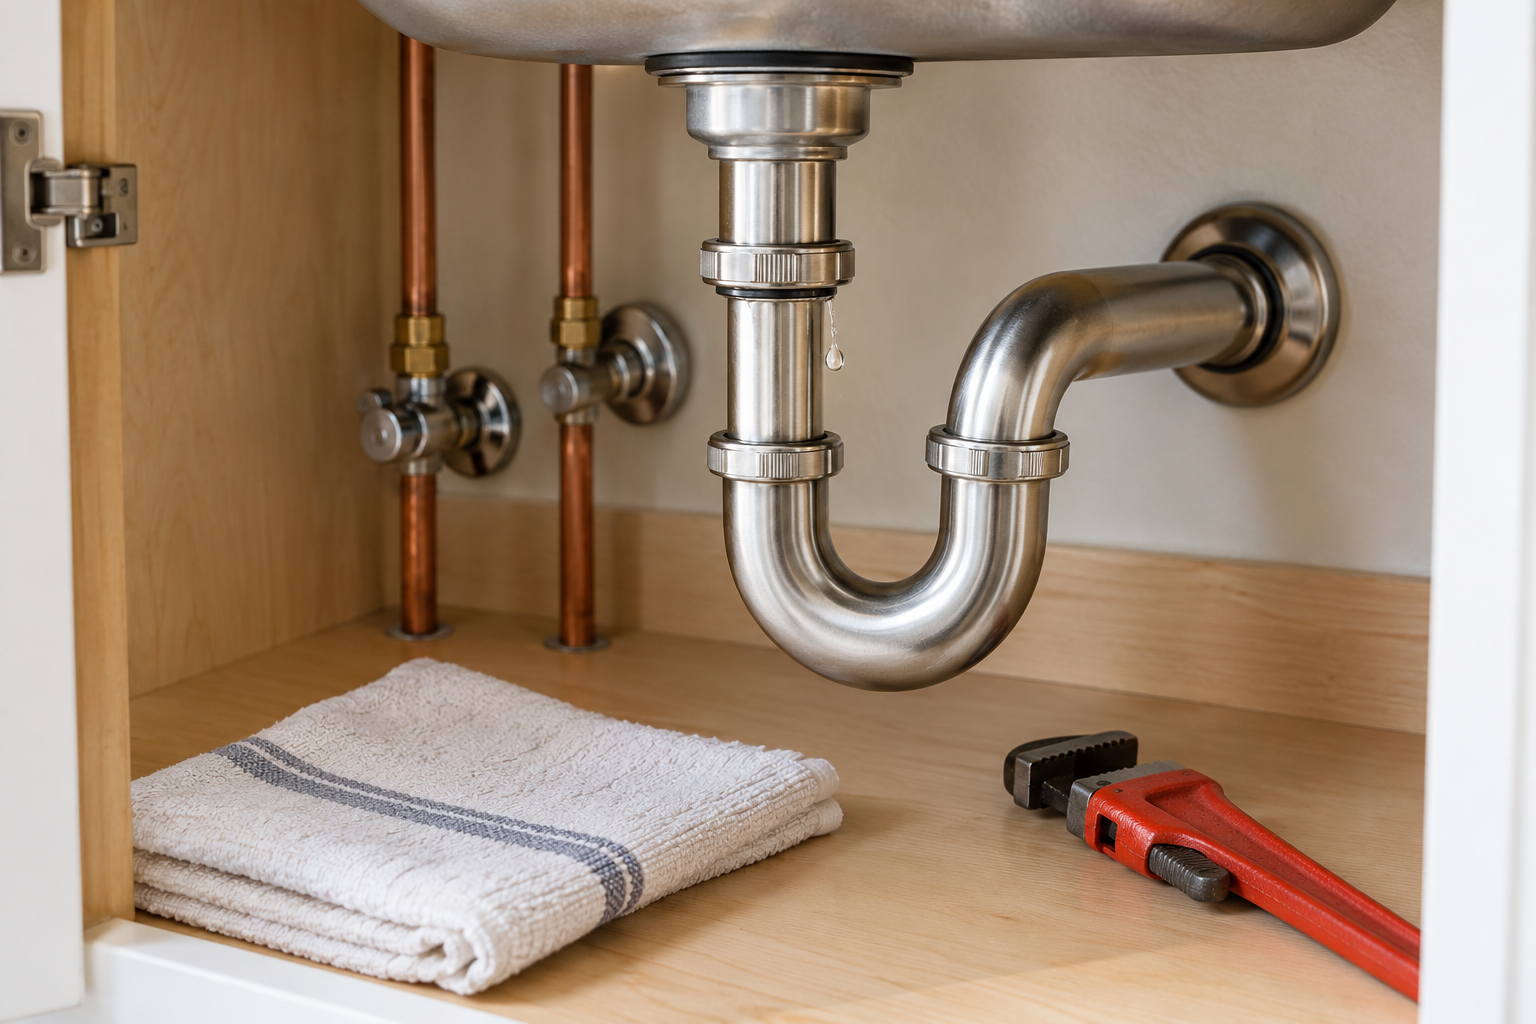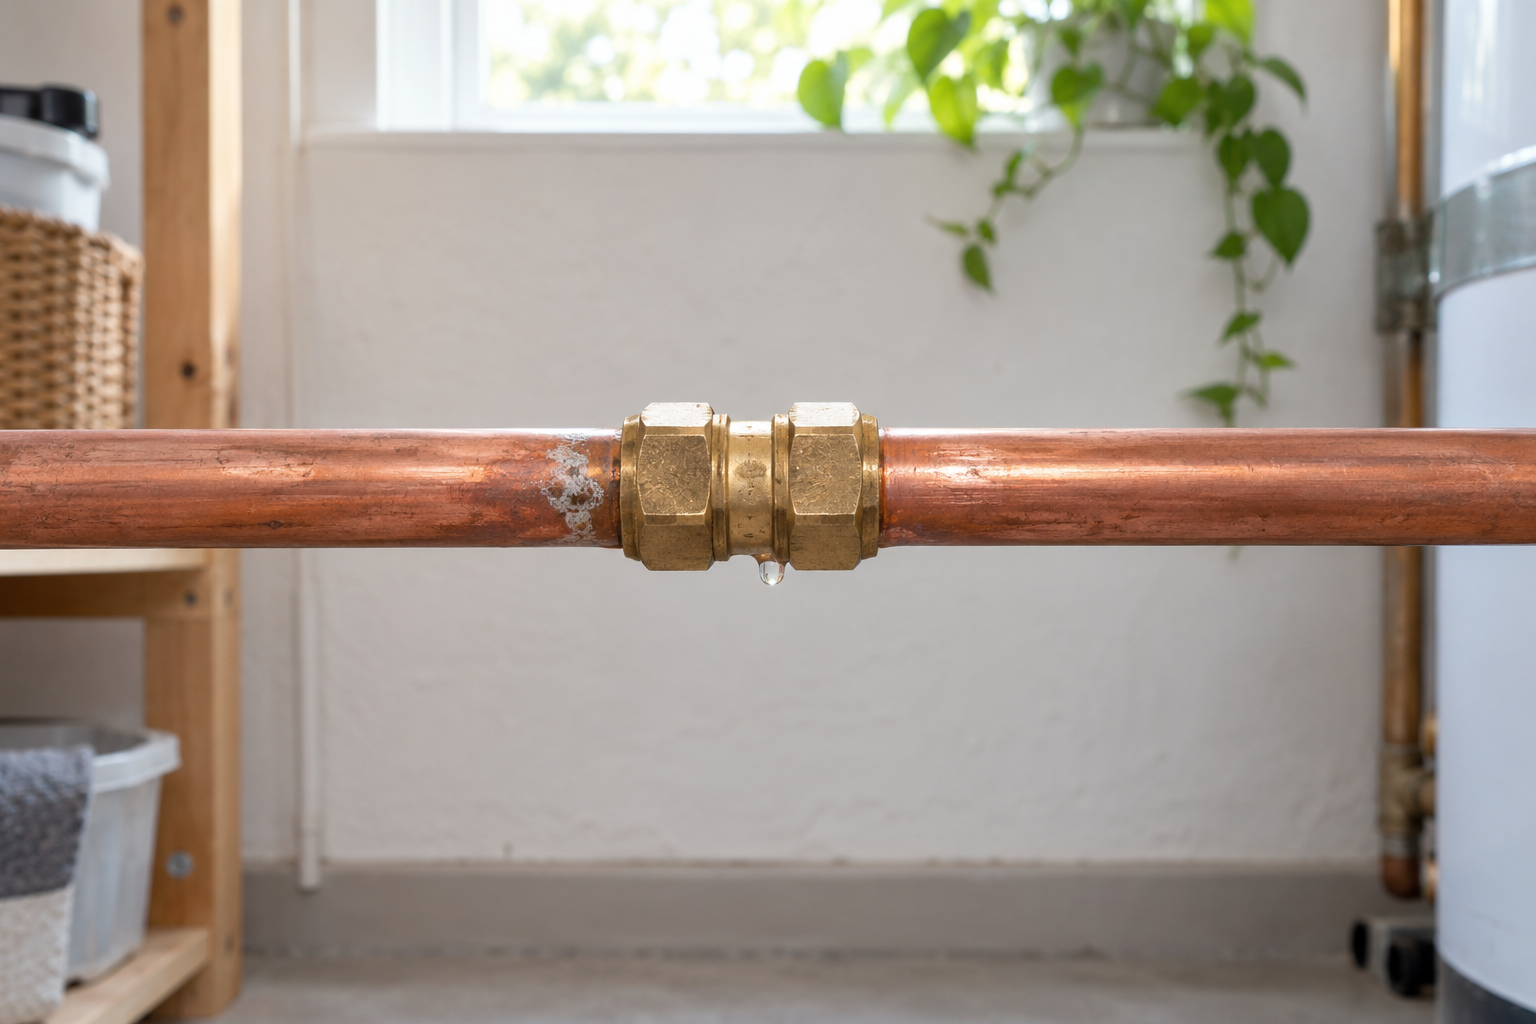
> San Antonio Local Insight: Fixture and faucet leaks in San Antonio happen faster because hard water minerals (21 gpg from Edwards Aquifer) grind down valve seats, corrode cartridges, and prevent proper sealing. A faucet that lasts 15 years in soft-water cities often starts leaking within 5–8 years in San Antonio without a water softener.
Local San Antonio Field Notes Before You Start
Leak repair here begins with two questions: where is the water traveling, and what has the Edwards Aquifer supply left behind? At about 357 mg/L (21 gpg), scale can hold a cartridge open, stiffen an angle stop, or conceal corrosion beneath a white crust. In a King William renovation, mixed generations of galvanized, copper, and newer supply tubing also mean the wet spot may be several feet from the failed joint. Dry the area, photograph the first stain, and trace upward before opening a wall.
Budget the diagnosis separately from the repair. A straightforward fixture or exposed-pipe visit commonly lands around $175–$450, while concealed access, drying, or a slab-line problem can push the total into the thousands. A $12 washer is still a sensible DIY job; a warm floor, moving meter, or damp cabinet with no visible source is not. If SAWS usage rises unexpectedly, preserve the bill and repair invoice in case you qualify for a leak adjustment.
Season matters too. After a hard freeze such as Winter Storm Uri, inspect exterior walls and attic runs before restoring full pressure. During long hot spells, expansive Bexar County soils can move enough to stress buried services and foundation penetrations. Those clues change where a local plumber starts testing and can prevent paying for the wrong opening.
First, Decide Whether It Is an Emergency
A few drops in a dry sink cabinet allow time for careful troubleshooting. A spraying supply line, overflowing fixture, bulging ceiling, or water crossing a floor requires immediate control. Close the fixture’s stop valve clockwise without forcing it. If that does not stop the water, use the main shutoff. In a condominium or rental, alert building management because the relevant valve may serve multiple units. If the main valve fails, call the water utility or an emergency plumber.
Keep electricity in mind before stepping into a wet area. Do not touch wet receptacles, appliances, lights, or the electrical panel while standing in water. Power should be disconnected only from a dry, safe location; otherwise keep away and call an electrician or emergency service. Sewage requires isolation and professional sanitation. A gas odor is a separate emergency: leave immediately without operating switches or flames and contact the gas utility from outside.
Trace Water Back to Its True Source
Water can run along the underside of a pipe or down framing before becoming visible. Empty the cabinet, dry every surface, and place clean paper towels beneath individual joints. Inspect from the highest point downward with a flashlight. Look for fresh droplets, mineral crust, rust, green-blue copper staining, swollen cabinet material, and darkened grout. Photograph the arrangement before taking anything apart.
Test systems separately. Run a faucet into a bowl without letting water enter the drain; a leak then points toward the pressurized supply or faucet body. Next, pour the bowl into the drain; leakage now suggests the strainer, trap, disposal, or waste line. For intermittent moisture, note whether it follows showering, appliance cycles, rain, or toilet flushing. A stain alone is not proof of a plumbing leak—roofing, condensation, and failed shower waterproofing can look similar.

Understand the Most Common Leak Types
Supply leaks remain under pressure and may drip even when a fixture is not being used. Typical sources include valve stems, faucet connectors, toilet hoses, refrigerator lines, and corroded pipe. A braided connector that is kinked, rusty, frayed, or bulging should be replaced rather than tightened repeatedly. Water around a faucet base may come from the cartridge or body, while a dripping spout commonly indicates an internal valve part.
Drain leaks appear when water flows out of a fixture. Loose slip nuts, hardened cone washers, misaligned traps, failed sink-strainer seals, and cracked fittings are common. Toilets can leak from tank bolts, the supply, fill valve, or floor seal. A rocking toilet or staining below the bathroom may indicate a compromised flange or wax seal and deserves prompt attention. For damaged accessible piping, review the options in this pipe leak repair guide before choosing a patch or replacement.
Concealed leaks require extra caution. Musty odors, peeling paint, soft drywall, warm floor areas, recurring ceiling marks, low pressure, or unexplained meter movement can indicate water inside a cavity or below a slab. Do not cut blindly into a wall containing wiring or pipes. Professional leak detection can reduce unnecessary demolition and identify whether plumbing, roofing, waterproofing, or condensation is responsible.
Perform Safe, Non-Destructive Checks
Confirm that all faucets, toilets, irrigation, ice makers, humidifiers, softeners, and appliances are inactive, then observe the water meter. A moving low-flow indicator suggests consumption somewhere, but automatic equipment must be ruled out before drawing conclusions. Record the reading, wait without using water, and compare it later. Follow utility guidance and avoid closing valves that supply essential equipment unless you understand the consequences.
At the suspected fixture, gently test nuts and hoses for movement without twisting the pipe. Check the toilet tank for silent refilling and inspect around its bolts and supply connector. At a water heater, identify whether moisture comes from a connection above, condensation, the drain valve, or the tank itself. Never cap or obstruct the temperature-and-pressure relief valve. If the source is overhead, this guide to a water heater leaking from the top explains common connection and valve issues.
After a minor repair, restore pressure slowly. Watch each disturbed joint while the fixture is idle, operating, full, and draining. Blot with dry tissue to reveal tiny seepage, and inspect again after several hours. A successful repair remains dry through repeated cycles; merely reducing the drip is not enough.
Gather Only the Tools the Job Requires
Basic diagnosis calls for a flashlight, bucket, towels, screwdriver, adjustable wrench, tongue-and-groove pliers, and perhaps an inspection mirror. Use a second wrench to counterhold a valve or fitting so tightening force does not rotate hidden pipe. Smooth-jaw tools or protective tape can reduce finish damage. A home plumbing tool kit is convenient, but a correctly sized individual wrench is better than forcing the wrong tool.
Buy parts by manufacturer and model whenever possible. Compare dimensions, thread type, material, pressure rating, and temperature rating. Flexible connectors should be listed for the application and long enough to make a relaxed curve without stretching. New washers and gaskets generally install clean and dry unless their instructions specify lubricant or sealant. Reusing a flattened seal often recreates the leak.
Thread seal tape belongs on compatible tapered pipe threads, not every threaded-looking connection. Compression fittings seal at the ferrule, supply hoses at their captive washers, and slip-joint drains at cone washers. Adding tape to those joints can prevent correct seating. Learn when plumbing tape stops leaks—and when it does not before applying it.
DIY Plumbing Leak Repairs That Make Sense
An accessible P-trap leak is often manageable. Stop using the sink, place a bucket below, loosen the slip nuts, and remove the trap. Clean the mating surfaces, inspect for cracks, and replace damaged cone washers in the correct orientation. Reassemble the trap without cross-threading, align the pipe so it is not under side load, hand-tighten, and add only a modest tool adjustment if needed. Fill and drain the basin twice while checking every joint.
Replacing a faucet cartridge, aerator, toilet flapper, or flexible supply hose can also be reasonable when the water isolates correctly and instructions are available. Shut the valve, relieve pressure, verify the line is no longer live, and support adjacent plumbing during removal. Install the exact replacement with new seals. Do not overtighten a hose nut; its internal washer makes the seal. Mark the installation date so aging connectors can be inspected proactively.
A minor threaded leak may be corrected by disassembling, cleaning, and resealing an appropriate tapered connection. Apply approved tape in the direction the fitting tightens, keeping material back from the opening. This does not apply to cracked pipe, flare fittings, compression unions, or drain joints. If a connection remains wet after correct assembly, replace the defective component rather than adding more force or layers of sealant.

Shortcuts That Commonly Make Leaks Worse
Overtightening is one of the fastest ways to crack plastic threads, distort washers, crush compression ferrules, or break a valve inside a wall. Stop if resistance changes suddenly or the fitting deforms. Do not cover an active joint with caulk, household adhesive, exterior tape, or putty. These materials can conceal moisture without restoring the mechanical seal, allowing cabinet or structural damage to continue.
Avoid chemical drain cleaner when a trap is leaking or may need disassembly. The liquid can remain inside and cause burns when the joint opens; never mix drain products. Do not use open flame to thaw frozen plumbing or solder near combustible framing without the training and protection the work requires. Do not drill or cut into a damp wall before locating wiring and pipes.
Repair clamps and epoxy products have narrow approved uses and limitations. Even a manufacturer-rated temporary repair must match the pipe material, diameter, pressure, temperature, and surface condition. It should buy time for a proper replacement, not become forgotten infrastructure behind a wall. A badly corroded pipe may fail beside the patch, and multiple pinholes often indicate broader deterioration.
Know When Professional Repair Is the Better Value
Call a licensed plumber for uncontrolled flow, a broken shutoff, hidden leakage, slab symptoms, recurring pinholes, whole-house pressure problems, sewage, or work requiring permits. Get professional help if a repair involves a service line, backflow assembly, fire sprinkler, shared building pipe, buried connection, or gas appliance control. A plumber can test pressure, locate concealed water, select compatible materials, and correct poor support or installation that caused the failure.
Professional service is also prudent when the pipe is heavily corroded or a fitting will not release without twisting concealed plumbing. Explain when the leak occurs, what valves control it, and what previous repairs were made. Share photos and meter observations. Ask whether the quote covers diagnosis, permanent repair, testing, access opening, and restoration; plumbing contractors do not always replace drywall, cabinets, flooring, or tile.
Do not delay because a drip seems small. Slow leakage can saturate porous materials, damage finishes, and create conditions for microbial growth. If a ceiling sags or materials are extensively wet, keep people out from beneath the area. After the plumbing is repaired, drying and damage assessment may still be required.
Budget and Schedule Realistically
A matching washer, flapper, gasket, or hose is usually inexpensive, and an accessible homeowner repair may fit into an afternoon. Professional cost varies widely with local labor, emergency timing, diagnostic difficulty, access, material, and restoration. A visible sink connection during normal hours is fundamentally different from locating a pipe below a slab or opening finished tile. Obtain a written scope rather than relying on a generic national price.
Time also includes testing. A rushed repair that is not observed under pressure and through drain cycles is unfinished. Build in time to obtain the exact part, clean surfaces, reassemble without cross-threading, and recheck later. If the household cannot remain without water or the valve is unreliable, scheduling a plumber may be more practical than beginning disassembly.
For substantial damage, document the source area and affected property before cleanup, while taking reasonable steps to prevent further loss. Save receipts and contact the insurer promptly if coverage may apply. Policies and deductibles vary, and the failed plumbing component itself may be treated differently from resulting damage.
Prevent Leaks Through Routine Inspection
Inspect visible valves, supply hoses, traps, appliance lines, and water-heater connections several times each year. Look for corrosion, mineral deposits, cracks, kinks, dampness, and cabinet swelling. Replace visibly deteriorated parts according to manufacturer guidance. Do not store heavy items against plumbing or hang objects from pipes. Keep the main shutoff accessible and show every capable household member how to use it.
Protect vulnerable plumbing from freezing with insulation, sealed air gaps, and safe indoor temperatures. Have unusually high pressure evaluated because it stresses hoses, valves, and fixtures. If one area develops repeated pinholes, ask whether water chemistry, electrical grounding, velocity, material incompatibility, or system age warrants broader investigation rather than another isolated patch.
Place battery-powered leak alarms near the water heater, laundry equipment, dishwasher, sinks, and other high-risk locations. A water leak alarm multipack can provide early warning, while an automatic shutoff system may offer additional protection when correctly installed. Neither replaces maintenance.
Quick-Reference Repair Checklist
| Observation | Likely category | Safe next step |
|---|---|---|
| Drips continuously from hose or valve | Pressurized supply | Close valve; replace exact rated part |
| Leaks only while basin drains | Trap or drain seal | Catch water; inspect alignment and washers |
| Water around toilet base | Seal, flange, or supply | Stop use; check supply; call if rocking |
| Meter moves with all uses off | Possible concealed leak | Confirm automatic devices; arrange detection |
| Water near receptacle or panel | Electrical hazard | Keep away; isolate power only if safely accessible |
| Sewage or gas odor | Health or fire hazard | Leave/isolate and call the appropriate professional |
Before declaring success, dry the area, restore water gradually, operate the fixture repeatedly, inspect with tissue, and check again later. If the shutoff seeped after operation, if pressure changed, or if moisture returns, stop and arrange professional diagnosis.
Frequently Asked Questions
What causes plumbing leaks most often?
Common causes include worn seals, loose or misaligned joints, aging supply hoses, corrosion, freezing, high pressure, and damaged fixture components. When the leak occurs is an important clue: supply leaks may be constant, while drain leaks usually follow fixture use.
Can I perform plumbing leak repair myself?
Accessible, well-identified repairs such as a replacement gasket, hose, flapper, or manufacturer-specified cartridge are often suitable for a careful homeowner. Concealed, corroded, pressurized, sewage-related, gas-adjacent, or permit-regulated work is not.
How urgent is a slow plumbing leak?
It should be addressed promptly. A slow drip can damage cabinetry, flooring, drywall, and framing over time, and it may precede a larger failure. Catching water is temporary control, not a repair.
What should I avoid doing?
Do not overtighten fittings, smear caulk over active joints, use household glue, mix drain chemicals, cap safety valves, or open walls blindly. Avoid any work near wet electrical equipment or gas controls.
How can I confirm the leak is fully repaired?
Test the joint while idle and through multiple operating cycles. Blot it with dry tissue, inspect nearby surfaces, and recheck hours later. Continue monitoring the meter or prior stain if the original source was uncertain.
Why This Is Different in San Antonio
San Antonio's Edwards Aquifer supplies some of the hardest municipal water in the United States: about 357 mg/L, or 21 grains per gallon. That limestone-filtered groundwater carries calcium carbonate and magnesium into our fixtures, valves, drains, heaters, and supply lines. For plumbing leak repair, that matters because mineral deposits grind down seals, cartridges, fill valves, supply stops, spray arms, and small water passages faster than many generic guides assume.
- Scale buildup makes small restrictions worse, especially at cartridges, aerators, shutoff valves, drains, and heater connections.
- Fixtures, pipes, and appliances in our area can wear out 30-50% faster than in soft-water cities when maintenance is delayed.
- SAWS publishes annual water quality reports, but the practical homeowner takeaway is simple: maintenance intervals here should be shorter than national advice suggests.
Homes in King William are particularly affected because historic homes may still have cast iron, galvanized pipe, and tight retrofit spaces. Unlike cities with naturally soft water, local homeowners should treat hard-water maintenance as normal prevention, not an upsell.
> "When I see early leaks in San Antonio, I always look for hard-water scale, corrosion, and older neighborhood pipe materials before blaming one bad fixture." — Licensed local plumber
What San Antonio Homeowners Pay (2026)
| Service | Typical Cost in San Antonio |
|---|---|
| Emergency plumber call | $150–$350; after hours $250–$500 |
| Faucet replacement labor | $150–$300 |
| Plumber hourly rate | $85–$150/hr |
Prices are based on local metro area ranges for 2026. Costs may vary by neighborhood, access, pipe material, after-hours timing, and whether the plumber finds hard-water damage beyond the visible problem.
When to Call a San Antonio Plumber
Call a licensed local plumber if the problem involves active leaking, a shutoff valve that will not close, sewer smell, recurring clogs, water near electrical components, a water heater leak, or any pipe inside a wall, ceiling, or slab. Locally, expect many licensed plumbers to charge roughly $85-$150 per hour, with emergency visits commonly around $150-$350 and after-hours calls closer to $250-$500.
When you call, ask three local questions:
1. Are you licensed and insured for work in Bexar County or the surrounding local metro?
2. Have you dealt with Edwards Aquifer hard-water scale on this type of repair?
3. Should I also check the water heater, shutoff valves, or water softener while you are there?
local plumbers see hard-water issues every week, so a good pro should be able to explain whether the failure is normal wear, mineral damage, freeze damage from a cold snap like Winter Storm Uri, or a sign of a larger plumbing system problem.
San Antonio FAQ
Is local water hard?
Yes. San Antonio water is very hard at about 357 mg/L, or 21 grains per gallon, because much of it comes from the Edwards Aquifer and passes through limestone. That mineral content is why scale shows up quickly on faucets, showerheads, valves, drains, and water heaters.
Do local homes need a water softener?
A water softener is recommended for many local homes, especially if you see white scale, repeated faucet or valve problems, short water-heater life, or cloudy spots on dishes. A typical whole-home water softener installation in San Antonio runs about $1,500-$4,000.