> San Antonio Local Insight: Hard water mineral deposits (21 gpg from Edwards Aquifer) affect toilet components, garbage disposals, and fixtures throughout local homes. Scale buildup causes premature wear, reduces performance, and creates problems that soft-water cities rarely see. Regular descaling maintenance is essential for San Antonio plumbing.
For a San Antonio kitchen in Stone Oak, trace the leak and test the drain before buying a replacement. A normal installed disposal often costs $350–$750, but branch clearing or electrical correction should be quoted separately.
A garbage disposal does not need replacement simply because it hums, drains slowly, or jams once. Many apparent failures come from a tripped overload protector, a stuck flywheel, a clogged P-trap, or an electrical problem outside the appliance. Those issues may be inexpensive to correct.
Replacement becomes the better choice when the motor is burned out, the metal body leaks, corrosion is extensive, or repeated repairs no longer provide reliable service. Age matters, but condition matters more. Before buying a new unit, identify where the failure begins and whether the surrounding sink, drain, switch, and wiring are sound.
The clearest signs that replacement makes sense
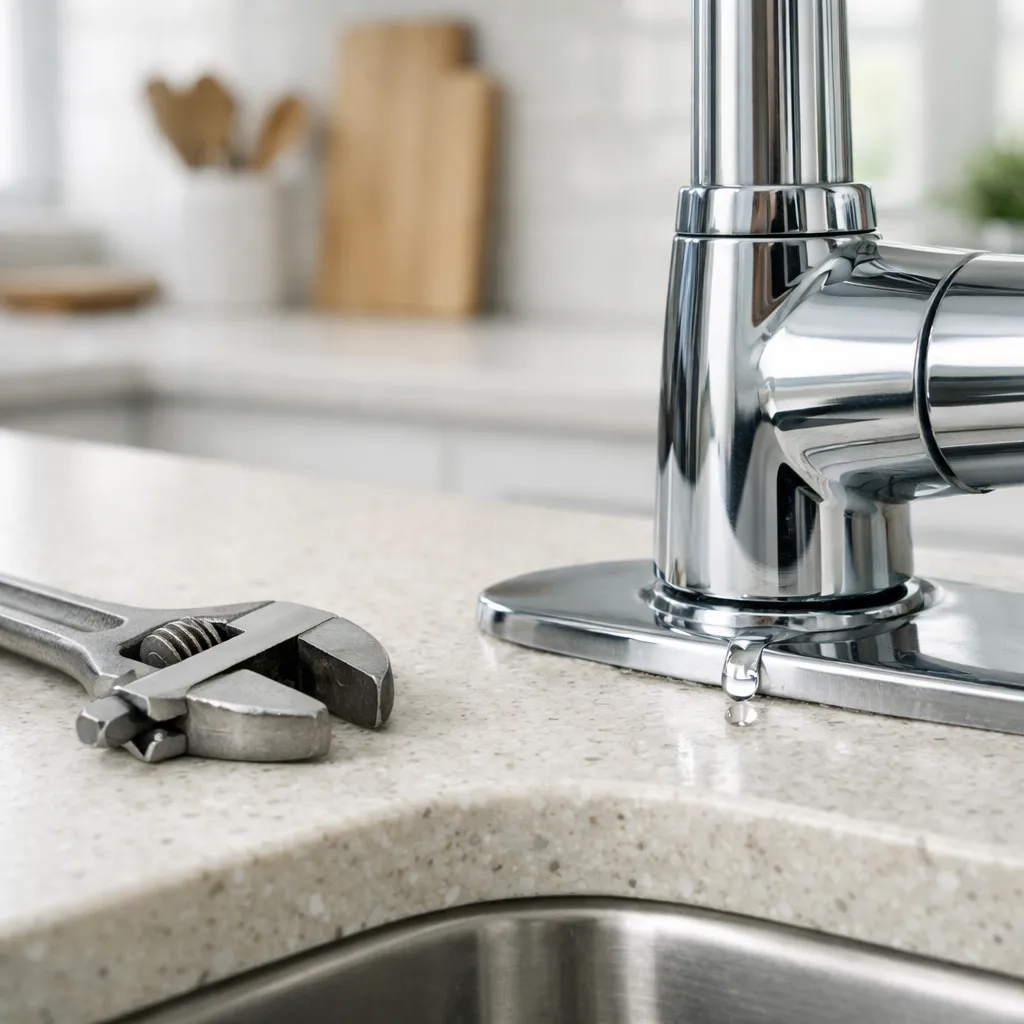
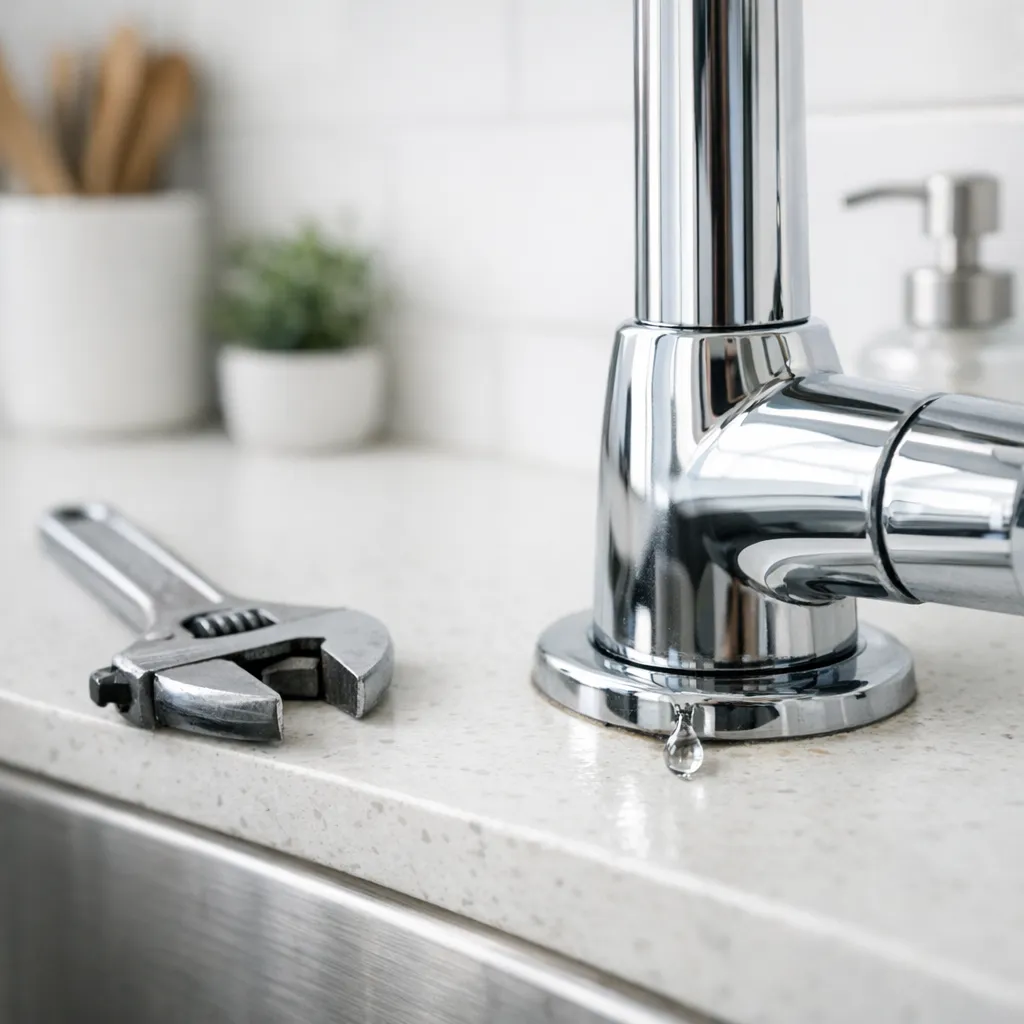
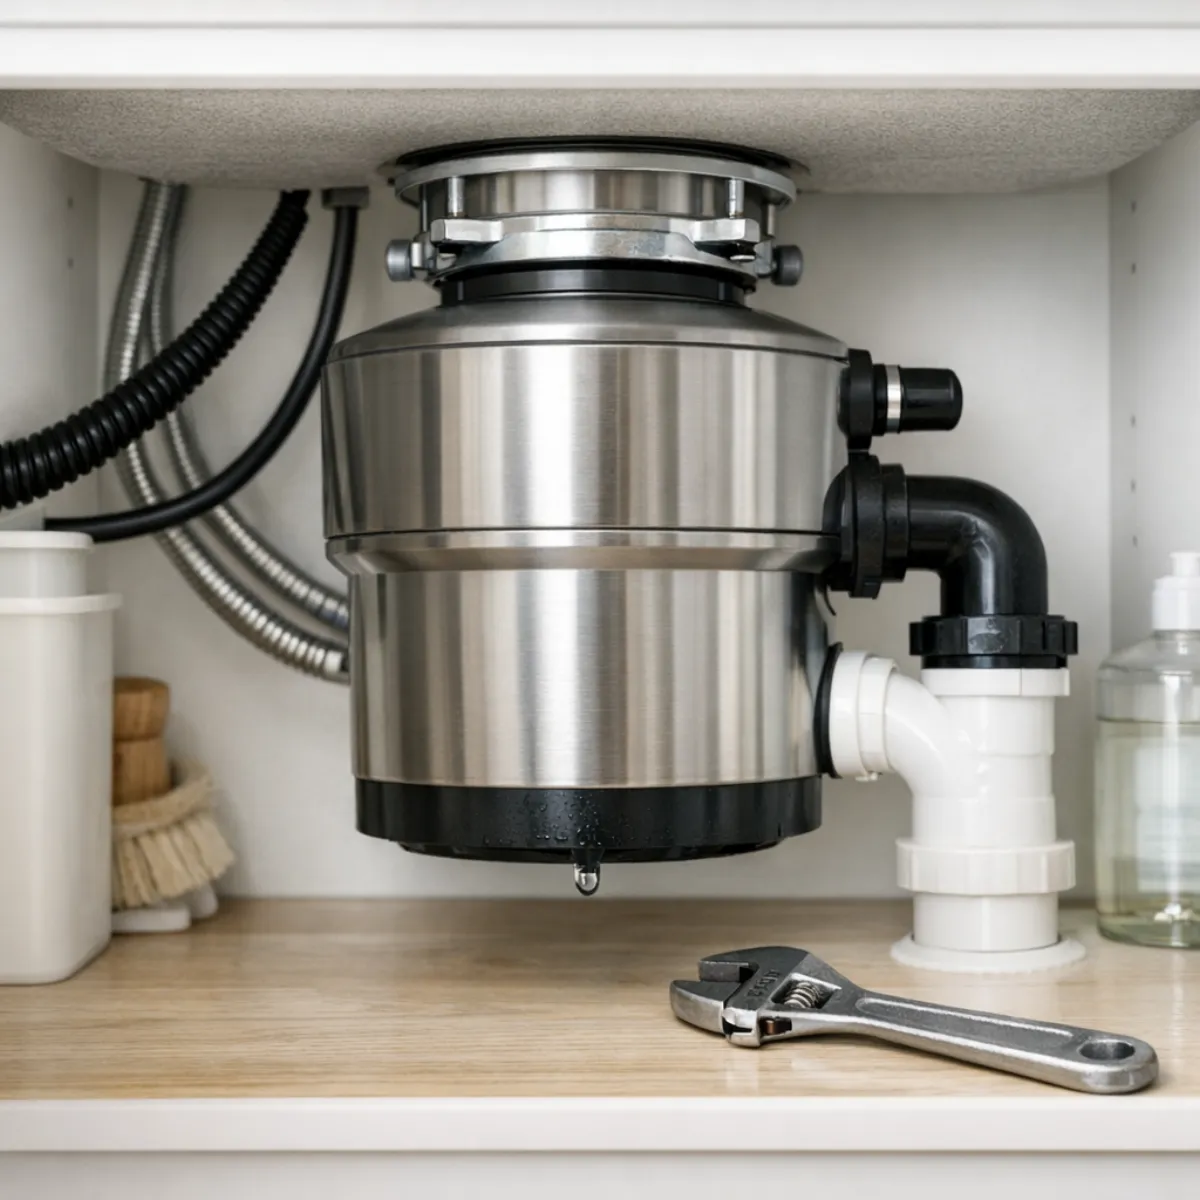
A leak through the disposal’s metal housing is one of the strongest replacement signals. Water dripping from a loose sink flange, dishwasher hose, or discharge elbow may only require a new seal or tightened connection. Water emerging through a crack, seam, or corroded spot in the disposal body cannot normally be repaired safely or durably. Put a dry paper towel around each connection to isolate the source, but disconnect power before touching the unit.
Frequent resets, persistent grinding noises, and a motor that stalls with an empty chamber also point toward internal wear. Occasional jams caused by a stray utensil or fibrous scraps are different. If the unit repeatedly overheats during ordinary use, smells electrically hot, trips its dedicated circuit, or needs another repair soon after the last one, replacement is usually more sensible than continuing to troubleshoot an aging motor.
Check the simple causes before condemning the unit
First, turn the wall switch off and verify that nobody can activate it. Never put a hand into the grinding chamber, even when the switch is off. Use a flashlight and long-handled tongs to remove visible non-food objects. If the disposal is jammed, follow the manufacturer’s procedure for using the correct hex key at the bottom of the unit. Do not improvise with tools inside the chamber or apply excessive force.
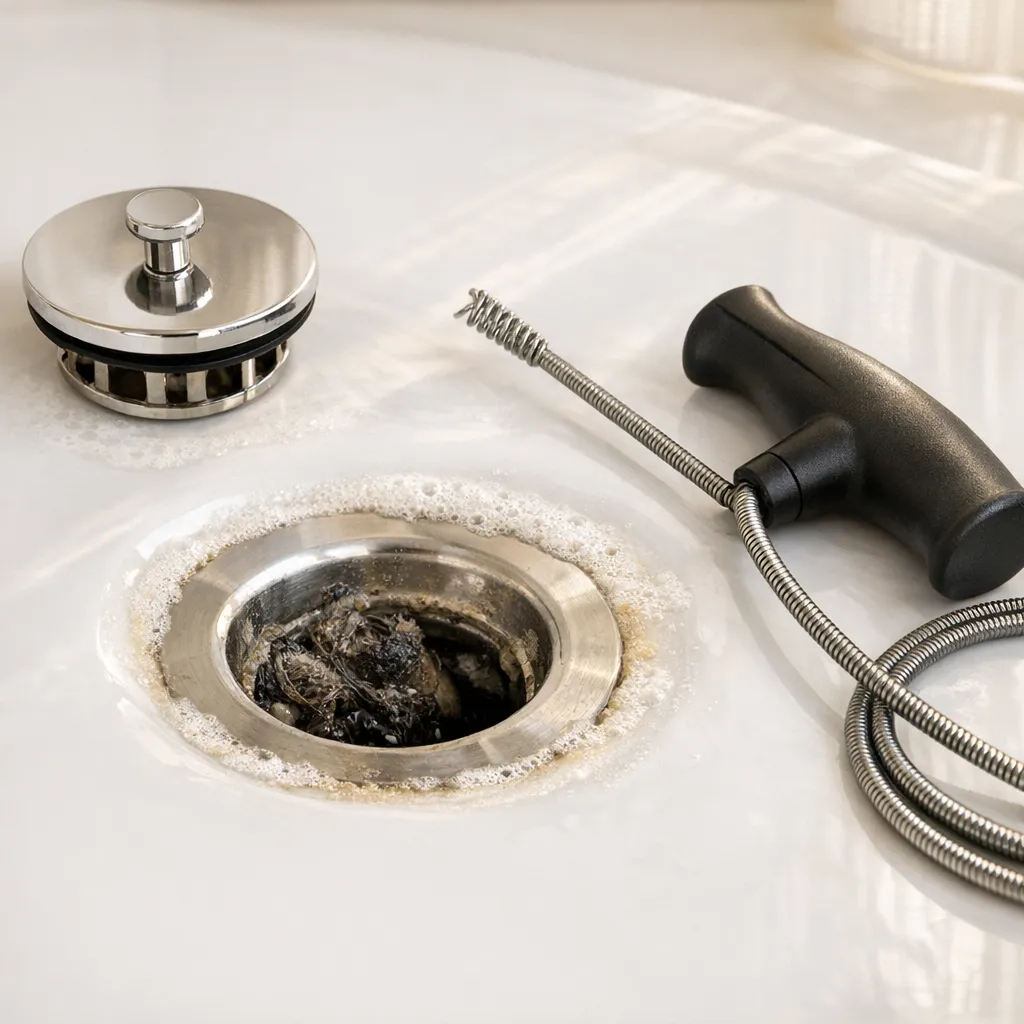
If the unit is silent, check its reset button after it has cooled, then check the breaker or GFCI protection. A reset that immediately trips again indicates a fault that deserves professional diagnosis. If the motor runs but water remains in the sink, the problem may be downstream in the trap or branch drain rather than in the disposal. Stop if chemical drain cleaner is present; splashes can cause burns, and a plumber needs to know what was poured into the drain.
| Symptom | Likely first check | Replacement more likely when |
|---|---|---|
| Unit is silent | Reset, breaker, switch, receptacle | Power is present but motor is open or burned out |
| Humming only | Jam and flywheel procedure | Shaft remains seized or motor repeatedly overheats |
| Leak under sink | Flange, hose, elbow, gasket | Water comes through the metal housing |
| Slow draining | Trap and branch drain clog | Internal corrosion or repeated clogs accompany poor grinding |
| Loud new noise | Foreign object or loose mount | Bearings or internal components are damaged |
Distinguish a repairable leak from a failed housing
Dry the cabinet and place a pan below the disposal. With power still disconnected, inspect the sink flange at the top, dishwasher inlet on the side, discharge elbow, and bottom of the unit. Restore water only for a brief leak test, keeping hands away from electrical components. A loose flange can often be resealed, while a cracked discharge gasket or aged hose can be replaced. These are connection repairs, not disposal failures.
Bottom leaks require careful interpretation. Water can run down from a higher connection and appear at the bottom, so trace it upward before deciding. If the housing itself is corroded or leaking, do not patch it with sealant, tape, or epoxy. Those fixes conceal deterioration without restoring structural integrity. Disconnect power, stop using the sink if necessary, protect the cabinet from water, and arrange replacement.
Consider age, repair history, and daily performance together
There is no single expiration date for every disposal. Water chemistry, installation quality, motor size, household use, and what enters the drain all affect service life. A lightly used unit that is quiet, dry, and dependable does not need replacement merely because it is old. Conversely, a newer unit damaged by metal objects, chronic leaks, or improper wiring may need early replacement.
Review the pattern rather than one incident. A low-cost gasket on an otherwise healthy unit is a reasonable repair. Paying repeatedly for service calls, clearing recurrent jams, or tolerating incomplete grinding changes the calculation. Also inspect the cabinet floor and sink base. Swelling, mold-like staining, or soft materials may indicate hidden water damage that should be dried and evaluated before a new appliance covers the area.
Compare repair cost with the full replacement cost
The shelf price is only part of a replacement budget. The new disposal must fit the sink opening, existing mounting system, discharge height, dishwasher connection, electrical supply, and available cabinet space. A different body length can place the outlet below the wall drain, creating a drainage problem that cannot be solved by forcing the piping uphill. Installation may also require a new cord, flange, air switch, or plumbing fittings.
Repair is attractive when the diagnosis is clear and the affected part is external and replaceable. Replacement is attractive when the housing leaks, the motor or bearings have failed, or labor approaches the cost of a properly sized new unit. Get an itemized estimate if professional work is needed. It should distinguish the appliance, plumbing adjustments, electrical work, disposal of the old unit, and repair of any water-damaged cabinet material.
Choose a replacement that fits the plumbing and household
Match the new unit to how the kitchen is actually used rather than automatically buying the most powerful model. Motor capacity, noise insulation, chamber material, physical dimensions, warranty, and local availability of service all matter. A larger motor may recover from ordinary loads more easily, but it does not make grease, bones, fibrous husks, or non-food waste appropriate for the drain.
Measure from the sink flange to the cabinet floor and from the disposal outlet to the wall drain centerline. Confirm whether a dishwasher drains through the unit and whether an air gap is required locally. Check the electrical configuration: some units are hardwired, while others use a cord and receptacle. Do not assume the old wiring method is automatically code-compliant. A licensed electrician should correct questionable grounding, damaged cable, shared-circuit problems, or an unsafe switch.
Avoid mistakes that shorten the new unit’s life
Do not use a disposal as a trash can. Feed small amounts while running cold water, let the chamber clear, and continue water briefly afterward. Keep grease, paint, caustic chemicals, glass, metal, and expandable or highly fibrous waste out. The exact food restrictions vary by model and plumbing conditions, so follow the manufacturer’s instructions rather than internet tricks.
Avoid pouring chemical drain opener into a disposal. It may not reach the actual obstruction, can damage some materials, and creates a splash hazard for anyone who later opens the plumbing. Ice may help knock loose light residue in some units, but it cannot repair dull components, corrosion, or a failing motor. Never run the appliance while tools are in the sink, and do not defeat a reset, breaker, or GFCI that keeps tripping.
When DIY should stop and a professional should take over
Call a plumber when the branch drain is blocked, the wall connection leaks, the discharge geometry is wrong, sewage backs up elsewhere, or corrosion extends beyond the disposal. Multiple slow fixtures suggest a larger drainage problem. Stop using water if it is escaping into walls, floors, or the cabinet. Standing wastewater requires gloves, careful cleanup, and attention to contaminated materials.
Call a licensed electrician for damaged wiring, scorch marks, repeated breaker trips, a hot receptacle, absent grounding, or uncertainty about hardwiring. Water and electricity make guesswork especially risky. Professional installation is also prudent when the disposal is difficult to support safely, local permits apply, or the new unit requires plumbing alterations. A disposal is heavy enough to injure someone or damage a sink if its mounting ring is not fully engaged.
A safe decision checklist
Use this sequence before purchasing:
1. Cut power at the appropriate switch or breaker and verify the unit cannot start.
2. Identify the symptom: no power, hum, jam, leak, noise, odor, or poor drainage.
3. Locate leaks precisely at the flange, hose, elbow, or housing.
4. Rule out downstream clogs without mixing tools with chemical cleaners.
5. Review repair history and note repeated resets, jams, or service calls.
6. Measure the installation and confirm outlet height, mount, power, and dishwasher routing.
7. Choose repair or replacement based on the failed component, not age alone.
8. Escalate hazards involving electricity, wastewater, hidden damage, or altered plumbing.
This approach prevents an unnecessary purchase when a reset or gasket is the real answer, while also avoiding false economy when the appliance body or motor has genuinely failed. Once replacement is justified, correct sizing and careful installation matter as much as the model selected.
Frequently asked questions
Can a leaking garbage disposal be repaired?
A flange, hose, or discharge gasket often can be resealed or replaced. A leak through a cracked or corroded disposal housing generally calls for replacement. Dry everything and trace water to its highest source before deciding.
Should I replace a disposal that only hums?
Not immediately. Humming commonly means the motor has power but the flywheel is jammed. Turn off power and use the manufacturer’s unjamming method. Replace or professionally diagnose it if the shaft stays seized, the motor overheats, or the problem repeatedly returns.
Is a slow sink proof that the disposal is failing?
No. A slow sink frequently has a clog in the trap or branch drain. Poor grinding can contribute, but replacing the appliance will not clear a downstream blockage. Avoid chemical cleaner and call a plumber if safe mechanical clearing is beyond your experience.
Can I install a more powerful disposal on the existing plumbing?
Possibly, but verify dimensions, outlet height, mounting compatibility, electrical requirements, and circuit capacity. A physically larger unit can interfere with the cabinet or create an uphill discharge. Power alone does not determine compatibility.
What should I do with the sink while waiting for replacement?
If the housing leaks, stop using that basin and disconnect power. Place a pan only as temporary protection, dry the cabinet, and address wet materials promptly. Do not rely on tape or sealant as a structural repair.
Why This Is Different in San Antonio
Edwards Aquifer water is about 357 mg/L, or 21 gpg, and scale accumulates around the splash baffle, metal chamber, dishwasher inlet, and downstream piping. Scale alone does not burn out a motor, but it can worsen drainage and corrosion, making a healthy disposal look weak or causing a leaking unit to deteriorate faster.
In many Stone Oak homes, the disposal shares a compact under-sink layout with a dishwasher connection and copper supply lines. Before replacing the appliance, separate four systems: appliance motor, mounting seals, branch drain, and electrical supply. A new disposal will not cure a scaled P-trap or an incorrectly pitched wall arm.
SAWS water-quality information explains the mineral load, while the unit manual controls reset and unjamming procedures. After outages or unusual cold such as Winter Storm Uri, inspect the cabinet for split supply connections too; not every puddle beneath the sink comes from the disposal.
What San Antonio Homeowners Pay (2026)
| Service or item | Typical 2026 range |
|---|---|
| Basic disposal unit | $120–$300 |
| Installed standard replacement | $350–$750 |
| Flange, gasket, or discharge repair | $150–$300 |
| Branch-drain clearing if separately needed | $150–$350 |
| Electrical correction or new switch work | $150–$450 |
Cabinet access, outlet-height changes, dishwasher routing, premium quiet models, and after-hours work can increase the total. Get the appliance and any plumbing or electrical corrections itemized.
When to Call a San Antonio Plumber
Call a plumber when water comes through the metal housing, the wall drain is too high for the replacement outlet, the branch is blocked, or corrosion extends into adjacent fittings. Use an electrician for hot wiring, scorch marks, repeated breaker trips, or questionable grounding.
Stop DIY work when water is near energized components or chemical opener is present. A licensed Bexar County plumber commonly bills $85–$150 per hour; a straightforward installed replacement often lands between $350 and $750.
San Antonio FAQ
Does hard water mean I need a special disposal?
No specific motor cures scale. Favor corrosion-resistant components, correct sizing, good installation, and periodic inspection of connections.
Is a bottom leak repairable?
First trace water from above. If it truly exits the housing seam, replacement is normally the durable answer.
Will a stronger unit clear a slow drain?
Not if the restriction is in the P-trap or branch. Diagnose drainage before buying more horsepower.
Can I replace it myself?
Only if you can safely isolate power, support the unit, match discharge geometry, and make leak-free listed connections. Stop for wiring or plumbing changes beyond that scope.